
Open shelving in a bedroom can create a stylish and functional space, but it can also become cluttered and overwhelming. Many people struggle with how to effectively utilize this space, leading to a chaotic display of items that don’t complement each other. This guide will help you transform your open shelves into a curated collection that enhances your bedroom’s aesthetic. By the end of this article, you will have a clear understanding of how to style and organize your open shelving with a few simple steps.
You will learn specific techniques for selecting items, arranging them for visual appeal, and maintaining organization over time. This guide is designed for beginners and will take approximately 2-3 hours to complete, depending on the size of your shelves and the number of items you have. Get ready to create a space that not only looks good but also feels organized and inviting.
Let’s dive in and start styling your open shelves for a bedroom that reflects your personality and taste!
TL;DR Summary
- Assess your items and remove what’s unnecessary.
- Select a color scheme that enhances your decor.
- Arrange items using the rule of three for a balanced look.
- Incorporate personal touches and decorative elements for character.
TL;DR Summary
Editor’s Choice

Home Decorative Reading Women Girl Statue Bookends Elegant Resin Bookshe…

Reading Women Figurine Home Decor Gold Thinker Statue Nordic Modern Abst…

Small Cute Pink Gift Basket Empty to Fill — Mini Wicker Woven Cotton R…
Prerequisites/Materials Needed
- Open shelving unit
- Decorative items (vases, books, plants)
- Organizational tools (baskets, boxes)
- Cleaning supplies (cloth, mild cleaner)
- Optional: Level for adjusting shelf height
Prerequisites/Materials Needed
Editor’s Choice

2 Pack Small Woven Basket with Gift Bags and Ribbons, Empty Decorative G…

hjn Small Ceramic Vase for Flowers Modern Art Vase for Living Room/Home …

Hodao Friendship Jewelry Keepsake Box Sculpted Hand-Painted Keepsake Box…
Skill Level & Time Estimate
Skill Level: beginner
Total time estimate: 2-3 hours
Time breakdown: 1 hour for decluttering, 1 hour for styling, 30 minutes for final adjustments.
Skill Level & Time Estimate
Editor’s Choice

Decorative Linen Book Set – Neutral Coffee Table Books for Home Decor,…

4 Pack Storage Baskets for Organizing, Woven Baskets for Shelves – Perfe…
Step 1: Declutter Your Shelves
Start by removing everything from your open shelves. This gives you a clean slate to work with. Follow these sub-steps:
- Empty each shelf completely.
- Sort items into categories: keep, donate, or discard.
- Clean the shelves with a suitable cleaner.
Warning: Avoid keeping items that you no longer use or love, as they will contribute to clutter.
Why this matters: Decluttering allows you to see what you truly want to display and helps create a clean, organized look.
Time estimate: 30 minutes.
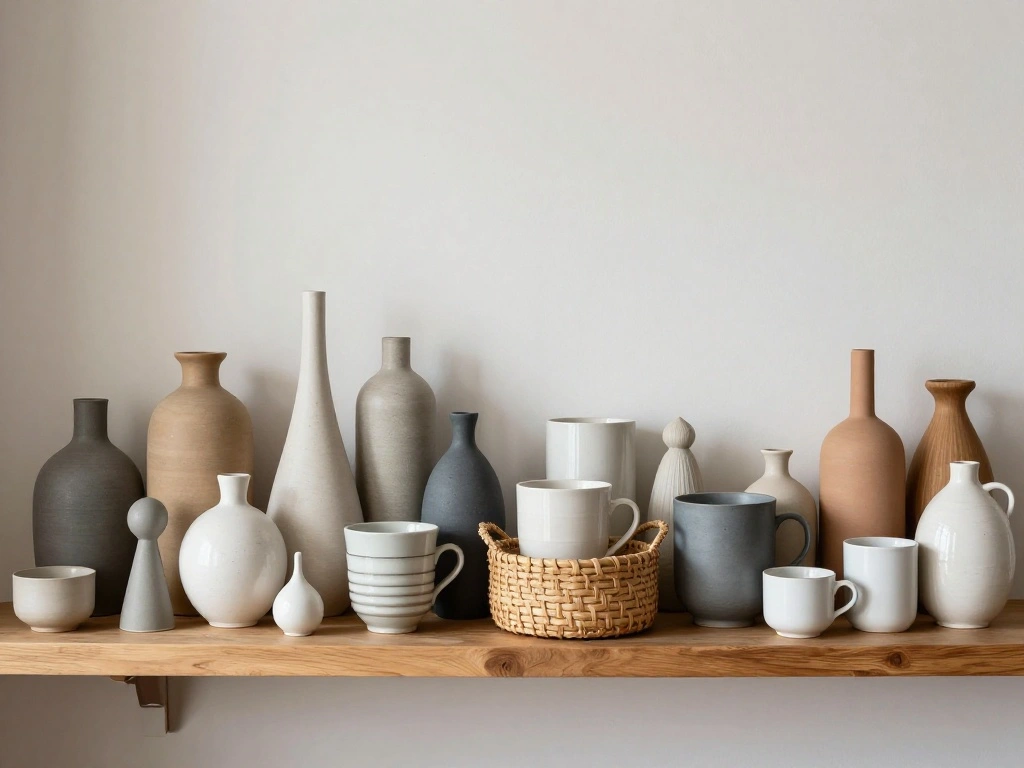
Step 2: Choose a Color Scheme
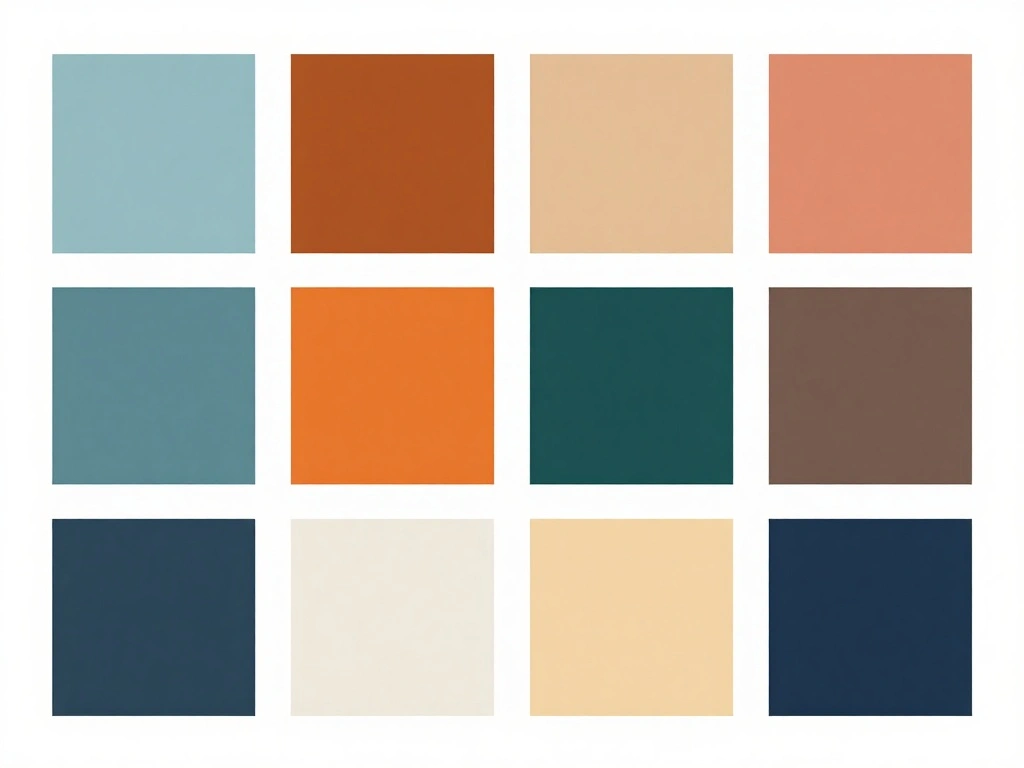
Deciding on a color scheme is crucial for creating a cohesive look. Here’s how to do it:
- Identify the main colors in your bedroom decor.
- Select 2-3 accent colors for the shelves.
- Choose items that fit within this palette.
Pro Tip: Use neutral bases for larger items and add pops of color with smaller decorative pieces.
Why this matters: A consistent color scheme unifies your display and enhances the overall aesthetic of your bedroom.
Time estimate: 15 minutes.
Step 2: Choose a Color Scheme
Editor’s Choice
Small Cute Pink Gift Basket Empty to Fill — Mini Wicker Woven Cotton R…
Step 3: Select Your Items
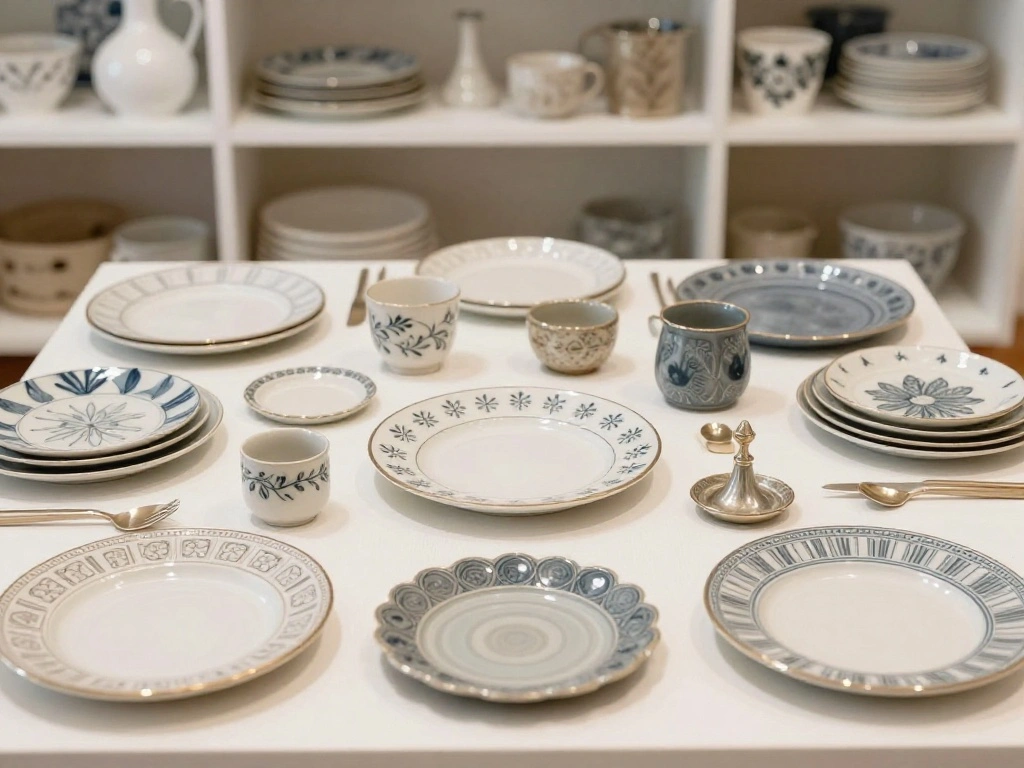
Now it’s time to gather the items you want to display. Follow these steps:
- Choose a mix of functional and decorative items.
- Include personal items like photos or souvenirs.
- Limit the number of items to avoid overcrowding.
Warning: Don’t add too many items; this can lead to clutter and overwhelm the visual space.
Why this matters: Selecting carefully curated items will create interest and maintain a clean look.
Time estimate: 30 minutes.
Step 3: Select Your Items
Editor’s Choice

Vtopmart 25 PCS Clear Plastic Drawer Organizers Set, 4-Size Versatile Ba…

Friendship Gift for Good Friends Women, Bestie Birthday Gift, The Girls …
hjn Small Ceramic Vase for Flowers Modern Art Vase for Living Room/Home …
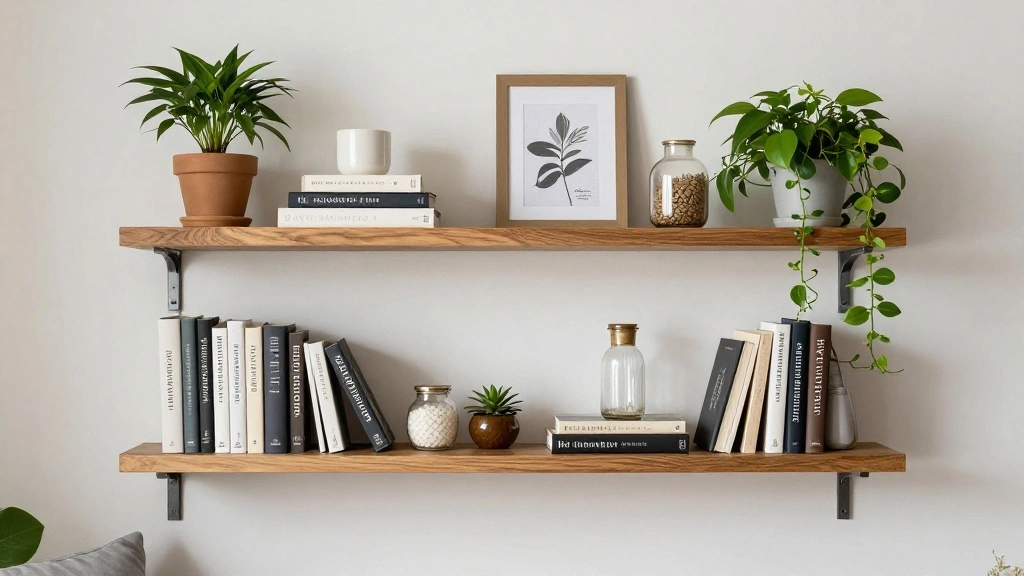
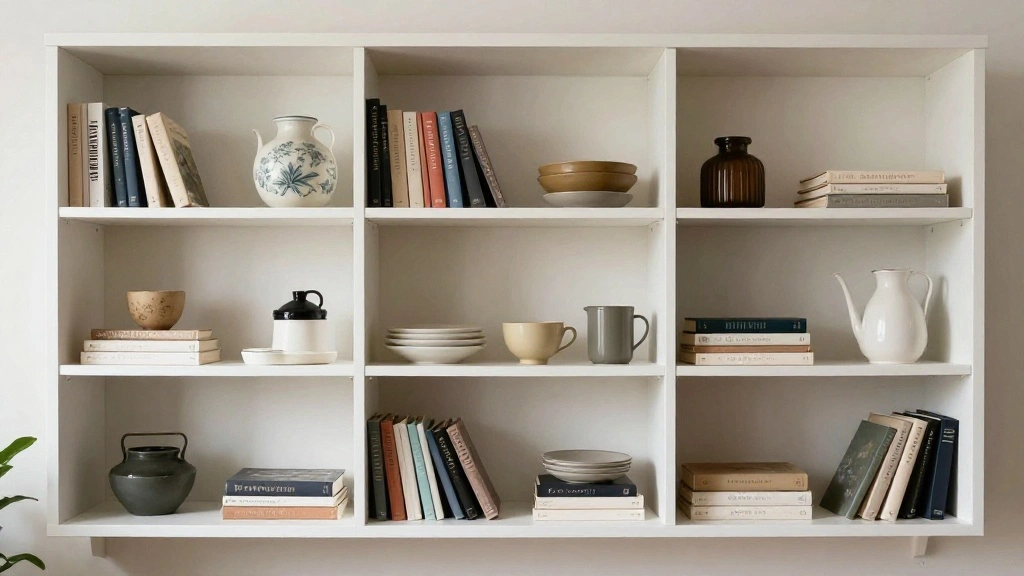
Step 4: Arrange Items Strategically
Start placing items on your shelves. Here’s how to do it effectively:
- Use the rule of three: group items in threes for balance.
- Vary the heights of items for visual interest.
- Leave some empty space to avoid overcrowding.
Pro Tip: Start with larger items at the back and smaller items in front for depth.
Why this matters: Thoughtful arrangement creates a visually appealing display that draws the eye.
Time estimate: 45 minutes.
Step 4: Arrange Items Strategically
Editor’s Choice

Reading Bookends Decorative for Shelves – Girl Reading Statue Bookends, …
Boho Floral Flowers Storage Basket – Rectangular Decorative Box Collapsi…

Jkolalin Custom Picture Frames with Photo, Personalized Picture Frame wi…
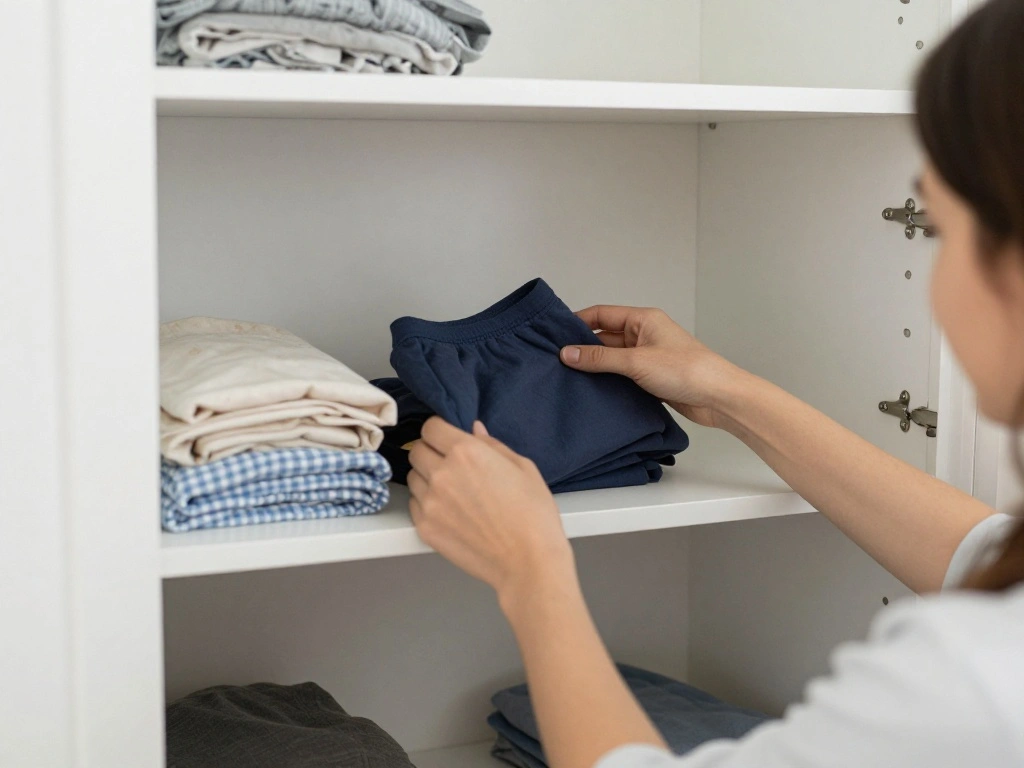
Step 5: Incorporate Functional Items
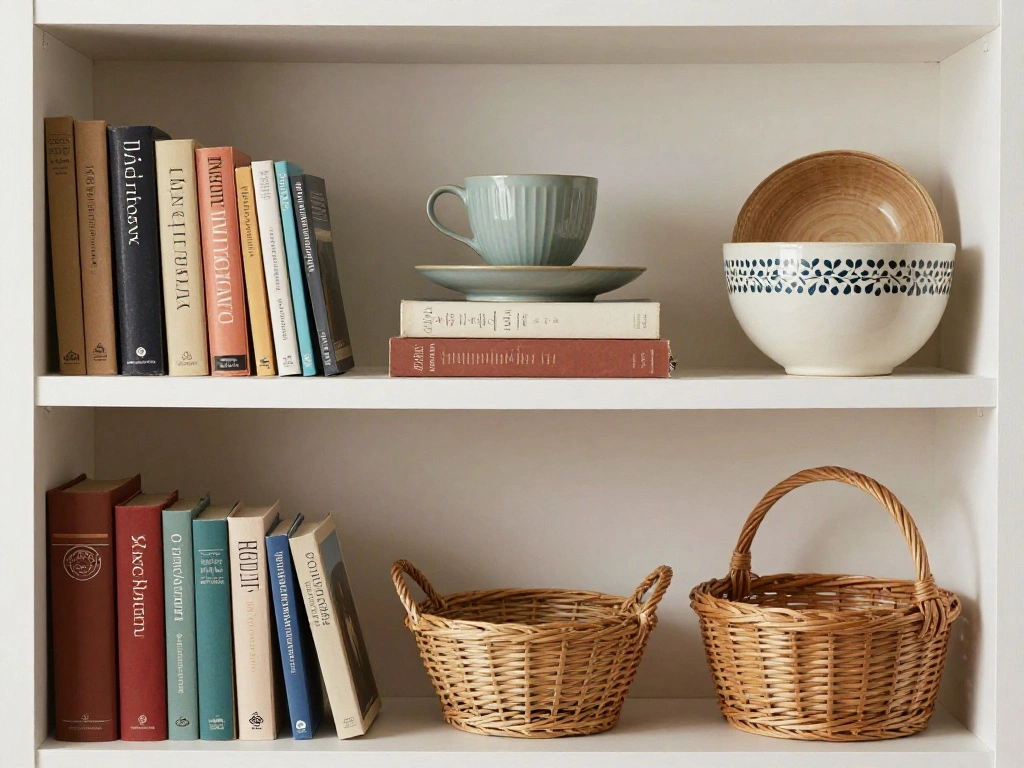
Functional items can add practicality to your shelves without sacrificing style. Consider these steps:
- Add baskets or boxes for storing small items.
- Include books or journals that match your decor.
- Use trays to group smaller items together.
Pro Tip: Choose decorative storage solutions that complement your color scheme.
Why this matters: Incorporating functional pieces helps maintain organization while keeping the aesthetic intact.
Time estimate: 30 minutes.
Step 5: Incorporate Functional Items
Editor’s Choice

Lined Journal Notebook for Women Men,256 Thick Pages,A5 Hardcover Vintag…

CCINPPY Ceramic Jewelry Tray Trinket Dish, Decorative Cloud Vanity Key T…

Knibeo Modern Minimalist Black Woman Fabric Storage Bins for Shelves Clo…
Step 6: Add Personal Touches
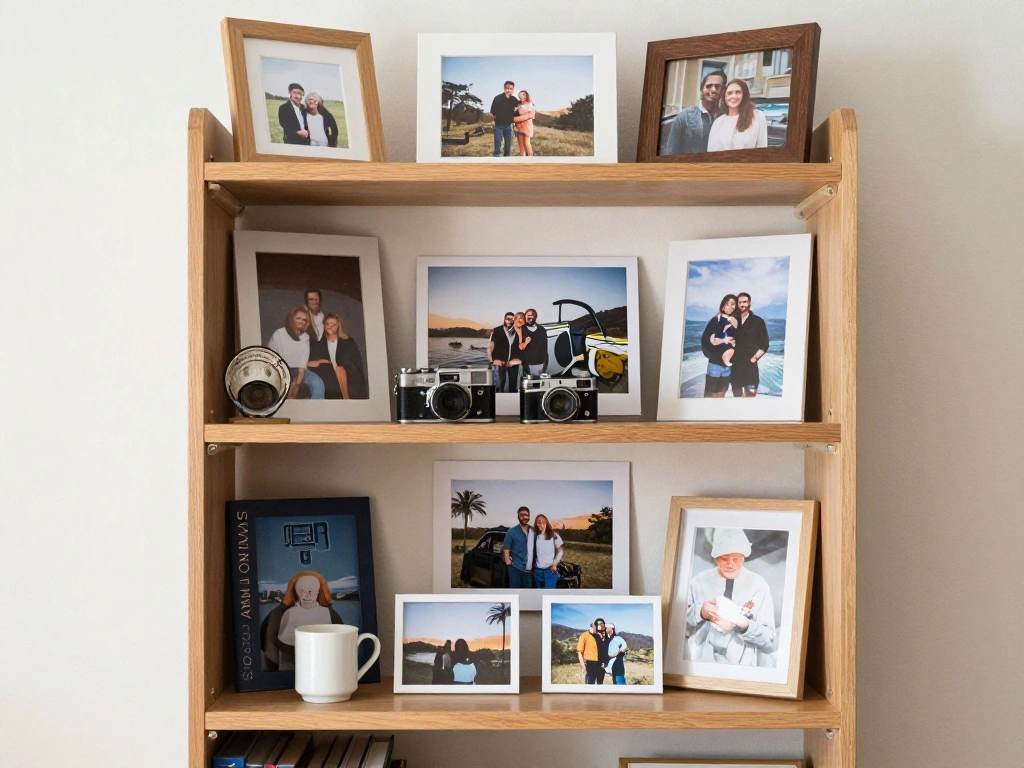
Your shelves should reflect your personality. To do this:
- Include family photos in stylish frames.
- Add souvenirs from travel experiences.
- Incorporate art pieces or crafts that you love.
Warning: Don’t overdo personal items; the goal is to create a balanced aesthetic.
Why this matters: Personal touches make your space feel inviting and uniquely yours.
Time estimate: 30 minutes.
Step 6: Add Personal Touches
Editor’s Choice

YATSKIA 7 Chakra Tree of Life – Crystals and Healing Stones | Birthday G…

Thank You Gift for Women, Coworker, Friends, Teacher, Retirement Gifts f…

Vintage Grey Thin Boarder Floral Photo Frame / 4×6 In | For Vertical and…
Step 7: Maintain Organization

Once your shelves are styled, maintaining order is essential. Here’s how:
- Regularly assess items for relevance.
- Rearrange items seasonally to keep the display fresh.
- Use trays or boxes to keep smaller items contained.
Pro Tip: Schedule a monthly check to ensure everything stays organized.
Why this matters: Regular maintenance prevents clutter from building up again.
Time estimate: 15 minutes monthly.
Step 7: Maintain Organization
Editor’s Choice

DYMO LetraTag LT-100H Handheld Aesthetic Label Maker, ABC Keyboard Label…

WOWBOX 25 PCS Clear Plastic Drawer Organizer Set, 4 Sizes Desk Drawer Di…
Step 8: Experiment with Lighting
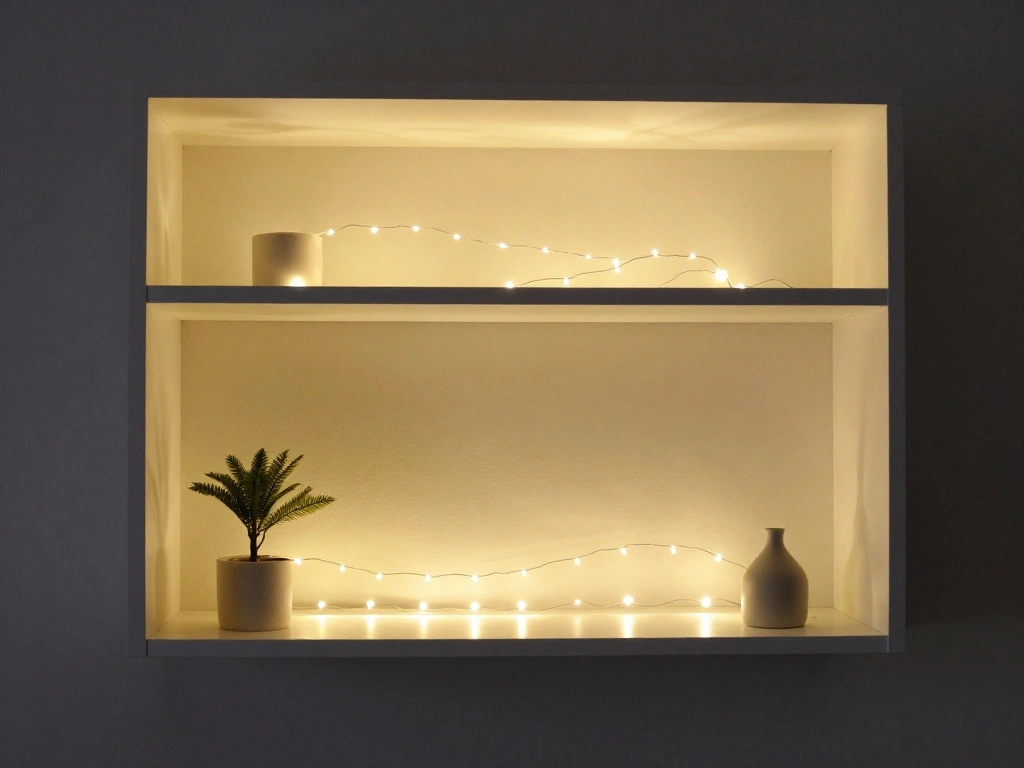
Good lighting can enhance the beauty of your shelves. Follow these steps:
- Consider adding LED strip lights or fairy lights.
- Use a spotlight to highlight specific pieces.
- Ensure natural light flows into the area for a bright feel.
Warning: Avoid harsh lighting that can create shadows or make items look dull.
Why this matters: Proper lighting accentuates your styled shelves and makes the room feel warm and inviting.
Time estimate: 30 minutes to install lighting.
Step 8: Experiment with Lighting
Editor’s Choice

Reading Floor Lamp, 72″ Tall LED Lamp with Flexible Gooseneck, Dimmable …

OWENIE White Sheer Curtains 84 inches Long 2 Panels Set, Sheer White Cur…

Acrylic LED Lights for Car, 43.3in RGB Strip Light Car LED Lights Interi…
Step 9: Final Touches
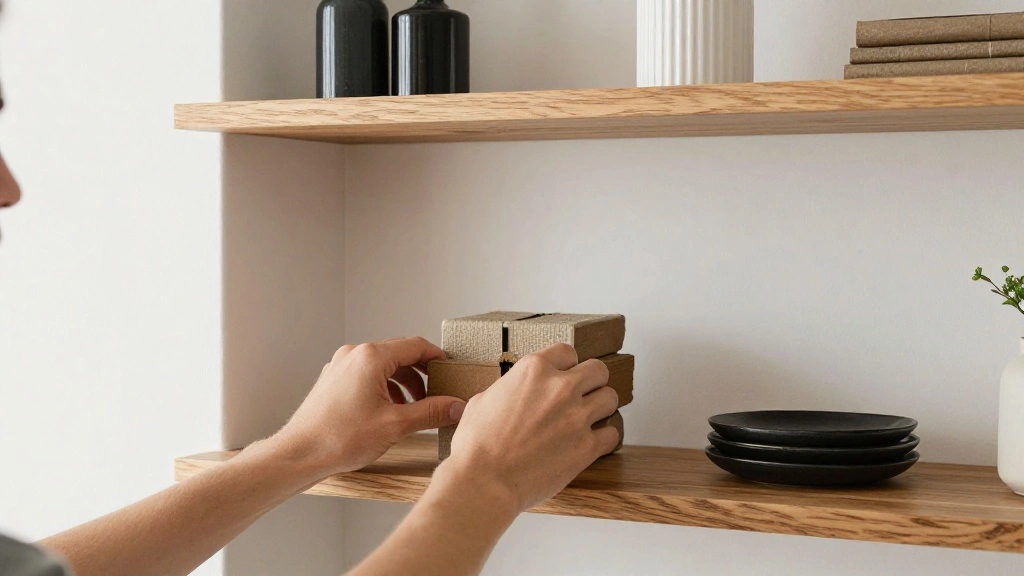
Your shelves are almost complete! To finish:
- Step back and view the arrangement from a distance.
- Adjust items for balance and symmetry.
- Remove or add items as necessary based on your observation.
Pro Tip: Take a photo of your shelves to compare how they look and make adjustments accordingly.
Why this matters: Final adjustments ensure your shelves look their best and reflect your style.
Time estimate: 20 minutes.
Step 9: Final Touches
Editor’s Choice
2 Pack Small Woven Basket with Gift Bags and Ribbons, Empty Decorative G…
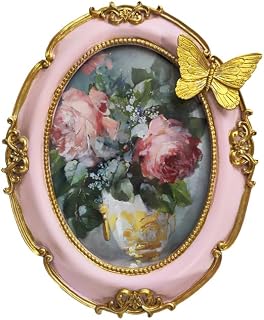
Vintage Resin Oval Picture Frame with Gold Baroque Details, Handcrafted …
Reading Women Figurine Home Decor Gold Thinker Statue Nordic Modern Abst…
Pro Tips
- Layering Textures: Use a variety of materials like wood, metal, and glass to add depth.
- Seasonal Decor: Change items with the seasons to keep the display fresh.
- Use Mirrors: Incorporate mirrors to reflect light and create an illusion of space.
- Be Mindful of Scale: Ensure items are proportionate to the size of the shelves and the room.
- Invest in Quality: Choose a few high-quality decorative items rather than many lower-quality ones.
Pro Tips
Editor’s Choice

Hand-Painted Swan Ball Candles 7cm Round Soy Wax Scented Decor for Home …

DECRAFTS Seagrass Storage Basket with Lid Rectangular Small Woven Shelf …

Eaoundm 14.5 x 10 inchs Smallest Oval Antique Decorative Wall Mirror Vin…
Common Mistakes to Avoid
- Overcrowding Shelves: Leads to a cluttered look; stick to a few key pieces.
- Ignoring Balance: Asymmetrical arrangements can feel chaotic; aim for visual balance.
- Using Too Many Colors: Can clash; stick to a cohesive color scheme.
Common Mistakes to Avoid
Editor’s Choice

Small Woven Basket with Gift Bags and Ribbons, Empty Baby Gift Baskets f…
Troubleshooting Section
- Problem: Items keep falling over.
Solution: Use non-slip pads or secure heavier items at the back. - Problem: Shelves look cluttered.
Solution: Remove items until you achieve a balanced look. - Problem: Color scheme feels off.
Solution: Reevaluate your colors and adjust items accordingly.
Troubleshooting Section
Editor’s Choice

Wicker Baskets for Organizing,Natural Paper Rope Large Small Basket Set …
Variations/Alternative Methods
- Use closed cabinets instead of open shelving for a cleaner look.
- Consider floating shelves for a modern feel.
- Incorporate a mix of open and closed storage for versatility.
Variations/Alternative Methods
Editor’s Choice

Sevenblue 3 Pack Under Sink Organizers,2-Tier Multi-Use Kitchen and Bath…

Set of 2 Wicker Shelf Storage Baskets for Organizing – Natural Durable W…

BAYKA Floating Shelves for Wall, Wall Mounted Rustic Wood Shelves for Ba…
FAQs
- What if I don’t have enough decorative items?
You can create a balanced look with fewer items by focusing on larger pieces. - How long should I spend on styling?
Dedicate at least 2-3 hours for a thorough job. - Is it safe to stack items?
Yes, stack items carefully and ensure stability.
FAQs
Editor’s Choice

Qykwz Black Women Floral Wall Art Prints, Elegant Modern African America…

MaxGear Book Ends Tree Design Modern Bookends for Shelves, Non-Skid Book…
DECRAFTS Seagrass Storage Basket with Lid Rectangular Small Woven Shelf …
Conclusion
Congratulations on transforming your open shelves into a stylish and organized space! You’ve taken the time to curate your items thoughtfully and create a display that reflects your personality.
As a next step, consider exploring how to style other areas of your bedroom or home for a cohesive look. Resources on decorative techniques and organization can further enhance your space.
Keep your styling fresh by reviewing your shelves every season. Enjoy your beautifully styled bedroom!