
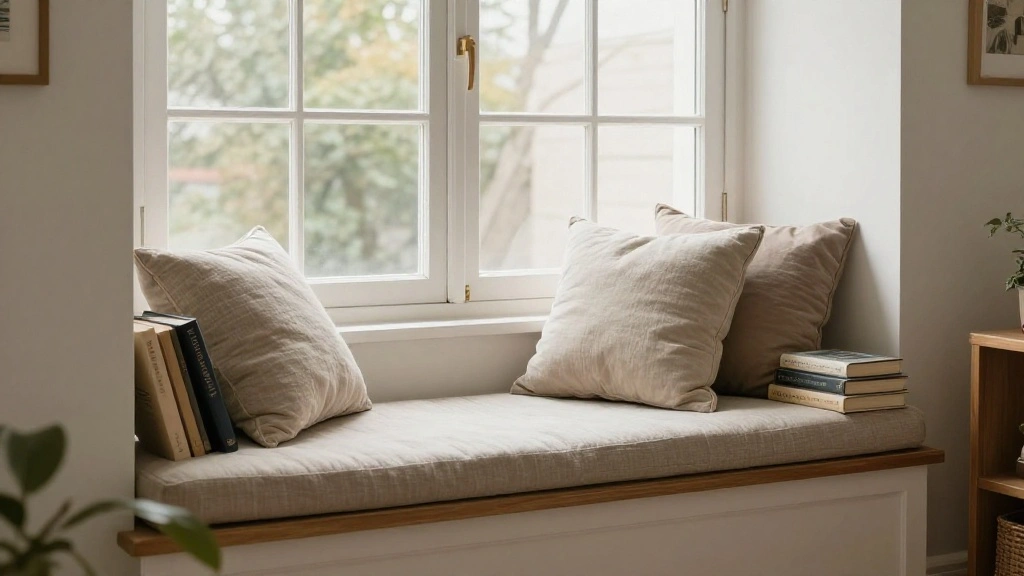
Are you tired of not having a cozy spot in your home to curl up with a good book? A reading nook can transform an ordinary space into a peaceful sanctuary where you can escape into the pages of your favorite novels. The urgency to create a designated area for relaxation is real, especially as we all seek comfort and tranquility in our busy lives.
In this guide, you will learn how to build a stunning DIY window seat reading nook that not only enhances your home’s aesthetic but also provides a comfortable place to unwind. By the end of this project, you will have a beautiful window seat complete with cushions, storage, and charming decor.
This beginner-friendly project will break down the steps necessary to create your reading nook, ensuring you gain confidence in your DIY skills. Difficulty Level: Beginner
Estimated Time: 4-6 hours
Get ready to dive into a rewarding experience that brings comfort and style to your home!
TL;DR Summary
- Learn how to build a cozy reading nook with a window seat.
- Gather all materials and tools before starting the project.
- Follow eight simple steps to complete your nook in 4-6 hours.
- Enjoy your new favorite spot for reading and relaxing!
Recommended Products

Material: Thick plush bay window mat, made of soft crystal velvet fabric.

Buy with Confidence: Quick responsive & responsible customer service to make things right, don't worry about any issues. We are not experienced Amazon sellers, but experienced manufacturers, the matching comfortable cushion is definitely worth the wait and money. PLEASE pay attention to your email after placing the order, sometimes there will be order details that needs your confirmation

Upgrade Your Living Space: Handcrafted with utmost attention to detail, each window seat cushion is meticulously sewn using premium-grade fabrics and materials, ensuring a product that's built to last. If you're looking for a stylish seat cushion, look no further than our cushions that combines comfort and elegance
TL;DR Summary
Editor’s Choice

Portable Seat Cushion for Office Soft Memory Foam Seat Cushion Non Slip …


JeogYong Thick Plush Bay Window Mat Non-Slip Crystal Velvet Bay Window C…

FIDUCIAL HOME 3 Tiers Small Bookshelf for Small Spaces White Mini Short …
Prerequisites/Materials Needed
- Materials:
- 1 sheet of plywood (4×8 ft)
- 2×4 lumber (4 pieces, 8 ft each)
- Wood screws (1.5 inches, 1 box)
- Wood glue (1 bottle)
- Foam cushions (2-3 pieces, depending on size)
- Fabric for cushions (2-3 yards)
- Paint or wood stain (optional)
- Tools:
- Circular saw or jigsaw
- Drill
- Screwdriver
- Measuring tape
- Level
- Sandpaper
Recommended Products

【Stable & Long-lasting】For anti-wobble stability, the shoe rack bench is built with sturdy particleboard and reinforced with vertical supports. It reliably holds every member of your family(up to 440 lbs) and stands up to years of daily use. The removable, washable cushion allows for effortless cleaning. Dimensions: 39.4"L x 13.8"W x 17.7"H

💫𝐋𝐚𝐫𝐠𝐞 𝐂𝐚𝐩𝐚𝐜𝐢𝐭𝐲 𝐰𝐢𝐭𝐡 𝐄𝐚𝐬𝐲-𝐀𝐜𝐜𝐞𝐬𝐬 𝐅𝐫𝐨𝐧𝐭 𝐏𝐨𝐜𝐤𝐞𝐭𝐬:This storage bench features 37 gallons of internal storage area and compartments, providing ample space for your daily essentials. 2 pockets on the inside front panel provide quick access to frequently used items like remote controls, keys, or socks. Thoughtful design brings a different experience. Our ottoman allows you to easily access your items without having to rummage through the main compartment, making your life more convenient.
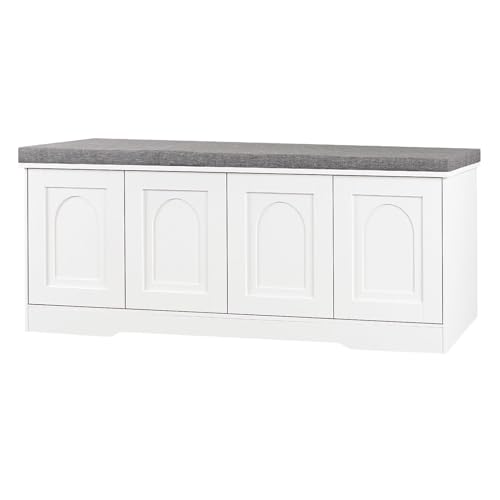
【Stable & Long-lasting】For anti-wobble stability, the shoe rack bench is built with sturdy particleboard and reinforced with vertical supports. It reliably holds every member of your family(up to 440 lbs) and stands up to years of daily use. The removable, washable cushion allows for effortless cleaning. Dimensions: 47.2"L x 13.8"W x 17.7"H
Prerequisites/Materials Needed
Editor’s Choice

GoTo Foam 1″ Height x 24″ Width x 72″ Length 44ILD (Firm) Upholstery Cus…

50 Pack 4 x 8 Basswood Sheets, Unfinished Plywood Boards, 1/16 Inch Thin…

Wood Screws 1-1/2 Inch, 80 PCS FIXLINK Premium Flat Head Phillips Black …
Skill Level & Time Estimate
Skill Level: Beginner
Total time estimate: 4-6 hours
Here’s a breakdown of time by steps:
Step 1: 30 minutes
Step 2: 1 hour
Step 3: 30 minutes
Step 4: 1 hour
Step 5: 1 hour
Step 6: 30 minutes
Step 7: 30 minutes
Step 8: 30 minutes
Recommended Products

Horizontal Head Book Light: The reading light adopts a horizontal head design with a wider irradiation range.19 LED lamp beads are arranged in a straight line and the ABS material lampshade provides stable and sufficient lighting without disturbing others

Vintage Library Lantern Bookshelf Lighting: This library lantern combines decorative bookshelf lighting with a sturdy bookend-style structure and a hanging mini lamp. The carved bracket sits neatly beside your book stacks, turning empty shelf space into a warm vintage display.

Stepless Dimming & 3 Color Modes: Mixed Light, White Light and Amber Light. Short press the button to change the mode, long press to adjust the brightness from 10% to 100%. You can easily combine color temperature and brightness to meet different needs.
Skill Level & Time Estimate
Editor’s Choice

42 Inch Bench Cushions for Indoor Furniture, Super Soft Rectangle Bench …
Step 1: Choose Your Location

Do this: Identify the perfect spot in your home for the reading nook. Look for a window that allows natural light and a view. Consider factors like privacy and noise levels.
1. Walk around your home and note possible locations.
2. Test the space by sitting or standing in it to see if it feels comfortable.
Pro Tip: A spot near a power outlet is ideal for adding a lamp later on.
Why this matters: The right location enhances your reading experience and ensures you enjoy your nook for years to come.
Time Estimate: 30 minutes.
Recommended Products

Material: Thick plush bay window mat, made of soft crystal velvet fabric.

CUSTOMIZABLE FIT - Extra-long 39" length trims easily to fit narrow/curved window sills (scissors-friendly material), perfect for bay windows, dormers or awkward alcoves.

Super Absorbent & Quick-Drying – The high-density sponge core instantly absorbs spills and condensation, while the breathable fabric promotes rapid evaporation, keeping your windowsill dry within minutes.
Step 1: Choose Your Location
Editor’s Choice

Women Bedside Table Lamps for Bedroom, Cute Flower Desk Lamp with Adjust…

Bedsure GentleSoft White Throw Blanket for Couch – Graduation Gifts Teac…

Sasttie Reading Pillows for Sitting in Bed Adult, Back Pillow Bed Sittin…
Step 2: Measure Your Space
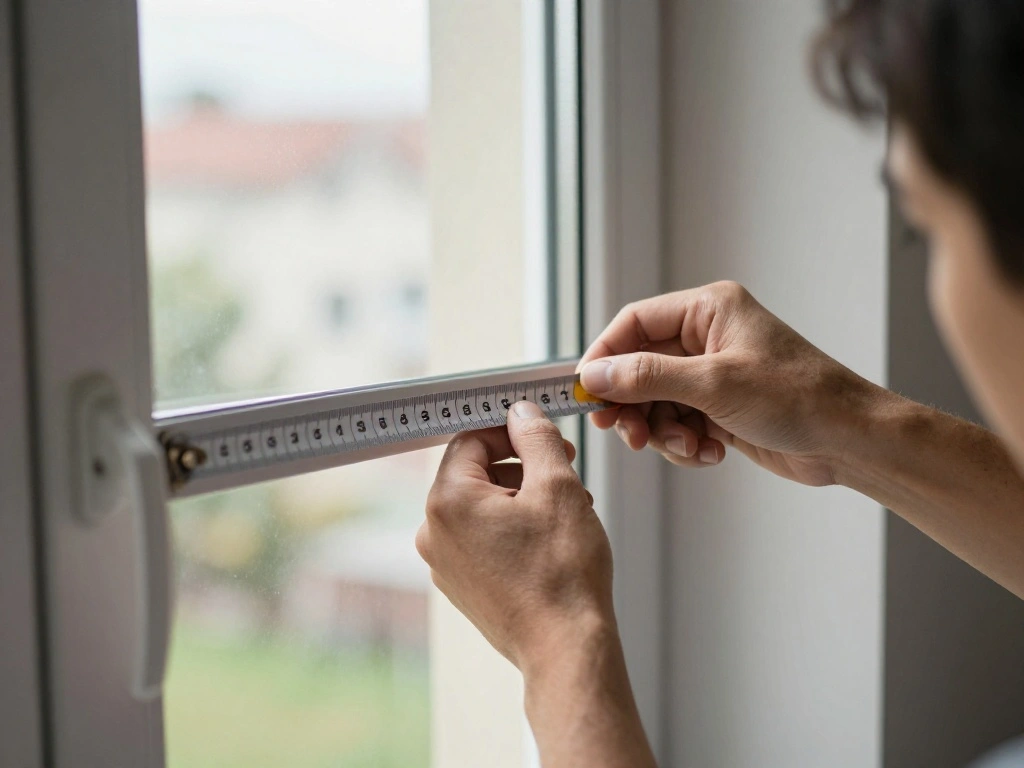
Do this: Measure the area where your window seat will go. Accurate measurements are crucial for building a seat that fits perfectly.
1. Use a measuring tape to determine the width of the window.
2. Measure the depth of the available space.
3. Write down your measurements for reference.
Warning: Double-check your measurements to avoid mistakes, as cutting wood incorrectly can waste materials.
Why this matters: Precise measurements ensure a snug fit and enhance the overall look of your nook.
Time Estimate: 1 hour.
Recommended Products

Bring Comfort Back to Your Cushions: Our foam pad designed for everyday seat repair and DIY comfort projects, this upholstery foam helps improve softness for couch cushions, chair pads, bench cushions, window seats cushions, Boat seats and RV sleeping areas.

BALANCED COMFORT FOR EVERYDAY SEATING: OLASIR 30 ILD upholstery foam offers a comfortable balance of cushioning and support for daily seating. It helps refresh worn couch cushions, dining chairs, benches, window seats, RV seating, boat cushions and other furniture without creating an overly hard sitting feel.

High-Density Foam: The furniture seat is made of high-density foam, our sofa sag repair is highly durable and has a high level of firmness, which greatly improves the support of your sofa cushion.
Step 2: Measure Your Space
Editor’s Choice

Digital Caliper, Sangabery 0-6 inches Caliper with Large LCD Screen, Aut…
Step 3: Cut the Wood Pieces

Do this: Cut the plywood and 2×4 lumber according to your measurements. Ensure your cuts are straight and accurate.
1. Mark the plywood for the seat base and backrest.
2. Cut the plywood using a circular saw.
3. Cut the 2x4s for the frame that will support the seat.
Pro Tip: Use a straight edge to guide your saw for cleaner cuts.
Why this matters: Properly cut wood is essential for a sturdy and aesthetically pleasing window seat.
Time Estimate: 30 minutes.
Recommended Products

Versatile Custom Size Windowsill Cushion: Custom size and shaped cushion has multiple colors and thickness available, can be cut to size and shapes to meet the personalized upholstered needs of scenarios, such as curved, L shaped and half circle moon shaped seat, trapezoidal window seat, mud room entryway storage bench, dining table bench seat, wicker rattan sofa bench, extra long windowsill, breakfast or reading corner nook, seating group

【FadeShield - UV Fade Resistant】FadeShield Proprietary Polyolefin are dependable indoor/outdoor performance fabrics, they are infused with antimiсrоbial silver Ion technology and can withstand 5 years of UV fade resistance. We recommend bringing it indoors when it rains or when not in use to preserve its lifespan and keep it looking beautiful.

Professional Custom Team: We can design bench cushions for indoor furniture specifically for your, whether it is a rectangular cushion or a special shape window seat cushion indoor
Step 3: Cut the Wood Pieces
Editor’s Choice

Bar Clamps for Woodworking, 4 Pack 6 Inch F Clamp Set 300 lbs Load Limit…
Step 4: Assemble the Frame
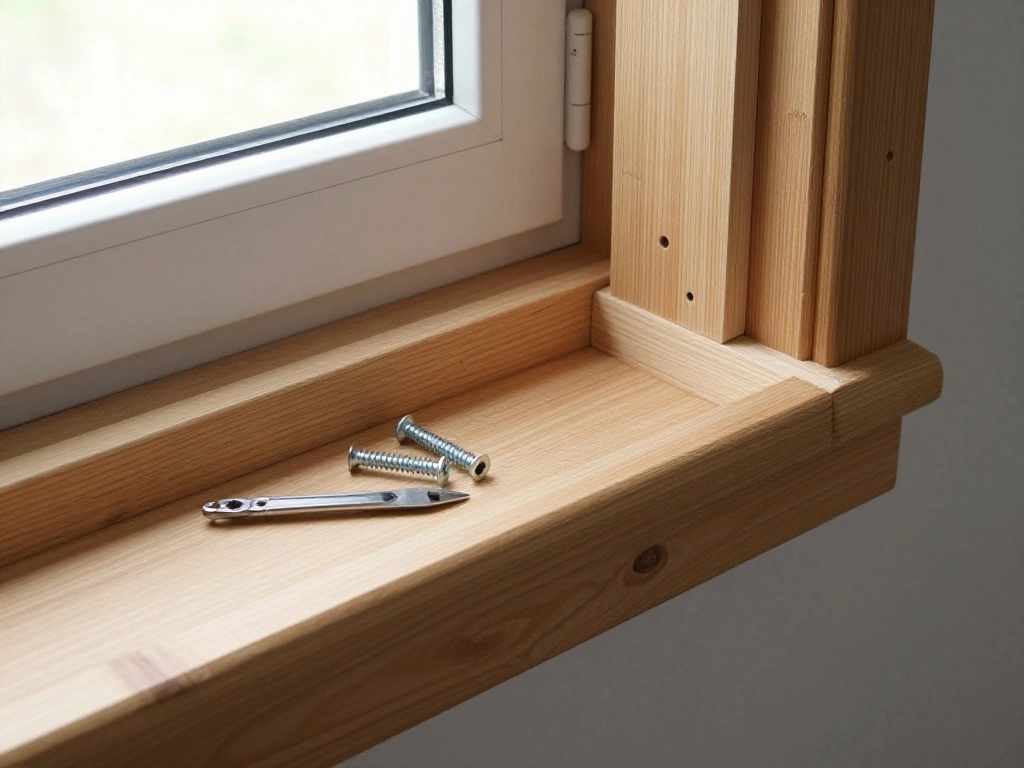
Do this: Construct the frame that will support your window seat. A strong frame is crucial for durability.
1. Lay out the 2×4 pieces to form a rectangular frame.
2. Use wood screws to secure the corners.
3. Check for level using a level tool.
Warning: Ensure the frame is level before securing all screws to prevent future issues.
Why this matters: A solid and level frame supports the weight of the seat and cushions.
Time Estimate: 1 hour.
Recommended Products

Enhanced Safety with Dual Hinges: Our storage bench for bedroom is equipped with dual safety hinges; Allowing the lid to open wider and more smoothly. Enjoy quiet operation and protection against finger pinching

More Comfortable Shoe Change Cabinet: With a 2-inch thickened padded sponge cushion on the bench top, you can change shoes by sitting on the bench more comfortable without bending down or squatting

EXTRA LARGE STORAGE SPACE: Measuring 13.8"D x 47.2"W x 21.6"H, this entryway bench with storage offers a massive interior that easily holds clothing, pillows, blankets, bags, books, and more – meeting all your everyday storage needs.
Step 4: Assemble the Frame
Editor’s Choice

MYWISH (20Sets) 1/4″ x 2″ Hex Head Lag Bolts, Heavy Duty Lag Screws with…

VENTRAL Lumber 2 in. x 4 in. (1 1/2″ x 3 1/2″) Construction Premium Doug…

Motovera Self Leveling Laser Level 100ft, Green Cross Line with Tripod, …
Step 5: Attach the Seat Base
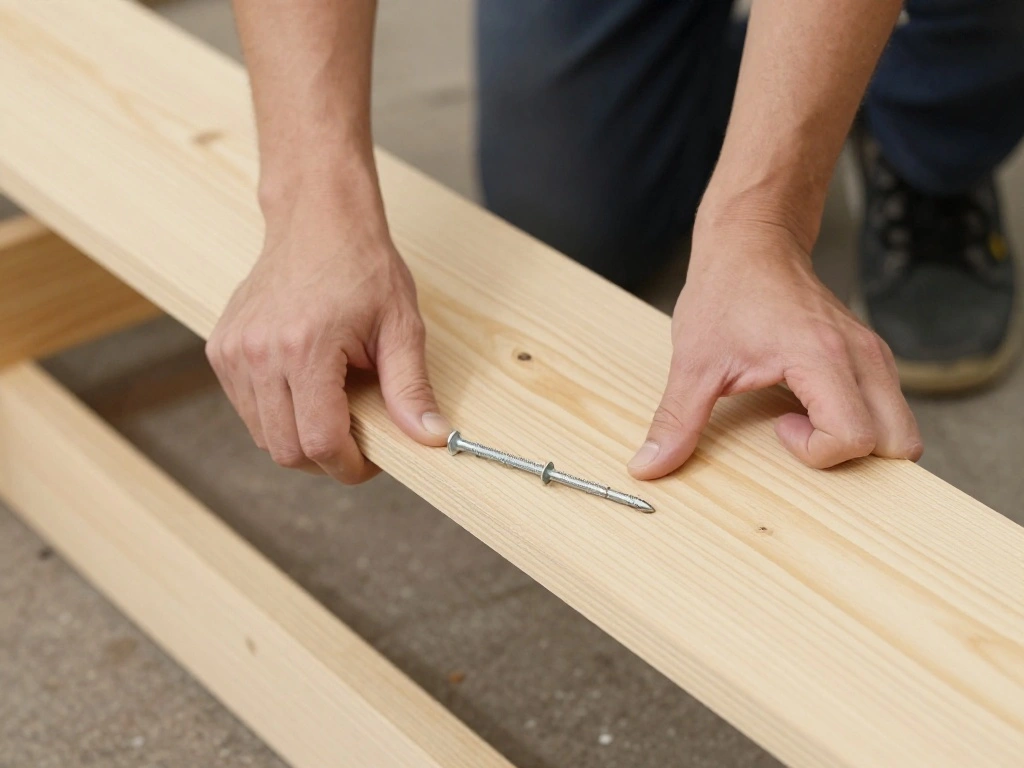
Do this: Secure the plywood seat base to the frame. This step creates the foundation of your reading nook.
1. Position the plywood seat on top of the frame.
2. Use wood screws to attach the plywood securely.
3. Check for stability by pressing down on the seat.
Pro Tip: Pre-drill holes for the screws to avoid splitting the wood.
Why this matters: A well-attached seat base ensures safety and comfort when you sit down to read.
Time Estimate: 1 hour.
Recommended Products
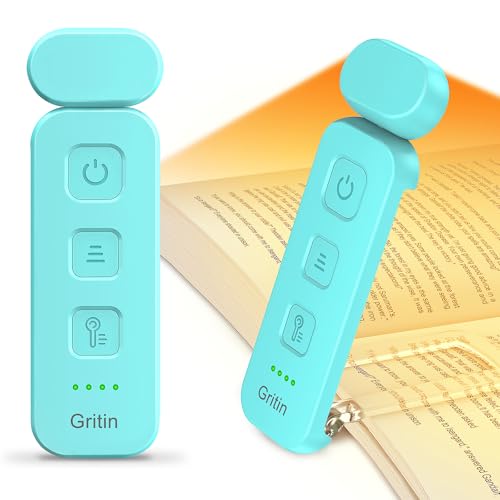
5 Brightness Adjustable Stepless Dimming: This mini book light has 3 individual control botton to adjust independently on/off, brightness, colour temperature. It can be adjusted 5 brightness levels (10%, 25%, 50%, 75%, 100%) by short press the brightness button, long press the brightness button to switch the brightness (10%-100%). You can customise the brightness to suit your needs. Brightness/colour temperature memory function make it easy to use next time

【Focused Directly】Focuses directly on your book while keeping the rest of the room dark, so as to give you the best reading experience without disturbing each other. 10 LEDs make the light bright enough. A narrow beam with a 60-degree lighting angle focused on the book and enjoys reading time without disturbing people next to you

Horizontal Design and Eye Protection: With a unique horizontal head design, it can provide you a wider lighting range and sufficient lighting, allowing you to fully enjoy your reading time. The uniform soft shadow-free light can greatly protect your eyes
Step 6: Add the Backrest

Do this: Install the backrest to provide support and comfort while reading.
1. Position the remaining plywood piece vertically at the back of the seat.
2. Attach it to the frame using screws.
3. Make sure it is securely fastened and sturdy.
Warning: Ensure the backrest is tall enough for support yet comfortable to lean against.
Why this matters: A proper backrest enhances comfort, making your nook inviting for long reading sessions.
Time Estimate: 30 minutes.
Recommended Products

Adjustable & Customizable Fit – Designed for narrow sills and bay windows, this cushion pad can be easily trimmed to fit any size or shape, ensuring a perfect fit for straight or curved window seats.

Material: Thick plush bay window mat, made of soft crystal velvet fabric.

Super Absorbent & Quick-Drying – The high-density sponge core instantly absorbs spills and condensation, while the breathable fabric promotes rapid evaporation, keeping your windowsill dry within minutes.
Step 6: Add the Backrest
Editor’s Choice
GoTo Foam 1″ Height x 24″ Width x 72″ Length 44ILD (Firm) Upholstery Cus…

Wensilon #10 * 3″ Deck Screws, (137pcs) 2 lbs.Exterior Wood Screws, Rust…

Baltic Birch Plywood 8 x 12 x 1/2 Inch – 12 mm Craft Wood, Pack of 2 B/B…
Step 7: Finish the Surface
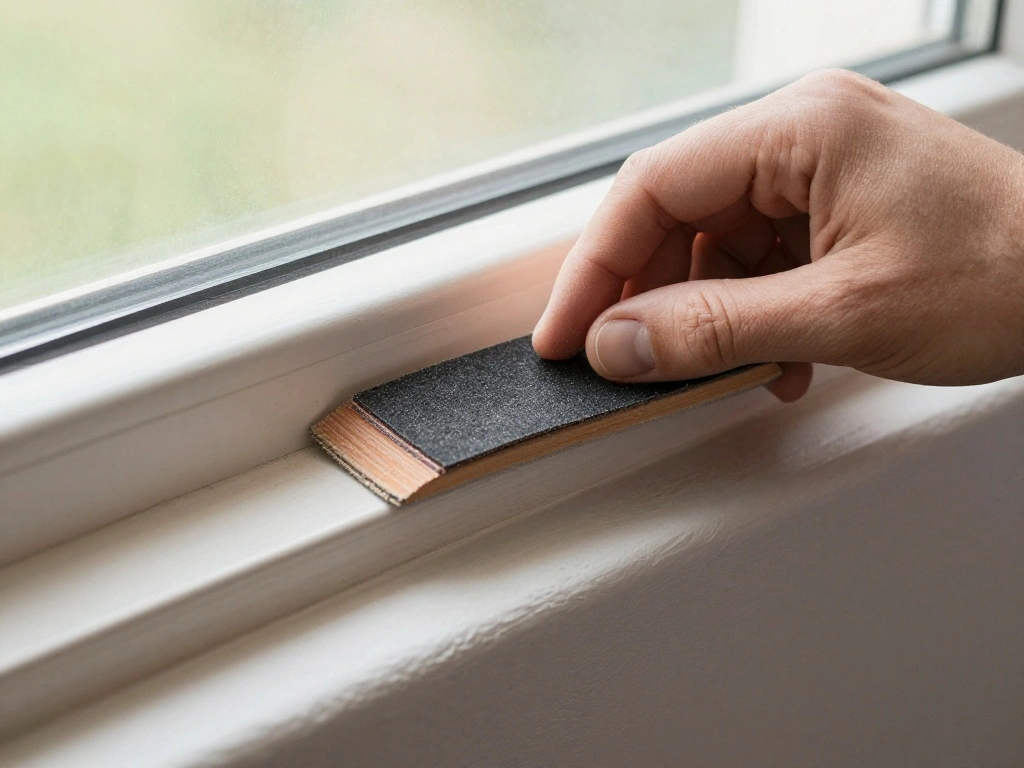
Do this: Sand the edges and surfaces of your window seat to create a smooth finish. This step will prepare it for painting or staining.
1. Use sandpaper to smooth out all surfaces.
2. Wipe down the surface to remove dust.
3. Apply paint or wood stain if desired.
Pro Tip: Choose weather-resistant paint or stain if your nook is near a window for added durability.
Why this matters: A finished surface looks appealing and protects the wood from wear and tear.
Time Estimate: 30 minutes.
Recommended Products

COMFORTABLE FOAM PADDING FOR MULTIPLE PROJECTS:Designed for furniture restoration, upholstery repair, and DIY applications, this foam cushion provides comfortable padding for chair seats, bench cushions, window seats, headboards, and other home improvement projects.

Multiple Sizes: To meet diverse needs, we offer two sizes: 72x24 inches (183 × 61cm) and 24x24 inches (61 × 61cm), with six thicknesses from 1 to 6 inches. The 72x24-inch size is suitable for sofa seats, benches, window sills, etc.; the 24x24-inch size is a perfect match for dining chairs and bar stools. Please select according to the original cushion thickness or the required support height, making replacement and DIY easy

HIGH QUALITY – Foamy Foam High Density Upholstery Foam is the best option for Seat Cushion Replacement, Couch Cushion Replacement, Bench Cushion Replacement, and variety of other upholstery projects.
Step 8: Add Cushions and Decor
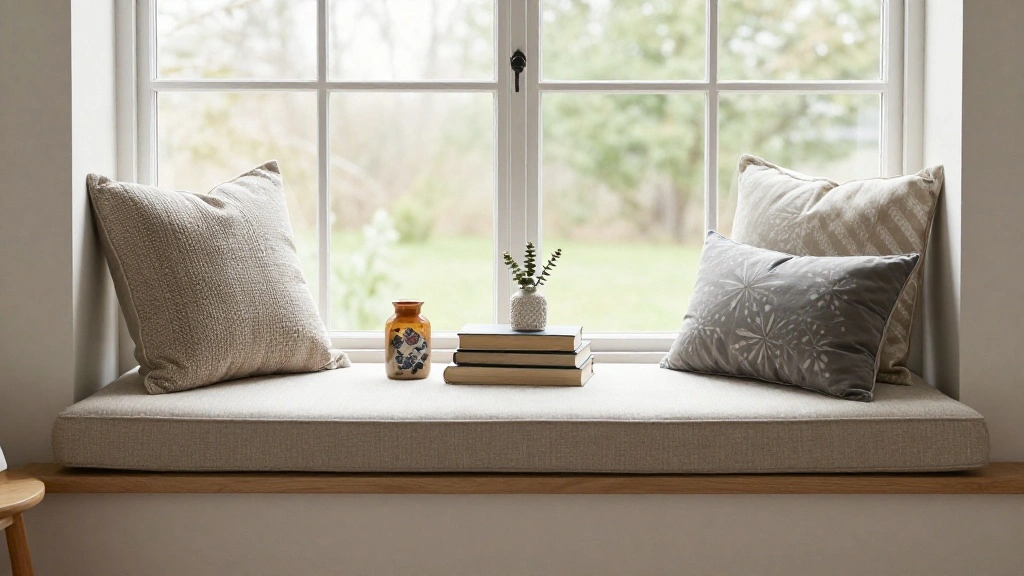
Do this: Place foam cushions on the seat and add decorative items to personalize your nook.
1. Measure the cushion size for the seat area.
2. Cover the cushions with fabric, securing it tightly.
3. Arrange books, lamps, or decorative items around the nook.
Pro Tip: Incorporate soft lighting, like a small lamp, to create an inviting ambiance.
Why this matters: Personal touches make your reading nook a unique retreat that reflects your style.
Time Estimate: 30 minutes.
Step 8: Add Cushions and Decor
Editor’s Choice

Reading Nook Decor,Vintage Book Theme Throw Pillow Covers 18×18 Set of 4…
Women Bedside Table Lamps for Bedroom, Cute Flower Desk Lamp with Adjust…

Inspirational Women Empowerment Gifts Throw Pillow Covers 18×18, She is …
Pro Tips
- Measure Twice, Cut Once: Always double-check your measurements before cutting to avoid waste.
- Choose Quality Materials: Invest in sturdy wood and comfortable cushions to ensure longevity.
- Personalize Your Nook: Use colors and decor that reflect your personality for a cozy feel.
- Maximize Natural Light: Consider sheer curtains that allow light while providing privacy.
- Comfort Matters: Use plush cushions and throws to make your nook inviting.
Pro Tips
Editor’s Choice

Custom Tufted Bench Cushion,Customized Size Shape Bay Window Seat Cushio…
Common Mistakes to Avoid
Warning: Avoid these common mistakes:
- Not securing the frame properly: This can lead to instability. Always check for level and secure all screws.
- Incorrect measurements: Double-check your measurements before cutting to avoid wasting materials.
- Skipping sanding: Rough edges can splinter and damage fabric. Always sand surfaces before finishing.
Common Mistakes to Avoid
Editor’s Choice
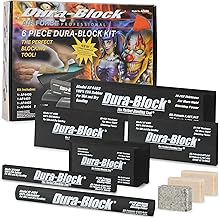
Dura-Block Set 6pc – Flexible EVA Foam Wet or Dry Autobody Sanding Block…

Torpedo Level Magnetic, Firecore 9 Inch Shockproof Small Leveler Tool wi…

CRAFTSMAN 25-Ft Tape Measure with Fraction Markings, Retractable, Self-L…
Troubleshooting Section
Problem: The seat feels wobbly.
Solution: Check all screws for tightness, and ensure the frame is level. Tighten any loose screws and adjust the frame as necessary.
Problem: The cushions are too loose.
Solution: Use fabric that fits snugly or add ties to secure the cushions in place.
Problem: The paint is chipping.
Solution: Ensure you used weather-resistant paint or reapply a protective coat.
Problem: The backrest feels too low.
Solution: Consider adding a cushion or adjusting the height of the backrest during assembly.
Troubleshooting Section
Editor’s Choice

Silicone Bra Strap Cushion 6Pcs Breathable Design Anti Slip Bra Strap Pa…

iCreek Women’s Waterproof Rain Pants Packable Hiking Pants Over Pants Wi…
Variations/Alternative Methods
- Use Built-in Storage: Design your nook with drawers or a hinged top for additional storage beneath the seat.
- Add a Canopy: Create a whimsical feel by adding a fabric canopy over the seat.
- Incorporate Shelving: Attach shelves above or beside the nook to store books and decorative items.
Variations/Alternative Methods
Editor’s Choice
![PRANDOM Larger Collapsible Storage Bin with Lid [1-Pack] Fabric Decorati...](https://m.media-amazon.com/images/I/71I03fRwSCL._AC_UL320_.jpg)
PRANDOM Larger Collapsible Storage Bin with Lid [1-Pack] Fabric Decorati…

QsQueen Scalloped Wood Wall Shelf – 17 Inch Floating Shelf with Wood B…

Bed Canopy for Girls with Lights 30 * 228in King Canopy Bed Curtains for…
FAQs
- What if I don’t have enough space for a window seat? Consider a small bench or use a chair with a side table for a cozy reading area.
- How long should I wait for the paint to dry? Allow at least 24 hours for paint to fully cure before using the seat.
- Is it safe to use power tools? Always follow safety instructions and wear protective gear when using power tools.
- What if my cushions don’t fit? Measure carefully and adjust the cushion size or purchase custom cushions if necessary.
- Can I use this design outdoors? Yes, but make sure to use weather-resistant materials and finishes.
Conclusion

Congratulations! You’ve successfully built your DIY window seat reading nook. This cozy spot will be your haven for relaxation and reading. Now that you have your nook, consider how to keep it inviting with seasonal decor or a new throw blanket.
Don’t stop here! Explore more DIY projects to enhance your home or share your reading nook with friends and family. Remember, your creativity and personal touch are what make your space truly special. Happy reading!