

Is your bedroom feeling a bit bland? An accent wall can transform your space from ordinary to extraordinary in just a few hours. Many homeowners hesitate to take on this task, worrying that they lack the skills or experience to achieve a professional-looking result. The truth is, painting an accent wall is not only doable but can also be a fun and rewarding project that rejuvenates your living space.
In this guide, you will learn step-by-step how to paint a stunning accent wall that showcases your personal style. By the end, you’ll have the skills and confidence to create a beautiful focal point in your bedroom that enhances the overall aesthetic and makes your space feel more inviting. You’ll learn about essential materials, preparation steps, and painting techniques that professionals use.
With a skill level rated as beginner and an estimated time of 2-3 hours, anyone can tackle this project successfully. Let’s get started on transforming your bedroom!
TL;DR Summary
- Choose a bold color for your accent wall.
- Prepare the wall and surrounding area properly.
- Use painter’s tape for clean lines.
- Apply paint evenly and let it dry.
TL;DR Summary
Editor’s Choice

Nicpro 32 Colors Outdoor Acrylic Paint Bulk with Brush and Sponge, Knife…


4 Rolls Premium Painters Tape, Blue Tape, Masking Tape, Paint Tape for M…
Prerequisites/Materials Needed
- Paint: 1 gallon of high-quality paint in your chosen color.
- Primer: 1 quart if using a lighter color over a darker wall.
- Painter’s Tape: 1 roll for clean edges.
- Drop Cloths: 2-3 to protect furniture and floors.
- Paint Brushes: 1 angled for corners and 1 flat for larger areas.
- Paint Roller: 1 with an extension pole for easy reach.
- Paint Tray: 1 to hold the paint.
- Sandpaper: Fine grit for smoothing surfaces.
- Clean Cloth: 1 for dusting the wall.
Prerequisites/Materials Needed
Editor’s Choice


Paint Roller with Extended Detachable Pole Handle, Household Wall Painti…

ScotchBlue Original Multi-Surface Painters Tape, 2 Inch Wide (1.88 in. x…
Skill Level & Time Estimate
Skill Level: beginner
Total time estimate: 2-3 hours
Breakdown:
- Preparation: 30-45 minutes
- Painting: 1-2 hours
- Drying: 1 hour (or longer depending on paint type)
Skill Level & Time Estimate
Editor’s Choice

Pro Grade Paint Roller Kit, Brush & Roller,10 Piece Set, Wall Painting N…

4 Rolls Premium Painters Tape, Blue Tape, Masking Tape, Paint Tape for M…

Canvas Painters Drop Cloth (Size 6 x 9 Feet – Pack of 2) – Pure Cotton P…
Step 1: Choose Your Color
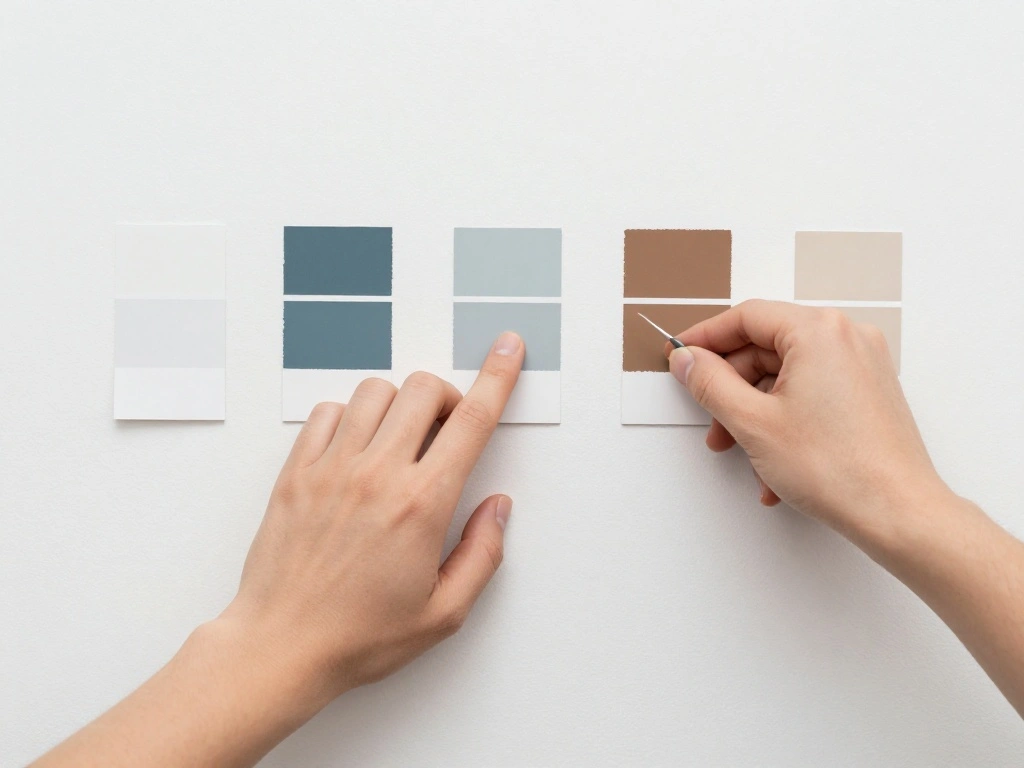
Selecting the right color for your accent wall is crucial, as it sets the tone for your entire bedroom. Consider the mood you want to create—calm and serene or bold and dramatic. Before making a final decision, follow these sub-steps:
- Look through paint swatches or samples to see how colors look in your room’s lighting.
- Consider colors that complement your existing decor.
- Test a few swatches on the wall to see how they look at different times of the day.
Warning: Avoid choosing a color that clashes with your furniture or flooring.
Why this matters: The right color will enhance your space and make it feel cohesive.
Time estimate: 30 minutes.
Recommended Products

WHAT’S INCLUDED: Complete 26-Piece Painting Kit: Includes 1 × 9" paint tray, 3 × 9" tray liners, 1 × 9" roller frame, 1 × 9" roller cover, 1 × 4" paint tray, 1 × 4" roller frame, 2 × 4" roller covers, 1 × 2" roller frame, 2 × 2" roller covers, 2 × 2" foam roller covers, 1 x dust-proof film, 1 x metal can opener, 1 x 2.5mmx250mm masking tape, 1 x metal shovel, 1x telescopic rod(connected length: 1250 mm), 1 x stirring rod and 5 x nitrile gloves—everything you need for most home painting projects.
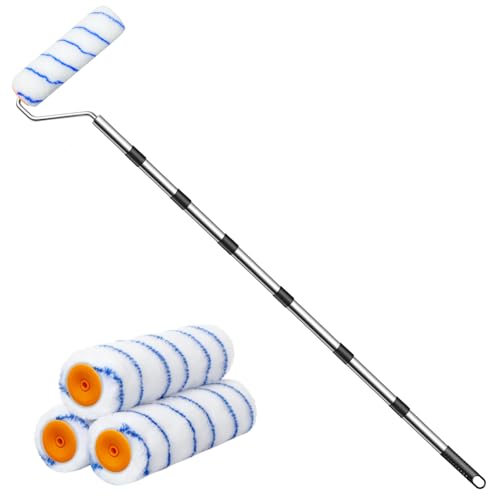
【Safe and Convenient】:Our Paint Rollers with long handle make it easy to paint walls and ceilings without the need for a ladder, making it safer and more efficient.2.6FT~7.2 FT adjustable pole can make you don’t need a ladder. The pole is a general-purpose stainless steel pole and can be extended indefinitely.

【All IN ONE 】Great painting tool kit with 4 Inch paint roller cover *6 , 9 Inch paint roller cover*6,4 Inch paint roller frame, 9 Inch paint roller frame,Handle Extension Roller *1 , 9 inch paint tray*3, 9 inch paint tray liner,1Inch paint brush , 2 Inch paint brush and stirring rod, 2.5 inch angel paint brush*1, 2 inch angel paint brush*1, 1.5 inch angel paint brush*1, 1inch paint brush*1, scraper,can openner.
Step 1: Choose Your Color
Editor’s Choice
4 Rolls Premium Painters Tape, Blue Tape, Masking Tape, Paint Tape for M…

Sherwin Williams Colors collection Deck Complete Paint Colors

Bates- Paint Roller Kit, 19 pcs, Roller Set with Microfiber Sleeves & Fr…
Step 2: Prepare the Room
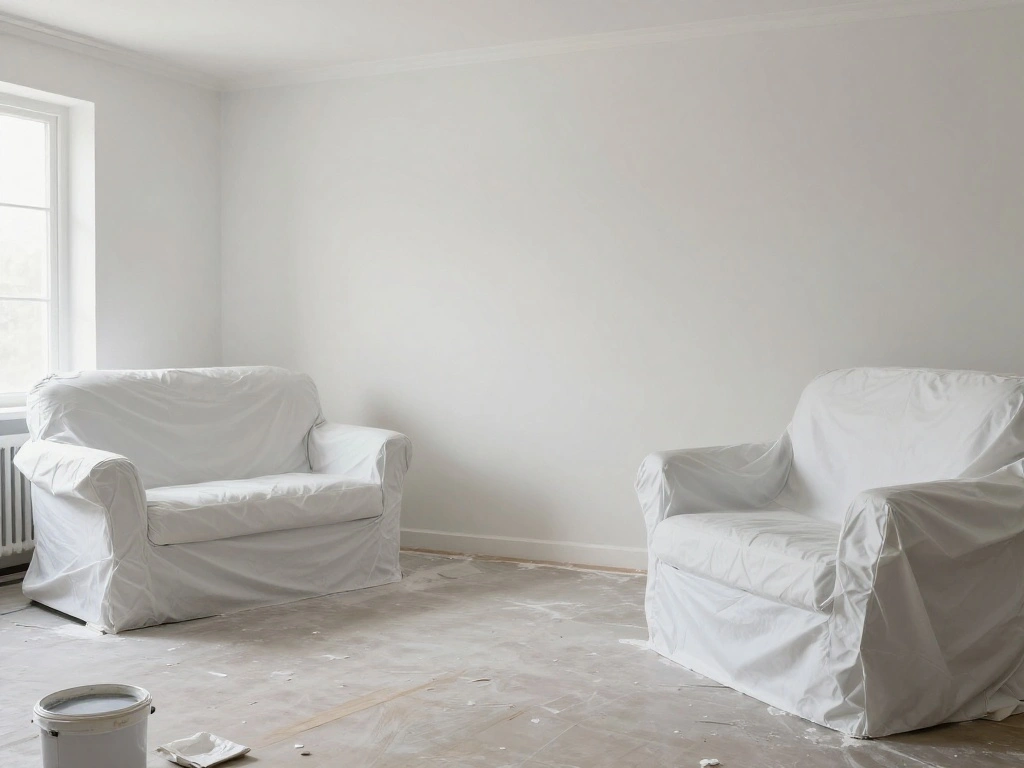
Preparation is key to a successful painting project. Ensuring your area is ready will save you time during the painting process. Here’s how to prepare:
- Remove all furniture or move it to the center of the room.
- Cover the floor and any remaining furniture with drop cloths.
- Remove any wall decorations, switch plates, or outlet covers.
Warning: Be careful not to damage furniture while moving it.
Why this matters: Proper preparation prevents spills and protects your belongings.
Time estimate: 30-45 minutes.
Recommended Products

Functional Drop Cloth – The 9 x 12 feet professional grade canvas drop cloth for painting works as a protective layer when draped over any surface or furniture while preventing them from any type of mess.
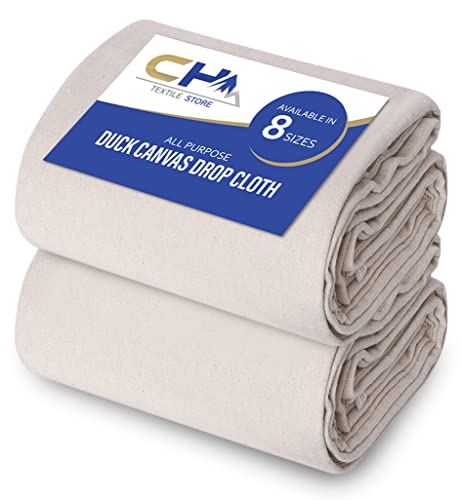
Heavy Duty Canvas Drop Cloth: Our professional grade canvas drop cloths are made of premium cotton canvas fabric that has double stitched seams. The pack offers 2 packs of 6’ x 9’ feet, of paint drop cloth that is ideal for protecting furniture paint, floor covering, or being used as drop cloth curtains. It Provides you With a stress-free experience for both indoor and outdoor use.

Ultimate Protection for Painting & Renovation - Perfect for professionals and DIYers, this canvas tarp shields your floors, furniture, and surfaces from paint spills, dust, dirt, and debris. An essential addition to your painting supplies, this drop cloth is ideal for home renovation and decoration projects of any scale.
Step 3: Clean and Repair the Wall
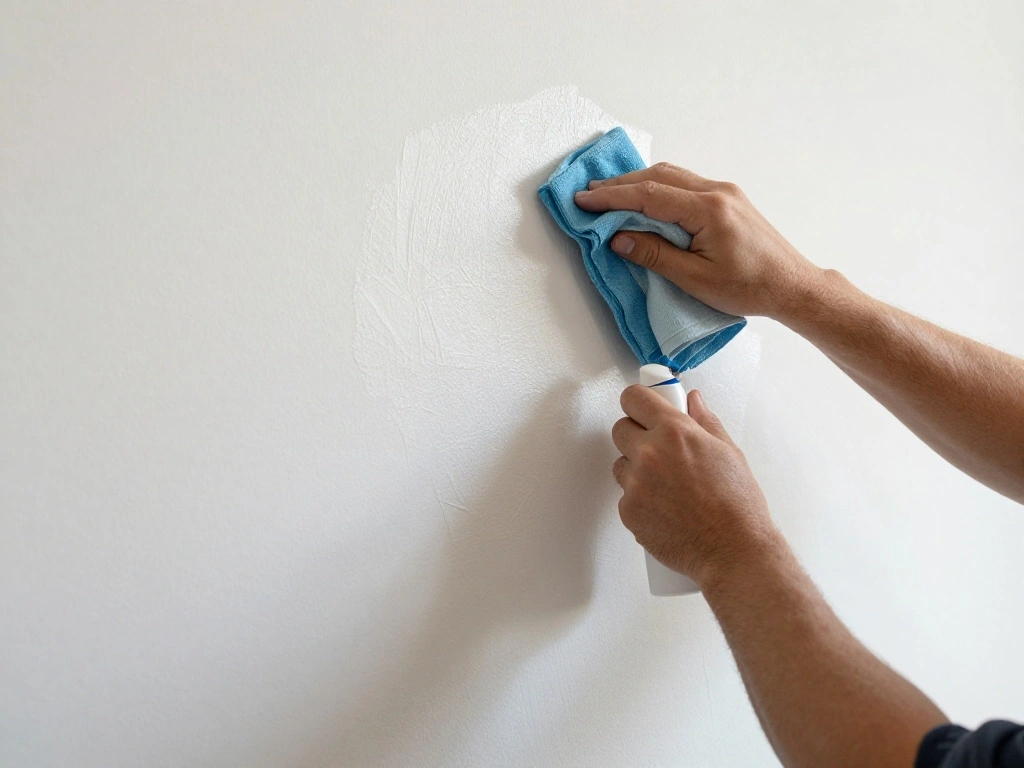
Before painting, you must ensure that the wall is clean and smooth. Follow these steps to prepare the wall:
- Dust the wall with a clean cloth to remove any dirt or cobwebs.
- If there are any holes or imperfections, fill them with spackle and let it dry.
- Smooth the wall with fine-grit sandpaper.
Pro Tip: Use a damp cloth to wipe the wall after sanding to remove dust.
Why this matters: A clean, smooth surface ensures better paint adhesion and a more professional finish.
Time estimate: 30 minutes.
Recommended Products

WHAT'S IN THIS 10 PIECE PAINT KIT FOR WALLS: includes one plastic paint tray; one 9 inch roller frame; one 4 inch mini roller frame; two 9 inch microfiber roller covers (1/2 inch nap); two 4 inch microfiber roller covers (1/2 inch nap); one 1 inch flat brush; one 1.5 inch angle sash brush; one 2 inch angle sash brush; verify all 10 pieces upon delivery
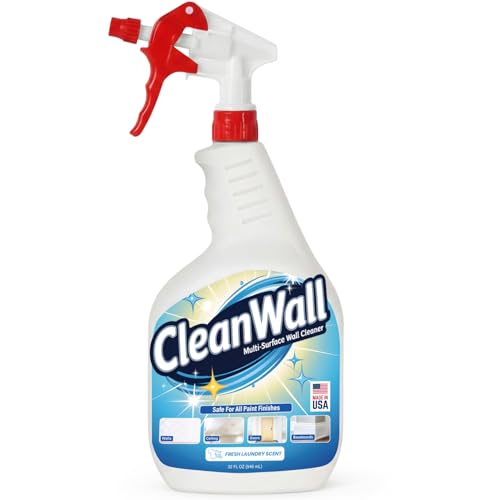
Clean Walls in Minutes — Not Hours - Skip buckets, ladders, and endless scrubbing. CleanWall makes wall cleaning fast and effortless with a simple spray-and-wipe formula that lifts dirt, smudges, and everyday messes so you can finish sooner and move on with your day.

High Coverage Wall Repair: Provides reliable, high-coverage performance to effectively conceal scratches, stains, and minor imperfections, delivering visible results fast with wall touch up paint made for real home repairs
Step 3: Clean and Repair the Wall
Editor’s Choice

DAP Fast ‘N Final Lightweight Spackling, White, 8 Oz (7079812140)

Romeda 8-Pack Sandpaper Block, Four Grits Per Pack 60/80/120/220, Washab…

Fabuloso Microfiber Cleaning Cloths for Home & Car, Lint-Free Scratch-Fr…
Step 4: Tape Off Edges
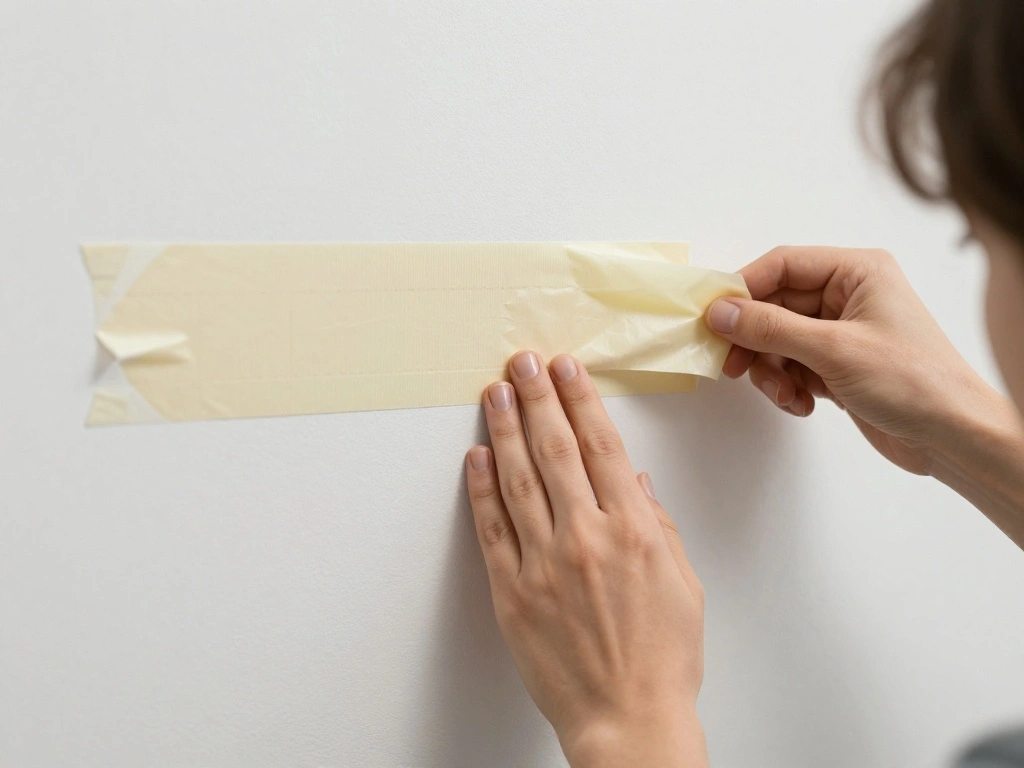
Using painter’s tape is essential for achieving clean lines on your accent wall. Here’s how to tape off the edges effectively:
- Apply painter’s tape along the edges of the wall, ensuring it’s straight.
- Press down firmly to avoid paint bleeding underneath.
- Consider using tape to mask off any areas you don’t want to paint, like trim or adjacent walls.
Pro Tip: Run a putty knife along the edge of the tape to seal it for a sharper line.
Why this matters: Taping creates crisp, professional-looking edges and keeps your work neat.
Time estimate: 20 minutes.
Recommended Products

USE-ON SURFACES: Designed for use on multiple surfaces such as smooth or lightly textured walls, trim, baseboards, tile, and glass

READY. SET. TAPE!: 1 roll of 1.41 inches x 60 yards tan Scotch General Purpose Masking Tape, a versatile solution for painting, labeling, bundling and general masking applications on non-damageable surfaces with a 3-inch core

FOR MULTI-SURFACE USE: Frog Tape 2 inch wide paint tape with medium adhesion is ideal for a variety of surfaces such as cured painted walls, baseboards and trim, glass, carpet and metal
Step 5: Apply Primer (if needed)
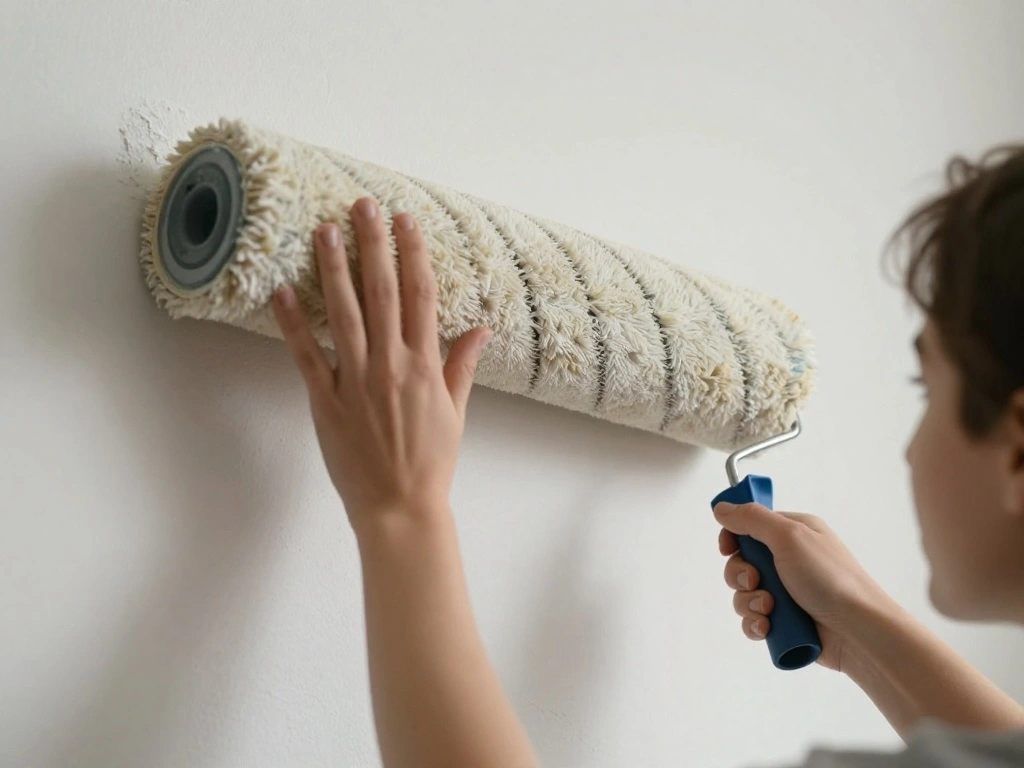
If you’re painting a light color over a dark wall or using a bold hue, applying primer is essential. Follow these steps:
- Stir your primer thoroughly before use.
- Using a roller, apply a thin coat of primer to the wall.
- Use a brush for corners and edges.
Warning: Avoid applying too much primer, as it can lead to an uneven finish.
Why this matters: Primer helps the paint adhere better and improves the final color vibrancy.
Time estimate: 30 minutes.
Recommended Products

Self-Priming formula - requires no sanding

Designed for interior and exterior surfaces
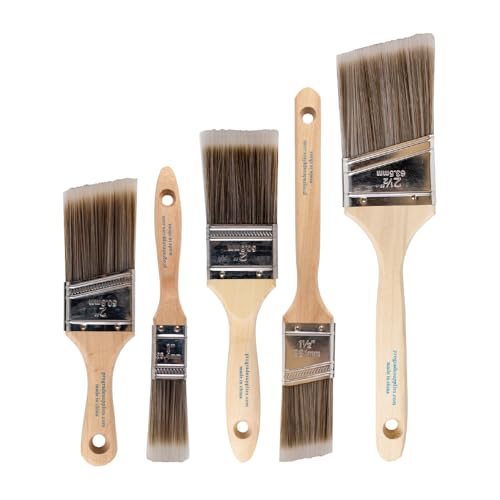
COMPLETE 5-PIECE BRUSH SET FOR EVERY PAINTING TASK — Includes 1 Inch Flat, 1.5 Inch Angle, 2 Inch Flat, 2 Inch Angle Stubby, and 2.5 Inch Angle brush giving you every size professional painters use daily. Get all 5 for less than the price of a single brush from hardware store brands — professional grade performance at a fraction of the cost. Perfect for walls, trim, cabinets, doors, furniture, and detailed cutting-in work on any project.
Step 5: Apply Primer (if needed)
Editor’s Choice
Pro Grade Paint Brushes, 5-Piece Paint Brush Set, Flat & Angle Brushes f…
Pro Grade Paint Roller Kit, Brush & Roller,10 Piece Set, Wall Painting N…

1 Quart Bulls Eye 1-2-3 Primer Sealer Stain Killer
Step 6: Paint the Wall
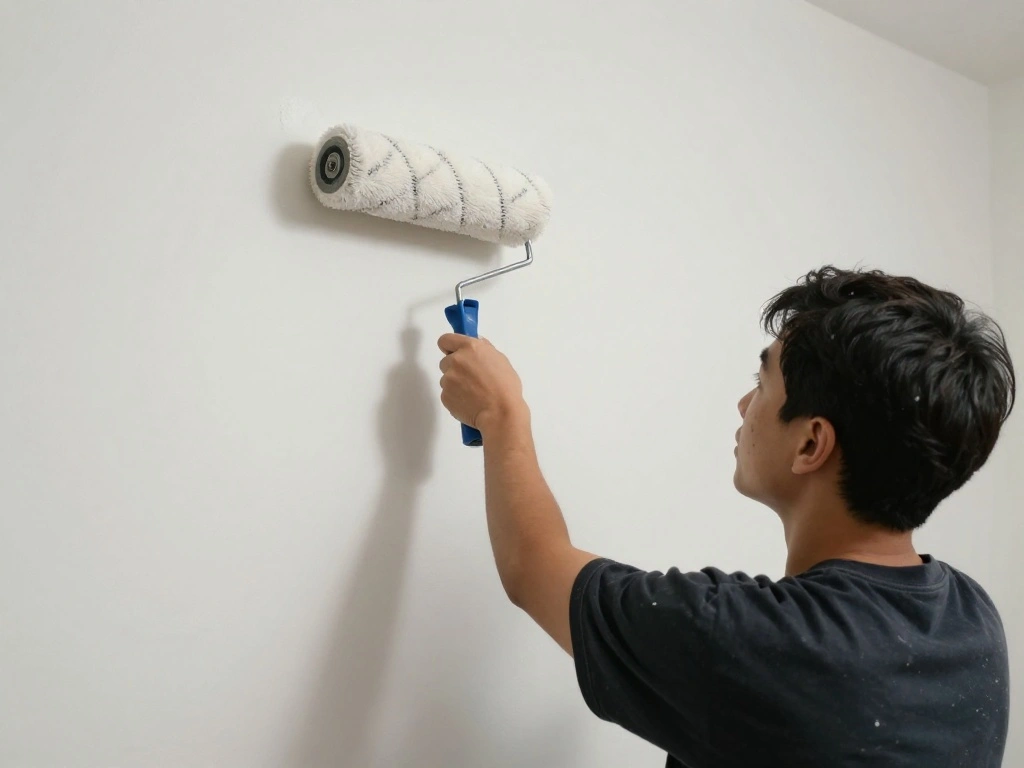
Now comes the fun part: painting! Follow these steps for an even application:
- Start by using a brush to paint the edges and corners where the roller can’t reach.
- Pour your paint into the tray and load the roller.
- Using the roller, apply paint in a W or M pattern, then fill in the spaces without lifting the roller.
Pro Tip: Work in sections to ensure even coverage.
Why this matters: Using the right technique prevents streaks and ensures an even coat.
Time estimate: 1-2 hours.
Recommended Products

EXTEND YOUR REACH up to 8 -10 feet (based on average body height) » The EXTEND-A-REACH short extension pole will give you up to 10 feet reach, making it easy to accomplish all your hard-to-reach tasks. Adjust the retractable telescoping pole to the length necessary for your specific task: reaching ceilings, painting walls, dusting light bulbs, washing windows, and more. The EXTEND-A-REACH telescopic pole is the ultimate answer for your daily household tasks.

10PC PAINT TRAY KIT: Paint roller set paint rollers painting walls include 9 inch roller frame with 2 covers, 4 inch mini roller frame with 4 covers, and an extension pole that can connect to both roller handles

16-Piece Complete Kit: All painting essentials included: 2×9" roller covers, 4×4" mini roller covers, 4" & 9" roller frames, extension pole, 9" tray, 2×tray liners, 2" brush, stirrer, drop cloth, opener —start instantly, no extra tools needed
Step 6: Paint the Wall
Editor’s Choice

Bates- Paint Tray Set, 9 Inch, 12 pcs, 1x 9 Inch Paint Roller Tray, 10x …

Pro Grade 2 Inch Angled Paint Brush (3 Pack) – Professional Angle Sash…

Paint Roller Kit with Extension Pole, 27 Piece Set, 2 to 4 Ft Pole, 4″9″…
Step 7: Allow to Dry
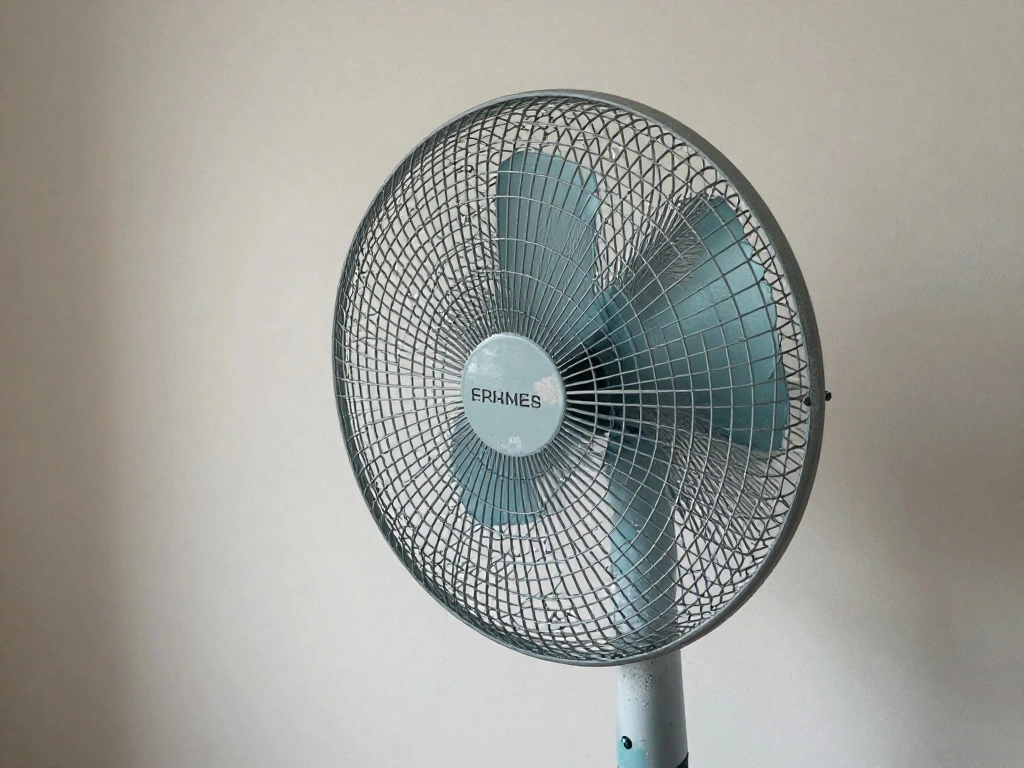
After painting, it’s crucial to let the paint dry completely. Here’s how to do it:
- Check the paint can for drying time recommendations.
- Ensure the room is well-ventilated to speed up drying.
- Avoid touching or moving any objects against the wall until it’s fully dry.
Pro Tip: Use a fan to help circulate air and speed up the drying process.
Why this matters: Proper drying prevents smudging and ensures a durable finish.
Time estimate: 1 hour or more, depending on paint type.
Recommended Products

HEAVY DUTY CANVAS DROP CLOTH: This professional-grade painter drop cloth is a premium cotton drop cloth, measuring 4' x 15' Ft, ideal for protecting furniture and flooring during painting, decorating, and home renovations.

Premium Cotton Blend Drop Cloth: Safeguard your surfaces with our high-quality cotton blend drop cloths, sized at 6' x 9'. These clothes are ideal for catching paint splashes, dust, and spills during home projects. Whether you're covering furniture, floors, or walls, they make post-project cleanup quick and simple. Crafted with double-stitched hems and reinforced seams, each cloth is designed to withstand wear and tear, offering lasting reliability.

Premium Canvas Drop Cloth: Made from thick twill cotton blend, this painters drop cloth offers superior surface protection for floors, furniture, and equipment during painting, refinishing, crafting, or home renovation
Step 7: Allow to Dry
Editor’s Choice

SereneLife Air Mover Blower Fan 2500 CFM – Powerful High Performance 3…
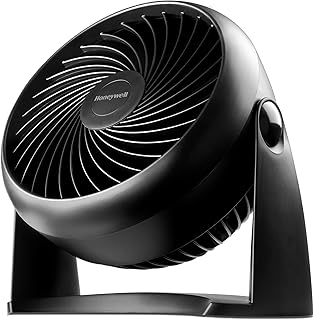
Honeywell TurboForce Air Circulator, Small Tabletop Fan, Quiet Personal …

Step 8: Remove Painter’s Tape
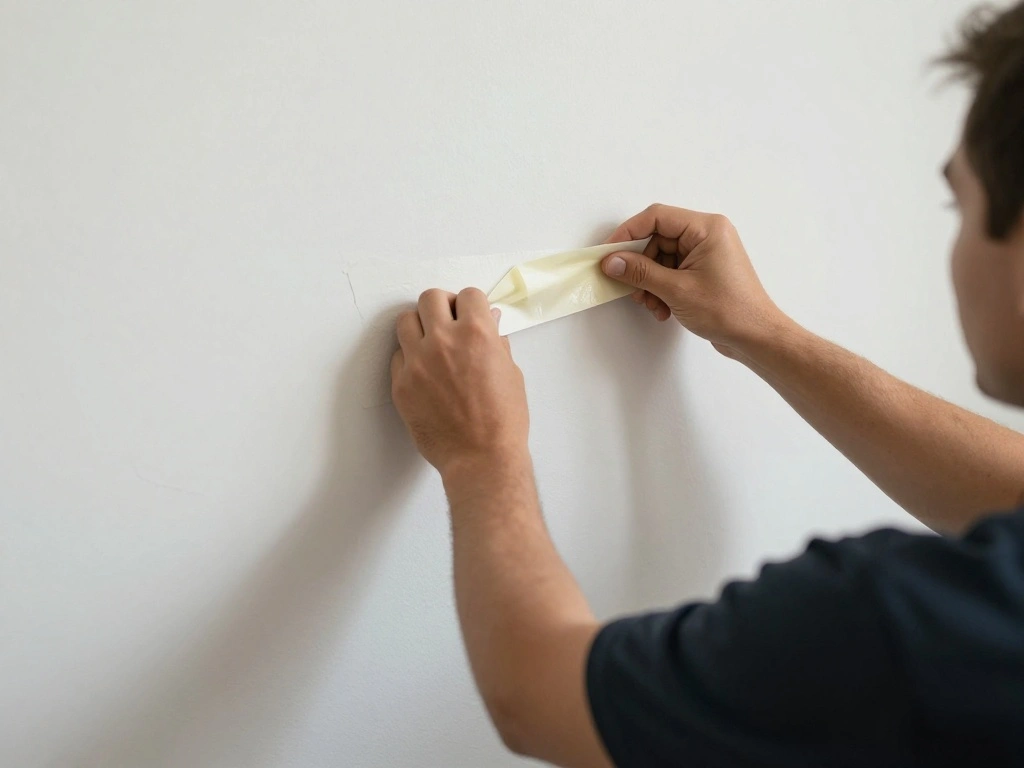
Once the paint is dry, it’s time to remove the painter’s tape. Follow these steps for the best results:
- Gently peel off the tape at a 45-degree angle.
- If you see any paint bleeding, use a small utility knife to cut along the edge of the tape before removing it.
- Touch up any areas that need additional paint.
Warning: Remove the tape slowly to avoid pulling off the paint.
Why this matters: Removing the tape correctly ensures clean, sharp edges.
Time estimate: 15-20 minutes.
Step 8: Remove Painter’s Tape
Editor’s Choice

WORKPRO Premium Utility Knife, Retractable All Metal Heavy Duty Box Cutt…

Slobproof Refillable Touch-Up Paint Pen, Mess-Free, Reusable Wall Paint …
4 Rolls Premium Painters Tape, Blue Tape, Masking Tape, Paint Tape for M…
Step 9: Clean Up

After the painting is complete, cleaning up is essential. Here’s what to do:
- Remove drop cloths and carefully fold them up.
- Wash paint brushes and rollers with soap and water if you used water-based paint.
- Dispose of any used painter’s tape and paint cans according to local regulations.
Pro Tip: Label leftover paint for future touch-ups.
Why this matters: Proper cleanup preserves your tools and keeps your workspace tidy.
Time estimate: 20-30 minutes.
Step 9: Clean Up
Editor’s Choice

Nelko Label Maker Machine with Tape, P21 Bluetooth Label Printer, Wirele…

Upgraded Paint Brush Cleaner Tool,Brush Rinser Cup Painting Running Wate…
Canvas Painters Drop Cloth (Size 9 x 12 Feet – Pack of 2) – Pure Cotton …
Pro Tips
- Test Paint Colors: Always test paint colors on the wall before committing to a full wall.
- Use Quality Tools: Investing in good brushes and rollers can make a significant difference in the finish.
- Consider Lighting: Check how the color looks under different lighting conditions.
- Mix Paint Cans: If you’re using multiple cans, mix them together to ensure color consistency.
- Take Your Time: Rushing can lead to mistakes, so take your time during every step.
Pro Tips
Editor’s Choice

Purdy 144662091 White Dove Roller Cover, 9 inch x 1/4 inch nap
Pro Grade Paint Brushes, 5-Piece Paint Brush Set, Flat & Angle Brushes f…

Common Mistakes to Avoid
Warning: Do not skip surface preparation, as it leads to poor paint adhesion.
Warning: Avoid using too much paint at once; it can lead to drips and streaks.
Warning: Don’t rush the drying process; allow the paint to dry completely before removing tape.
Common Mistakes to Avoid
Editor’s Choice

EFOK 20 Rolls Colored Painters Tape Masking Tape 1 Inch x 55 Yards Easy …

12 x 9 Ft Plastic Drop Cloths (6-Pack) – Disposable Painter’s Sheeting &…
Pro Grade Paint Roller Kit, Brush & Roller,10 Piece Set, Wall Painting N…
Troubleshooting Section
Problem: Paint is bubbling.
Solution: This usually indicates moisture; allow it to dry and sand down the bubbles before repainting.
Problem: Uneven color.
Solution: Apply a second coat or touch up areas with a brush.
Problem: Paint is chipping.
Solution: This can happen if the wall was not primed; sand and repaint, ensuring proper preparation next time.
Troubleshooting Section
Editor’s Choice

Romeda 8-Pack Sanding Sponge, Four Grits Per Pack 60/80/120/220, Washabl…
Pro Grade Paint Brushes, 5-Piece Paint Brush Set, Flat & Angle Brushes f…
1 Quart Bulls Eye 1-2-3 Primer Sealer Stain Killer
Variations/Alternative Methods
- Stenciling: Add patterns for a unique look, but this requires more precision.
- Ombre Effect: Blend two or more colors for a gradient effect; this is more advanced.
- Use Wallpaper: For those who prefer not to paint, removable wallpaper can achieve a similar effect.
Variations/Alternative Methods
Editor’s Choice

White Paint for Wall, 17.6 Floz Wall Touch Up Paint With Roller

6-Piece Wildflower Stencil for Painting – Large Reusable Floral Design f…

Brick Wallpaper Peel and Stick Wallpaper 17.3″x78.8″ Grey and White 3D B…
FAQs
What if I don’t have painter’s tape? You can use a steady hand and a brush for edges, but tape makes it much easier.
How long should I wait to put furniture back? Wait at least 24 hours for the paint to cure before moving furniture back in place.
Is it safe to paint while pregnant? It’s best to consult your doctor, but using low-VOC paints can minimize risks.
FAQs
Editor’s Choice
Pro Grade Paint Brushes, 5-Piece Paint Brush Set, Flat & Angle Brushes f…

Zinsser 02774 PERMA-WHITE Mold & Mildew Proof Interior Paint, Quart, Egg…
4 Rolls Premium Painters Tape, Blue Tape, Masking Tape, Paint Tape for M…
Conclusion
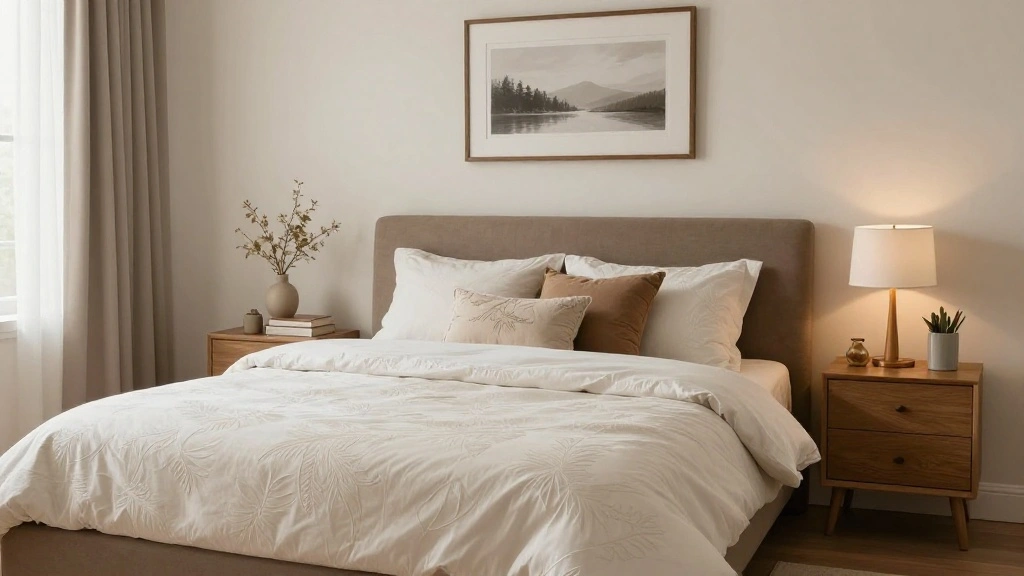
Congratulations on completing your bedroom accent wall! You should feel a great sense of accomplishment and satisfaction from your work. Not only have you enhanced your space, but you’ve also gained valuable skills for future projects.
Now that you’ve mastered this technique, consider updating other areas of your home or experimenting with different colors and styles. The world of DIY is at your fingertips, and your home is your canvas. Happy decorating!