
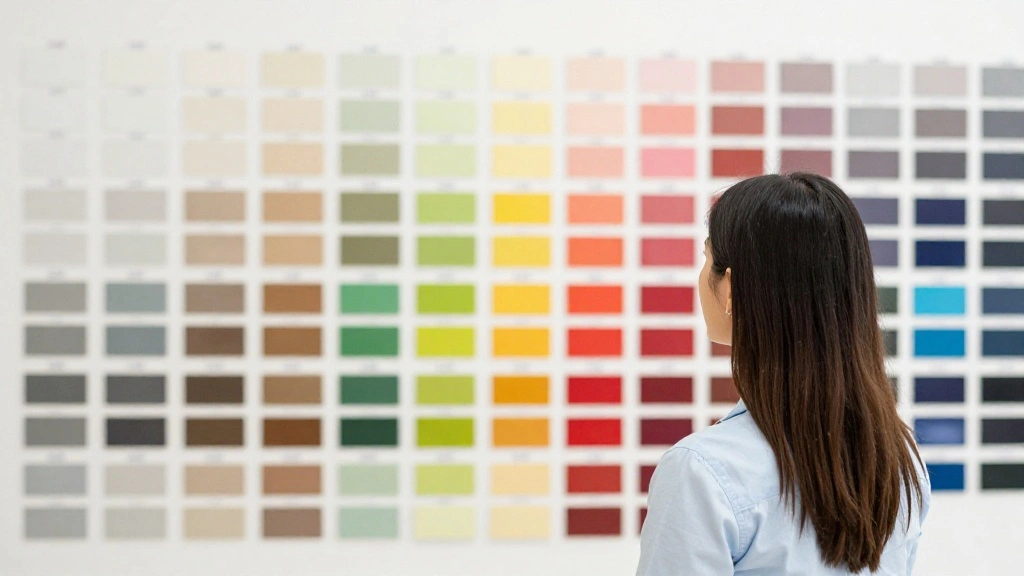
Choosing the right paint color for your bedroom can feel overwhelming. You may worry about making a costly mistake that you’ll have to live with for years. The urgency to find a color that not only looks good but also makes you feel comfortable is crucial. Don’t rush the decision!
This guide will help you confidently test bedroom paint colors before you commit to a full paint job. You’ll learn how to select colors, create samples, and evaluate them in your space. With the right approach, you can find a color that enhances your personal sanctuary without second-guessing your choice.
By following the steps outlined, you will become adept at testing various paint colors, ensuring that your final choice aligns with your vision for your bedroom. This guide is designed for those with a beginner skill level and will take approximately 2-3 hours to complete. Let’s dive in!
TL;DR Summary
- Gather paint samples and necessary materials.
- Apply samples on your walls to see how they look throughout the day.
- Evaluate colors under different lighting conditions.
- Make an informed decision before committing to a full paint job.
TL;DR Summary
Editor’s Choice

Light Meter Digital Illuminance Meter Handheld Ambient Temperature Measu…

Bestt Liebco 557700130 Master 1″ Touch Up Painter with Storage, Black

Paint Roller kit, 2 Inch 15 Pack Small Paint Roller Kit with Microfiber …
Prerequisites/Materials Needed
- Paint samples (minimum of 3 different colors)
- Paintbrush or small roller
- Painter’s tape
- Small paint tray
- Notebook and pen for notes
- Natural light source (window or lamp)
Prerequisites/Materials Needed
Editor’s Choice

Sherwin Williams Colors collection Deck Complete Paint Colors

4 Rolls Premium Painters Tape, Blue Tape, Masking Tape, Paint Tape for M…
Skill Level & Time Estimate
Skill Level: beginner
Total time estimate: 2-3 hours.
Steps breakdown:
- Gather materials: 30 minutes
- Prepare walls: 30 minutes
- Apply samples: 1 hour
- Evaluate colors: 1 hour
Skill Level & Time Estimate
Editor’s Choice

KILZ TRIBUTE Paint & Primer, Interior, Color Sample, Spanish Fortres, 8 …
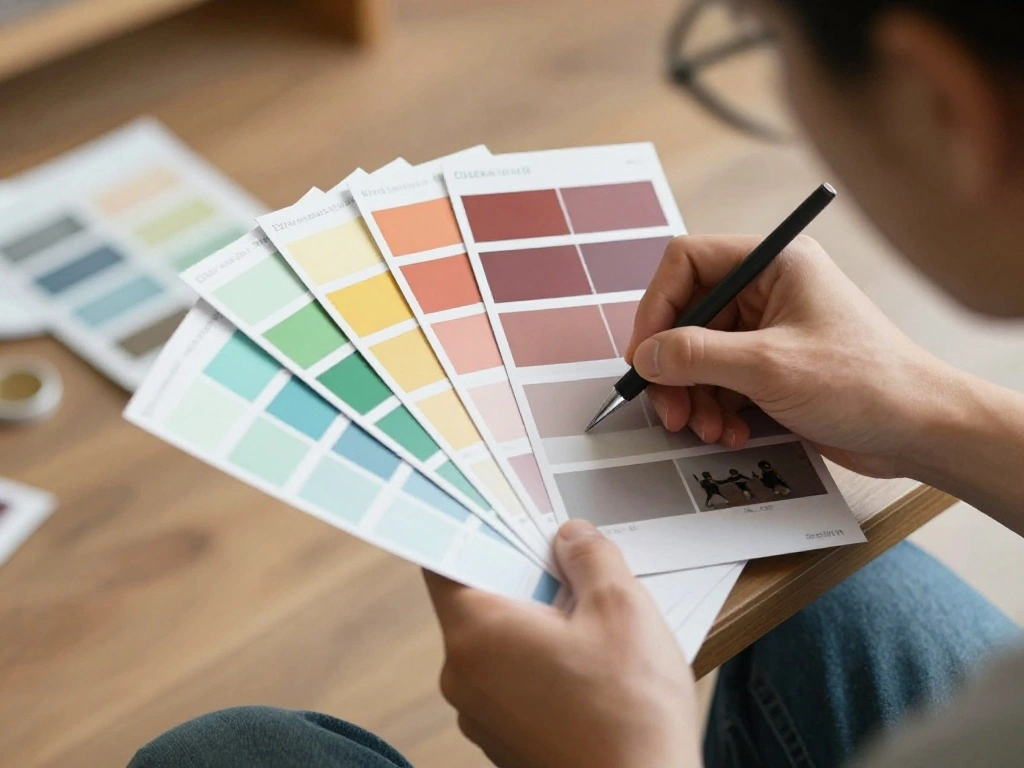
Step 1: Gather Your Paint Samples
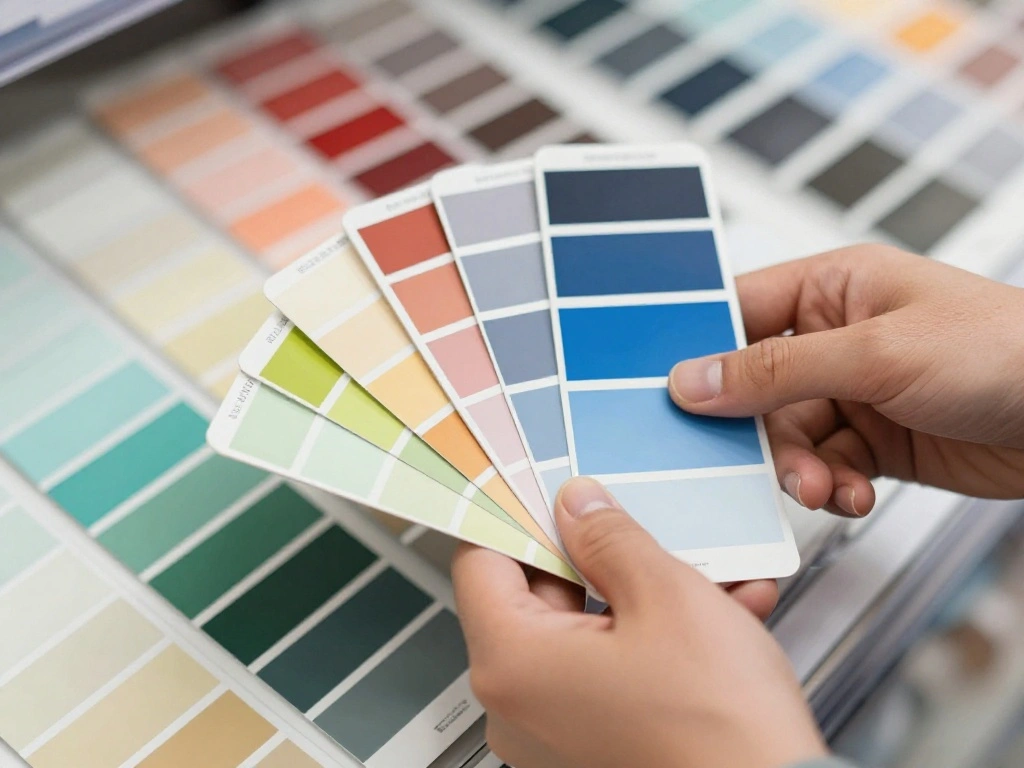
To start, visit your local paint store and gather samples of your desired colors. Follow these sub-steps:
- Identify the color palette you want for your bedroom.
- Select 3-5 paint samples that appeal to you.
- Ask for sample jars (usually 8 oz) for easier handling.
Pro Tip: Choose colors that complement your furniture and decor. Why this matters: Selecting colors that fit your overall theme will ensure harmony in your space. Time estimate for this step: 30 minutes.
Step 1: Gather Your Paint Samples
Editor’s Choice


Swab-its® Visual Effects Applicators – Reusable, Lint-Free Foam Swabs…
Step 2: Prepare the Walls
Before applying the paint samples, prepare the walls to ensure accurate color representation. Follow these sub-steps:
- Clean the wall surface to remove dust and debris.
- Use painter’s tape to mark off a square area (about 2×2 feet) where each color will be applied.
- Make sure the taped area is smooth and dry.
Warning: Ensure the wall is completely dry before applying paint to avoid uneven finishes. Why this matters: A clean and prepared surface allows for a truer color representation. Time estimate for this step: 30 minutes.
Step 2: Prepare the Walls
Editor’s Choice
4 Rolls Premium Painters Tape, Blue Tape, Masking Tape, Paint Tape for M…

Zep ZUFWC18 Foaming Wall Cleaner, 18 oz, Clear

EVOLVE Interior Paint & Primer, Eggshell (Deep Blue), 5 Gallon – One-C…
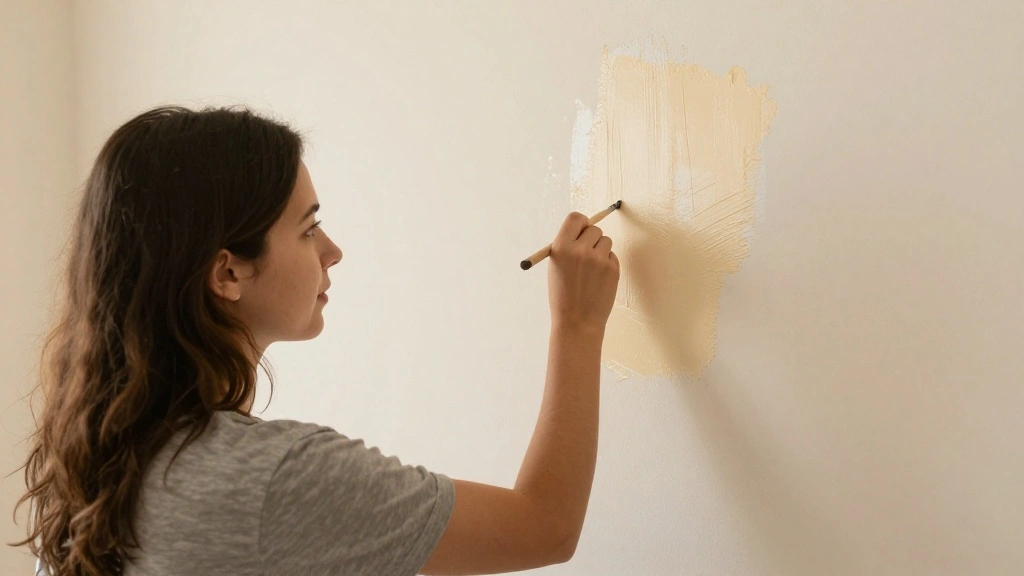
Step 3: Apply the Paint Samples
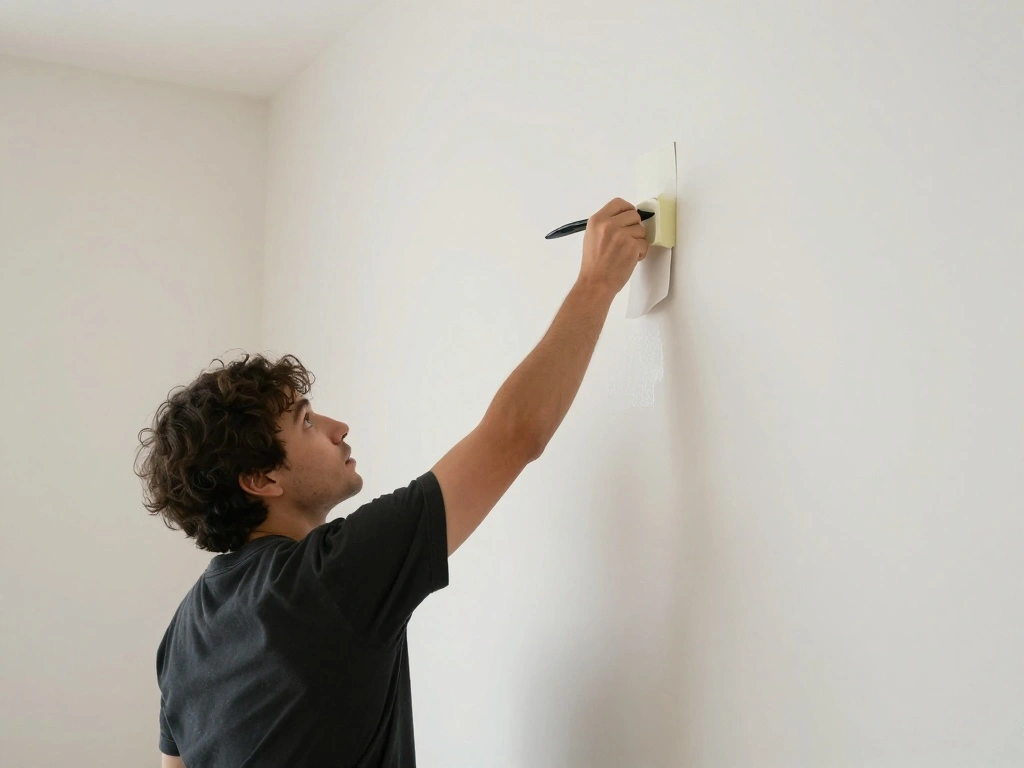
Now it’s time to apply your chosen paint samples on the wall. Follow these steps:
- Using a paintbrush or roller, apply each color in the designated taped area.
- Ensure even strokes to prevent blotchiness.
- Let the first coat dry completely before applying a second coat if necessary.
Pro Tip: Always label each color area for easy identification later. Why this matters: Proper application ensures you see the true color once dried. Time estimate for this step: 1 hour.
Step 3: Apply the Paint Samples
Editor’s Choice
Paint Roller kit, 2 Inch 15 Pack Small Paint Roller Kit with Microfiber …

4 Rolls Premium Painters Tape, Blue Tape, Masking Tape, Paint Tape for M…
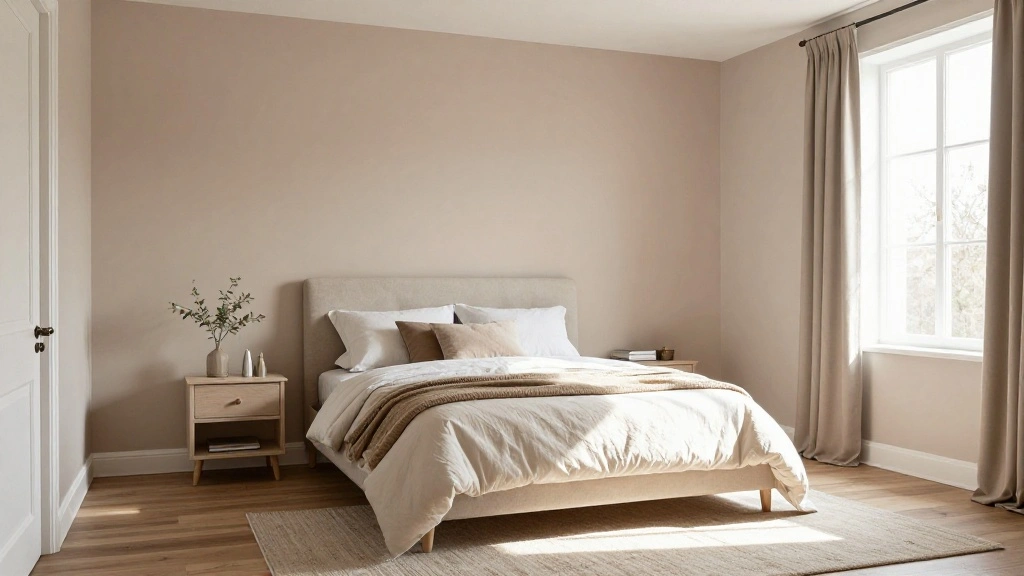
Step 4: Evaluate the Colors

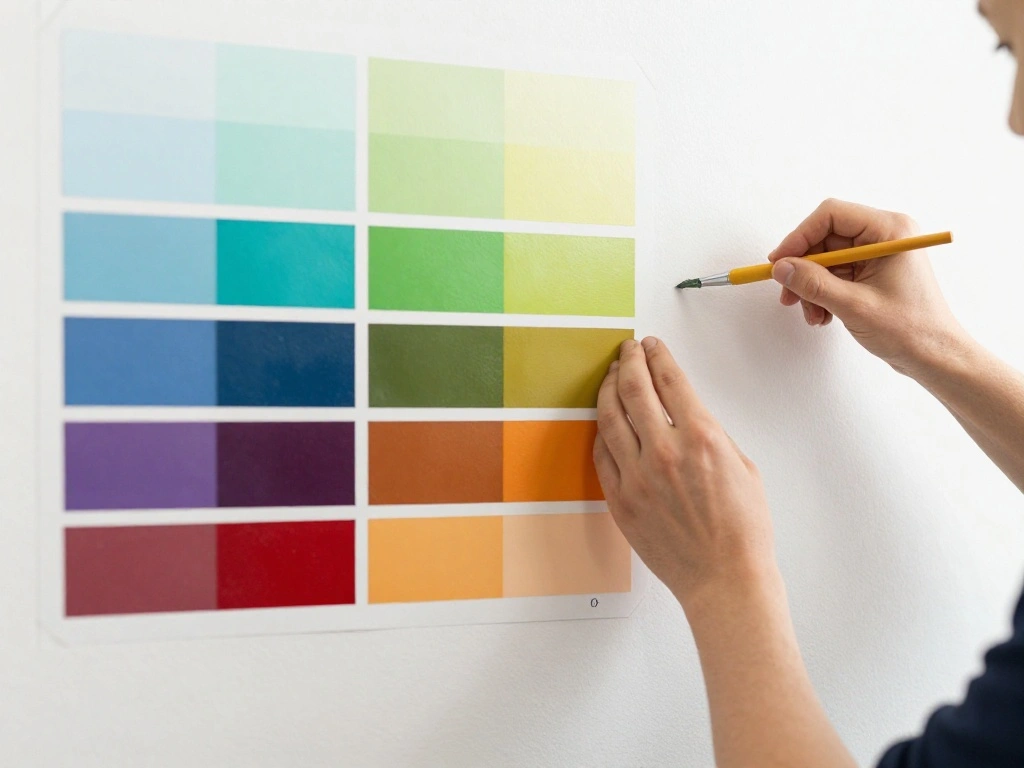
After the paint has dried, it’s time to evaluate how each color looks in your bedroom. Follow these sub-steps:
- Observe the colors at different times of the day (morning, afternoon, evening).
- Take notes on how each color feels in the space.
- Consider the impact of lighting on the color perception.
Pro Tip: Take photos under each lighting condition for reference. Why this matters: Colors can change dramatically with varying light, so this step is crucial for your decision-making. Time estimate for this step: 1 hour.
Step 4: Evaluate the Colors
Editor’s Choice

Nix Mini 3 Color Sensor Colorimeter – Portable Color Matching Tool – Dus…

KILZ TRIBUTE Paint & Primer, Interior, Color Sample, Weeping Willow, 8 O…
Step 5: Make Your Decision
Now that you’ve tested the colors, it’s time to decide. Follow these steps:
- Review your notes and photos of each color.
- Consider the overall mood you want to create in your bedroom.
- Select the color that resonates most with your vision.
Warning: Avoid rushing your decision; take your time to reflect on your choice. Why this matters: A well-thought-out decision leads to satisfaction in your space. Time estimate for this step: 30 minutes.
Step 5: Make Your Decision
Editor’s Choice

20 Sheets Painters Color Diary for 480 Colors Loose Leaf Color Swatch No…

Mighty Board Minis Polystyrene Paint Color Test Panels, 12″ x 9″, Set of…

Lystaii 9pcs Gel Light Filter Color Correction Colored Overlays Transpar…
Step 6: Purchase and Apply Your Chosen Color
Once you’ve made your decision, it’s time to buy and paint your chosen color. Follow these sub-steps:
- Purchase the full-sized paint can of your chosen color.
- Follow the same preparation steps as before for a flawless finish.
- Apply the paint evenly, using the same technique from your test samples.
Pro Tip: Consider buying a few extra paint cans for touch-ups later. Why this matters: Consistency in application ensures a professional look. Time estimate for this step: 1 hour.
Step 6: Purchase and Apply Your Chosen Color
Editor’s Choice

6 Pack Quart Paint Cans with Lids, Made in the USA with T5 Hardened US S…
Pro Tips
- Lighting Matters: Test colors in both natural and artificial light to see how they change.
- Use Large Samples: Consider painting larger sections for a better view.
- Complementary Colors: Use colors that enhance your furniture and decor.
- Stay Consistent: Use the same brand and sheen for your final choice for uniformity.
- Time of Day: Evaluate colors at different times of day for true perception.
Pro Tips
Editor’s Choice

Boldify Hair Fibers Color Sample Kit – Fill In Thinning and Fine Hair fo…

Bates- Paint Roller Kit, 19 pcs, Roller Set with Microfiber Sleeves & Fr…

Linkind Smart Light Bulbs, Smart Bulb that Work with Alexa, Google Home,…
Common Mistakes to Avoid
Warning: Avoid testing colors on small patches; they will not show the true color impact. Instead, use larger sample areas. Warning: Don’t rush the decision; colors can appear different based on time and lighting. Take your time to evaluate. Warning: Forgetting to clean the wall may lead to uneven application. Always prep your surfaces properly.
Common Mistakes to Avoid
Editor’s Choice

Foampro Mfg. 98 Color Tester Roller Kit, 3 inches
20 Sheets Painters Color Diary for 480 Colors Loose Leaf Color Swatch No…

Max Strip Painter’s Prep | 22 oz | Pre-Painting and Refinishing Surface …
Troubleshooting Section
Problem: The color looks different on the wall than in the store.
Solution: Re-evaluate the lighting in your room; colors may appear different based on light sources.
Problem: Paint doesn’t cover well.
Solution: Ensure the wall is clean and consider applying a primer before the final coat.
Problem: You can’t decide between colors.
Solution: Use a process of elimination based on how you feel with each color throughout the day.
Troubleshooting Section
Editor’s Choice

EVOLVE Interior Paint & Primer, Eggshell (Slate Gray), 5 Gallon – One-…
Variations/Alternative Methods
Instead of painting directly on walls, consider using large poster boards to test colors. This method allows for easy movement and does not require wall preparation. Additionally, you could use paint samples that come in peel-and-stick formats for an even less messy application.
Variations/Alternative Methods
Editor’s Choice

Pacon Super Value Poster Board, 22″X28″, White, 50 Sheets
Mighty Board Minis Polystyrene Paint Color Test Panels, 12″ x 9″, Set of…

TUZAZO 4 Oz Plastic Container Jars with Lids BPA Free, Empty Round Clear…
FAQs
What if I don’t have enough light in my room? You can use additional lamps to simulate natural light when testing colors.
How long should I wait for the paint to dry before evaluating? Typically, wait 1-2 hours for a good initial evaluation, but check the can for specific recommendations.
Is it safe to test paint colors if I have allergies? Yes, but ensure proper ventilation and consider low-VOC paints.
FAQs
Editor’s Choice
Colorations Paraben-Free Washable Tempera Paint for Kids – 1 Gallon Valu…

Foampro Mfg. 98 Color Tester Roller Kit, 3 inches
Conclusion
Congratulations! You’ve successfully tested and selected the perfect paint color for your bedroom. You took the time to evaluate and make an informed decision, ensuring that your sanctuary reflects your personal style.
Now, enjoy the process of painting your space and revel in the transformation. For further inspiration, consider checking out online resources or interior design apps to help you visualize your new space.
Happy decorating!