
Are you feeling overwhelmed by the idea of redecorating your teen’s bedroom without breaking the bank? You’re not alone! Many parents face the challenge of creating a stylish and personalized space for their teens while being mindful of their budget. The good news is that with a little creativity and resourcefulness, you can achieve a fresh and trendy look that your teen will love.
In this guide, you’ll learn how to transform a basic bedroom into a vibrant and inviting space that reflects your teen’s personality—all without overspending. From selecting budget-friendly decor to creative DIY projects, you’ll discover practical steps to make the most of your budget.
This guide is designed for beginners and can be completed in just 2-3 hours, making it perfect for busy schedules. Get ready to dive into a fun and fulfilling project that will not only enhance your teen’s room but also strengthen your bond as you work together. Let’s get started on creating a bedroom that your teen will cherish!
TL;DR Summary
- Transform your teen’s bedroom on a budget with DIY projects and smart shopping.
- Learn specific steps to personalize the space while being cost-effective.
- Get practical tips and warnings to avoid common mistakes.
- Enjoy a stylish transformation in just 2-3 hours!
TL;DR Summary
Editor’s Choice

11.8″ Gaming Storage Cube Organizer Set 3 Pcs Video Game Closet Clothes …

Picture Frames Collage Wall Decor – Family Tree Wall Decor for Living Ro…

Livelynine Gaming Wallpaper Peel and Stick Cool Modern Black and White P…
Prerequisites/Materials Needed
- Paint: 1-2 gallons of your chosen color
- Wall Decor: 3-5 posters or prints
- Textiles: New bedding set, throw pillows, and curtains
- Furniture: 1-2 thrifted pieces or DIY furniture
- Storage Solutions: Bins or baskets for organization
- DIY Supplies: Paintbrushes, scissors, glue, and craft materials
Prerequisites/Materials Needed
Editor’s Choice

Amazon Basics Collapsible Fabric Storage Cubes Organizer with Handles, S…

Zinsser 02774 PERMA-WHITE Mold & Mildew Proof Interior Paint, Quart, Egg…

HAUS AND HUES Botanical Plant Wall Art Prints – Set of 4 Plant Decor Pri…
Skill Level & Time Estimate
Skill Level: beginner
Total time estimate: 2-3 hours
Skill Level & Time Estimate
Editor’s Choice

suddus String Lights for Bedroom, 33ft 100 Led Connectable Globe String …

Marspark 12 Pcs Inspirational Wall Decals Motivational Quote Peel and St…

Bedsure Comforter Set Queen Size – Checkered Bedding Comforter Set for B…
Step 1: Plan Your Vision
Begin by brainstorming ideas for your teen’s bedroom. Start with these sub-steps:
- Ask your teen about their favorite colors, themes, and styles.
- Gather inspiration from magazines, Pinterest, or online design blogs.
- Create a mood board to visualize the desired aesthetic.
Pro Tip: Don’t be afraid to mix and match styles to reflect your teen’s personality. This planning step matters because it sets the foundation for the entire project. Aim to spend around 30 minutes on this step to gather all ideas and inspirations.
Step 1: Plan Your Vision
Editor’s Choice

Create mood board for interior design project: mood board
Marspark 12 Pcs Inspirational Wall Decals Motivational Quote Peel and St…

Berlune 6 Pcs Bright Velvet Throw Pillow Covers 18″ x 18″ Rainbow Decora…
Step 2: Declutter and Clean

Before redecorating, it’s essential to declutter the space. Follow these steps:
- Remove all items from the room, including furniture and decor.
- Sort items into three categories: keep, donate, and throw away.
- Clean the room thoroughly, including dusting and vacuuming.
Warning: Avoid keeping items that your teen no longer uses. Clutter can hinder the fresh look you want to achieve. This step typically takes around 1 hour to complete effectively.
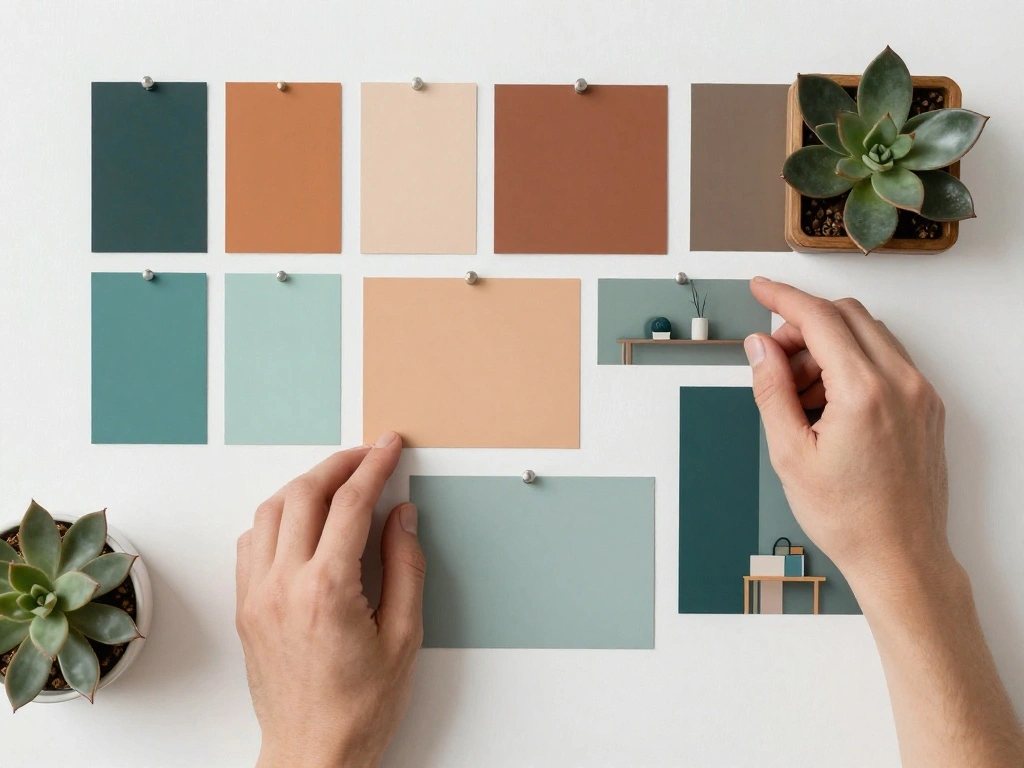
Step 3: Choose a Color Palette
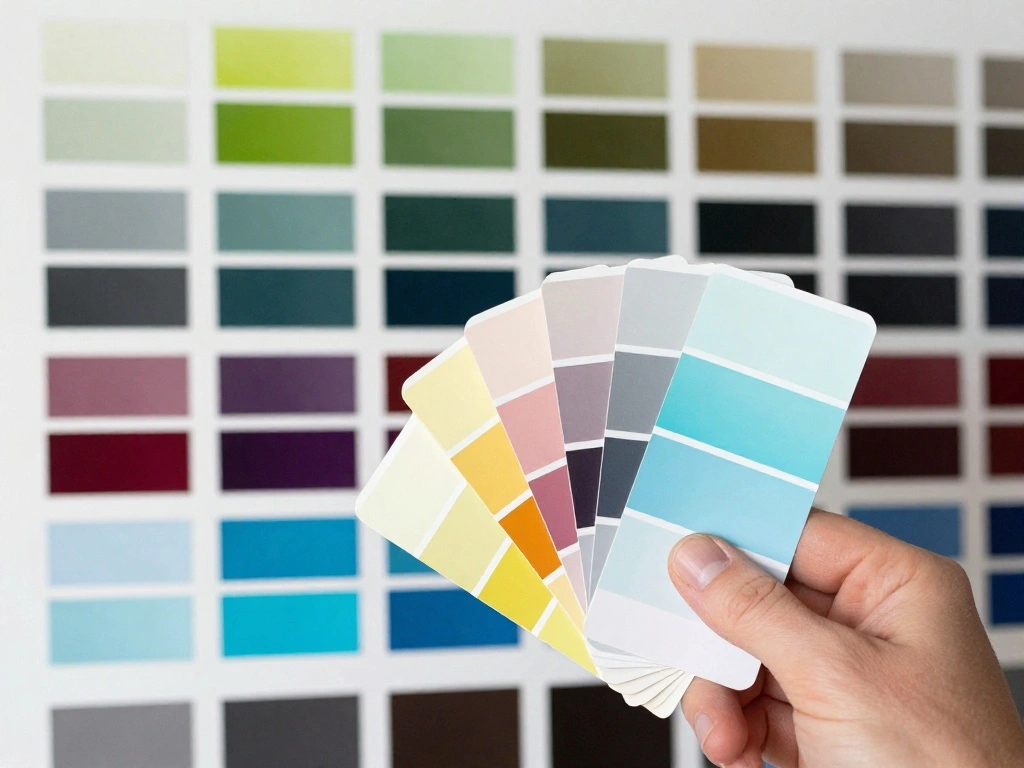
Selecting the right color palette is crucial for setting the mood. Follow these steps:
- Choose 2-3 main colors that resonate with your teen’s preferences.
- Consider using neutral tones for larger areas and brighter colors for accents.
- Test paint samples on the wall to see how they look in different lighting.
Pro Tip: Use paint swatches to visualize how colors will work together in the room. This step usually takes about 30 minutes, but testing colors on the wall may require additional time.
Step 3: Choose a Color Palette
Editor’s Choice

Professional 216 Nail Colors Chart, Nail Gel Polish Organizer Display Ca…
Step 4: Paint the Walls
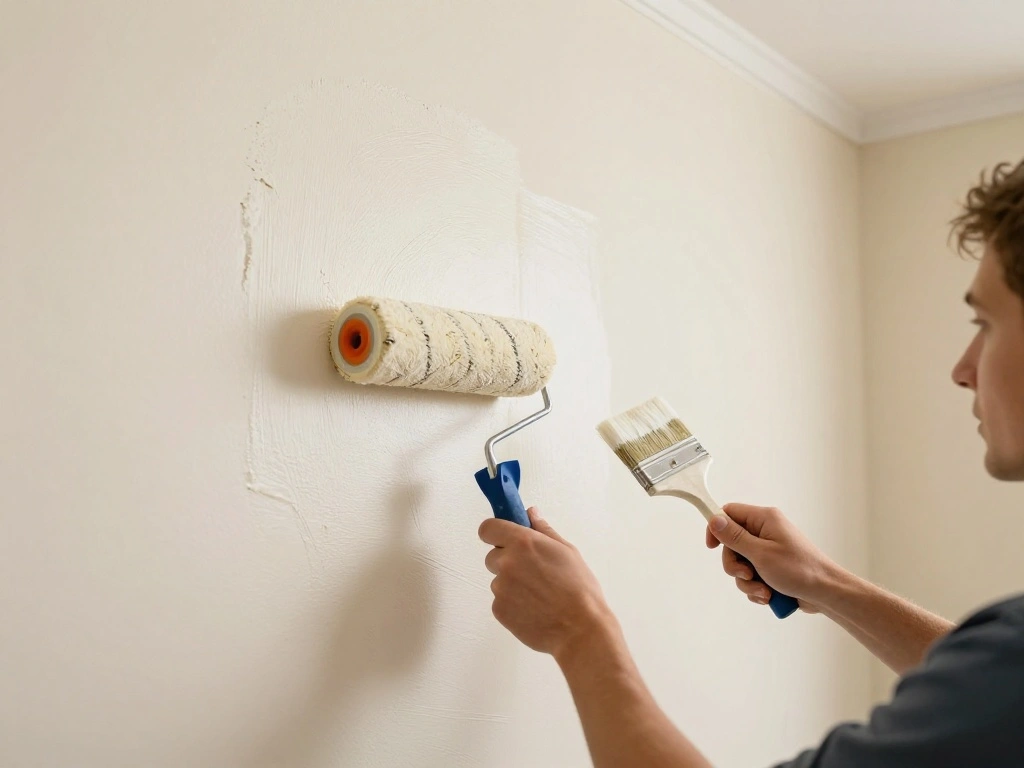
Now it’s time to bring your vision to life by painting the walls. Follow these steps:
- Gather your painting supplies: paint, brushes, rollers, and painter’s tape.
- Prep the room by covering floors and furniture with drop cloths.
- Apply painter’s tape along edges and trim for clean lines.
- Start painting from the top down, using rollers for large areas and brushes for edges.
Warning: Ensure the room is well-ventilated while painting. This step can take 1-2 hours depending on the size of the room.
Step 4: Paint the Walls
Editor’s Choice

4 Rolls Premium Painters Tape, Blue Tape, Masking Tape, Paint Tape for M…

6pcs House Paint Roller Kit, 9 inch Extendable Roller Frame with 5 Micro…

12 x 9 Ft Plastic Drop Cloths (6-Pack) – Disposable Painter’s Sheeting &…
Step 5: Revitalize Furniture
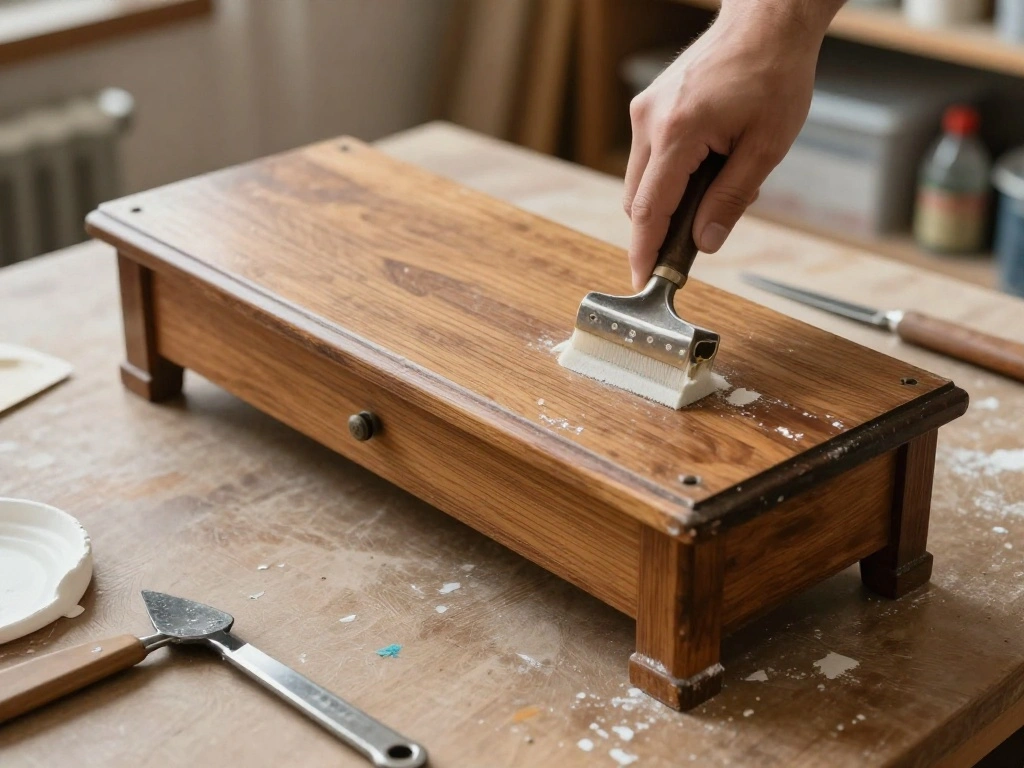
Refresh old furniture to give it new life. Follow these steps:
- Identify any furniture that can be repurposed or painted.
- If painting, sand down surfaces and apply a primer first.
- Choose a color that complements the new wall color.
- Consider adding hardware or stencils for a personalized touch.
Pro Tip: Thrift stores often have hidden gems that just need a little TLC. This revitalization process usually takes about 1 hour.
Step 5: Revitalize Furniture
Editor’s Choice
Mr. Pen- House Plan, 3 pcs, Interior Design and Furniture Templates, Cle…

Rust-Oleum Linen White Chalked All-in-One Ultra Matte Paint | One Coat C…
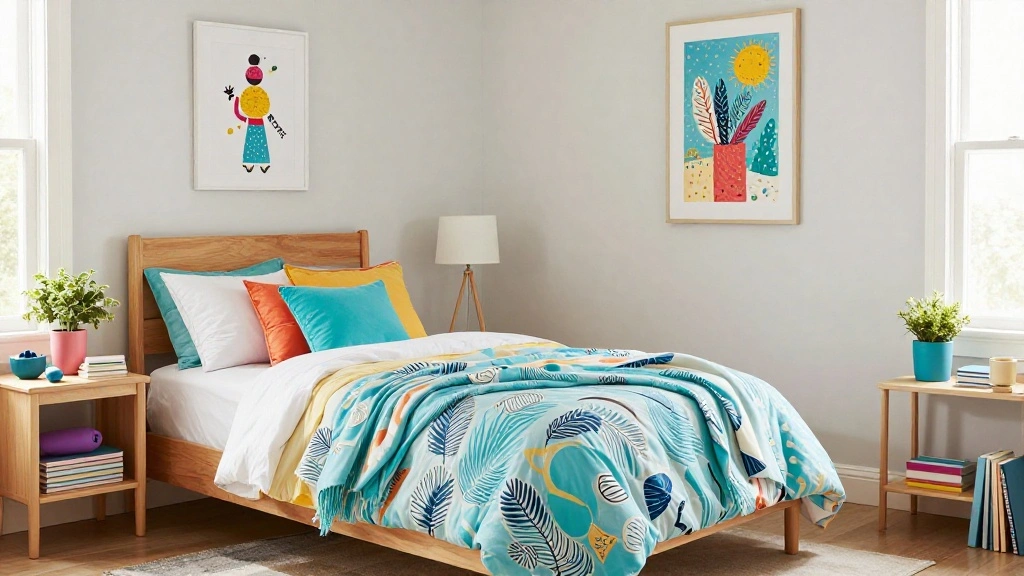
Step 6: Choose Bedding and Textiles
Select new bedding and textiles to enhance the room’s style. Follow these steps:
- Pick a bedding set that matches the color palette.
- Incorporate throw pillows and blankets for added comfort.
- Choose curtains that either block light or allow natural light to filter through.
Pro Tip: Mix and match different textures to create depth in the room. Expect to spend around 30 minutes shopping for these items.
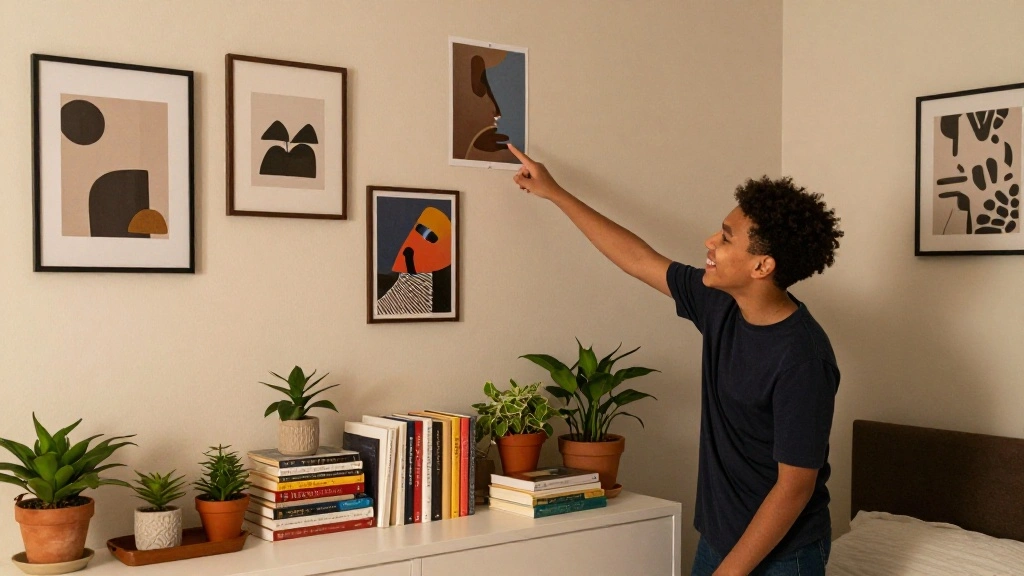
Step 7: Add Wall Decor

Enhance the walls with creative decor. Follow these steps:
- Hang posters, artwork, or photos that resonate with your teen.
- Consider DIY projects like painted canvases or wall hangings.
- Use removable hooks or frames for easy changes in the future.
Warning: Make sure not to overcrowd the walls; a few statement pieces work better than clutter. This step can take about 30-45 minutes.
Step 7: Add Wall Decor
Editor’s Choice

KEFF 24-Pack 𝗣𝗥𝗘𝗠𝗜𝗨𝗠 Canvas for Painting, 6 of 5×7,…

Vittanly 15 Pack Picture Frames Collage Wall Decor for Mounting or Table…
Step 8: Organize and Declutter Storage
Lastly, organize the room to keep it tidy. Follow these steps:
- Utilize bins or baskets for toys, clothes, or school supplies.
- Label storage solutions to make it easy to find items.
- Incorporate multi-functional furniture for added storage.
Pro Tip: An organized space will help maintain the newly decorated room. Aim to spend about 30 minutes organizing and arranging items.
Step 8: Organize and Declutter Storage
Editor’s Choice

SUPVAN E11 Bluetooth Label Maker Machine with 4 Tapes, Support Keyboard …

ORGIDOL 8 Pack Colorful Storage Bins with Lids Stackable Storage Contain…

DUMOS 43 Inch Folding Storage Ottoman Bench, Large Hidden Storage Chest …
Step 9: Final Touches
Add personal touches to make the room feel complete. Follow these steps:
- Incorporate personal items like books, trophies, or favorite knick-knacks.
- Adjust lighting with fairy lights or lamps for ambiance.
- Invite your teen to rearrange furniture to their liking.
Pro Tip: Personalizing the room makes it a special space for your teen. This final touch-up stage usually takes about 30 minutes.
Step 9: Final Touches
Editor’s Choice

Brightown 12 Pack LED Fairy Lights Battery Operated String Lights – 7ft …
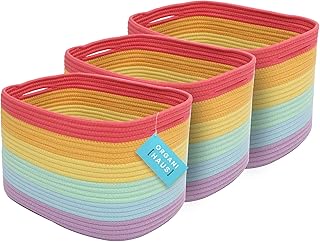
OrganiHaus Rainbow Cotton Rope Baskets for Shelves, Set of 3 – 15″×10″�…
Pro Tips
- Budget Tracking: Keep a budget sheet to monitor expenses.
- DIY Projects: Get crafty! Simple DIYs can save money and add a personal touch.
- Seasonal Decor: Change decor seasonally to keep the room feeling fresh.
- Multi-Use Decor: Opt for items that serve multiple purposes, like decorative storage boxes.
- Thrifting: Always check thrift stores for unique finds at low prices.
Pro Tips
Editor’s Choice

CTSNSLH 4 Tier Plastic Storage Bins with Lid 23QT – Stackable Storage Bi…

STEM Projects for Kids & Adults Build Your Own Bluetooth Speaker – Scien…
Common Mistakes to Avoid
Warning: Skipping the decluttering process can lead to a cluttered end result. Always clear out unnecessary items first.
Warning: Overloading on decor can make the room feel cramped. Stick to a few key pieces that stand out.
Warning: Ignoring your teen’s preferences can lead to dissatisfaction. Involve them in every decision.
Common Mistakes to Avoid
Editor’s Choice

Huuger Folding Desk for Small Spaces, 31.5 Inch Foldable Computer Table,…

Sterilite 4 Pack Ultra Latching Box, Storage Bins with Lids, Clear Plast…

Baisuart S02250 Canvas Prints Wall Art Beach Sunset Ocean Waves Nature P…
Troubleshooting Section
Problem: Paint color looks different on the wall than expected.
Solution: Test a small area with a sample before committing to a larger section.
Problem: Furniture doesn’t fit well in the space.
Solution: Measure furniture and room dimensions before purchase. Consider rearranging for better flow.
Problem: Items clash in style or color.
Solution: Refer back to the color palette and mood board created in the planning stage.
Troubleshooting Section
Editor’s Choice


Color Palette Book: 205 Color Schemes, Inspiration for Graphic Designers…

Mighty Board Minis Polystyrene Paint Color Test Panels, 12″ x 9″, Set of…
Variations/Alternative Methods
- Wall Decals: Instead of painting, consider removable wall decals for a temporary and easy update.
- Furniture Swap: Look for opportunities to swap or borrow furniture from other rooms in the house.
- Online Marketplaces: Check local online marketplaces for second-hand furniture or decor at low prices.
Variations/Alternative Methods
Editor’s Choice


FolkArt Home Décor Chalk Finish Acrylic Paint, 8oz, 8 ounce, Milk Jug
FAQs
What if I don’t have enough time to complete the project? Break it down into smaller tasks and allocate an hour or two over a couple of days instead.
How long should I wait before painting over a wall? Ensure the paint is completely dry, typically 1-2 hours, before applying a second coat.
Is it safe to use spray paint indoors? Always ensure proper ventilation and consider using low-VOC spray paints for safety.
FAQs
Editor’s Choice

LMJIA Sticky Tack for Wall Hanging (0.31″*0.51″-100 Pcs) — Removable P…

Pro Grade Paint Roller Kit, Brush & Roller,10 Piece Set, Wall Painting N…

Conclusion
Congratulations! You’ve successfully transformed your teen’s bedroom into a stylish and personalized space without overspending. The new environment not only reflects your teen’s personality but also creates a comfortable and inviting atmosphere for relaxation and creativity.
Now that you’ve completed this project, consider involving your teen in seasonal updates to keep the room feeling fresh. Explore related resources on DIY decor projects or organization tips to maintain the space. Celebrate this achievement together and enjoy the new vibes of the room!