

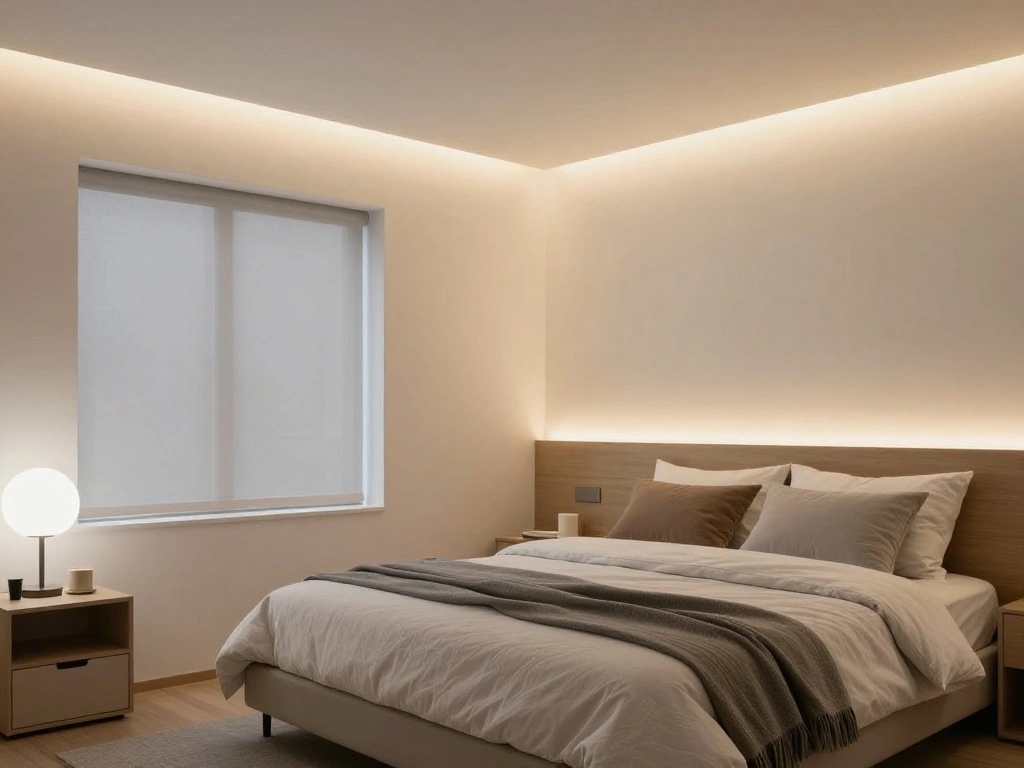
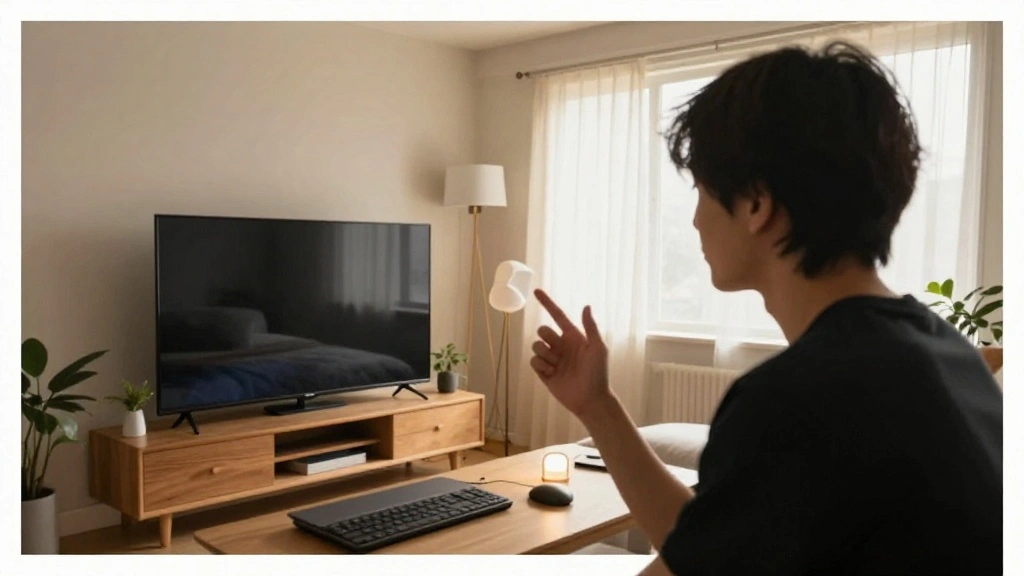
Are you tired of feeling underwhelmed in your bedroom? The right lighting can transform your space, creating an inviting atmosphere that enhances your mood and encourages relaxation. Without adequate lighting, even the most beautifully decorated rooms can feel flat and unwelcoming. Layering lighting is essential to achieving that designer look, but many people overlook this crucial aspect of bedroom décor.
In this guide, you will learn how to layer lighting effectively to create a well-lit, cozy sanctuary. You’ll discover the different types of lighting—ambient, task, and accent—and how to combine them seamlessly. By the end of this guide, you’ll have the skills to transform your bedroom into a beautifully lit space.
This process is rated as intermediate and will take approximately 2-3 hours to complete. Get ready to illuminate your bedroom like a pro!
TL;DR Summary
- Understand the three types of lighting: ambient, task, and accent.
- Gather materials for a layered lighting approach.
- Follow step-by-step instructions to implement the lighting design.
- Learn expert tips for achieving a designer look.
TL;DR Summary
Editor’s Choice

Aipsun Black Modern LED Wall Sconce Indoor Wall Lights 1 Pack Hardwired …

Wio-Mio Floor lamp, 15w/1000lm Bright LED Floor Lamp with Stepless Adjus…
Prerequisites/Materials Needed
- Ambient Lighting:
- Ceiling fixture (choose based on room size)
- Floor lamp (1-2 for extra illumination)
- Task Lighting:
- Table lamps (2 for bedside tables)
- Desk lamp (if applicable)
- Accent Lighting:
- Wall sconces (1-2 for highlighting artwork)
- String lights or LED strips (for a cozy vibe)
- Additional Materials:
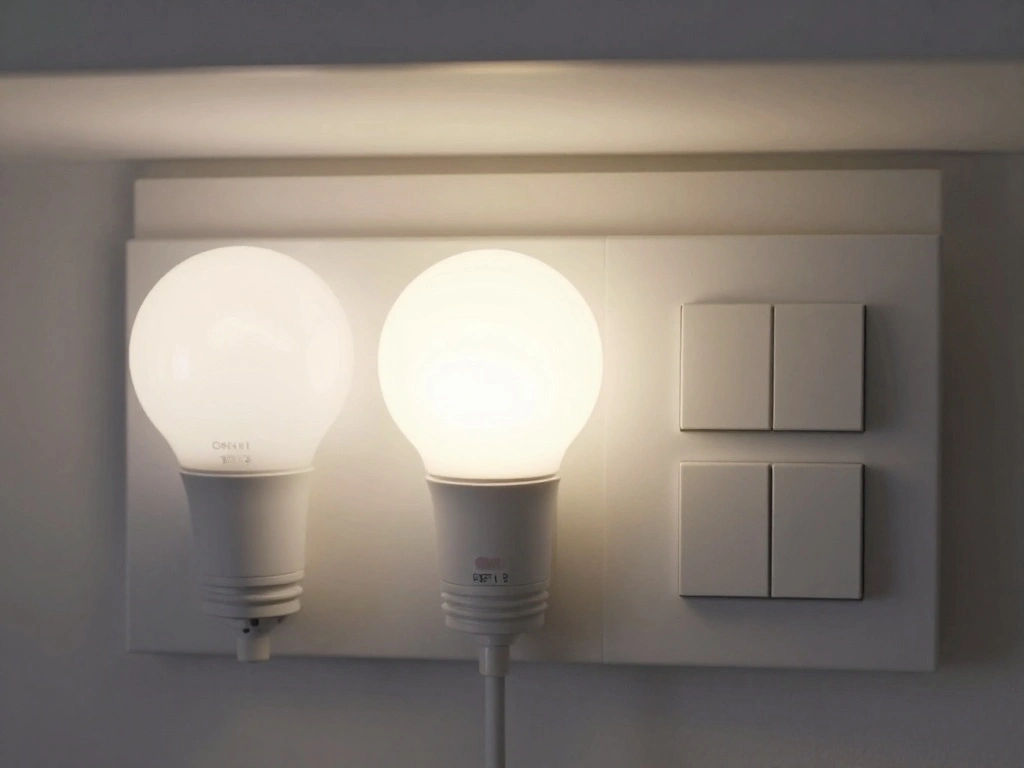
- Smart bulbs (if you want adjustable lighting)
- Extension cords (if needed)
Prerequisites/Materials Needed
Editor’s Choice

Plug in Wall Sconces Set of Two: Wall Lights with On/Off Switch – Steple…

Linkind Smart Light Bulbs, Smart Bulb that Work with Alexa, Google Home,…
Skill Level & Time Estimate
Skill Level: intermediate
Total time estimate: 2-3 hours to complete the entire lighting design, with each step taking approximately 30 minutes to 1 hour.
Skill Level & Time Estimate
Editor’s Choice

Wall Sconces Lights for Bedroom Bathroom, Modern Vanity Light Fixtures, …
Step 1: Assess Your Space

Start by evaluating your bedroom to understand your lighting needs. Consider the following sub-steps:
- Identify the size and layout of your room.
- Observe natural light sources to determine how much daylight enters your space.
- Make a list of areas that require light, such as reading nooks or workspaces.
Why this matters: Assessing your space helps you determine where to place your lighting for maximum effect. Pro Tip: Use a floor plan to visualize lighting placement before making any purchases. Time estimate: 30 minutes.
Step 1: Assess Your Space
Editor’s Choice
Wio-Mio Floor lamp, 15w/1000lm Bright LED Floor Lamp with Stepless Adjus…

EDISHINE Mid Century Table Lamp, Bedside Lamp with Pull Chain Switch, So…

ILC RGB LED Light Bulb, Color Changing Light Bulb, 40W Equivalent, 450LM…
Step 2: Choose Your Ambient Lighting
Ambient lighting is the foundation of your lighting scheme. Follow these sub-steps to select the right fixtures:
- Choose a ceiling fixture that complements your room’s style—consider flush mounts or chandeliers.
- Incorporate floor lamps for added light and design interest.
- Position ambient lights to evenly distribute light throughout the room.
Why this matters: Ambient lighting sets the overall tone of your bedroom. Warning: Ensure your ceiling fixture is appropriately sized for your room to avoid overwhelming the space. Time estimate: 45 minutes.
Step 2: Choose Your Ambient Lighting
Editor’s Choice

Modern Floor Lamp Simple Design with White Shade, Foot Pedal Switch, 60″…

Kasa Smart Light Bulbs, Full Color Changing Dimmable Smart WiFi Bulbs Co…
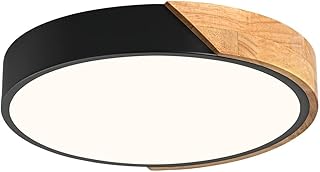
Modern LED Ceiling Light, Minimalist Wood Flush Mount Ceiling Light Fixt…
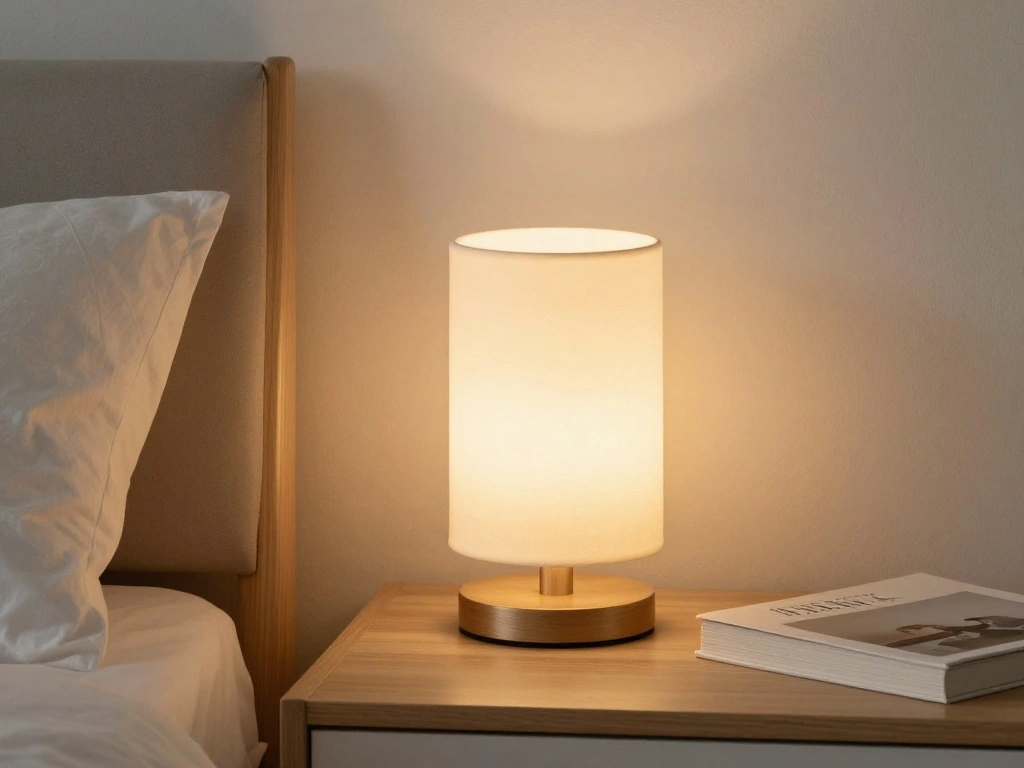
Step 3: Add Task Lighting
Task lighting is essential for specific activities. Follow these steps to integrate task lighting:
- Select bedside table lamps with adjustable brightness for reading.
- Consider a desk lamp if you have a workspace in your bedroom.
- Position task lights strategically for optimal functionality—ensure they illuminate work areas without casting shadows.
Why this matters: Task lighting enhances functionality, ensuring you can perform activities like reading or working without straining your eyes. Pro Tip: Look for lamps with dimming options to adjust brightness based on the time of day. Time estimate: 30 minutes.
Step 3: Add Task Lighting
Editor’s Choice

LEPOWER Metal Desk Lamp, Eye-Caring Table Lamp, Study Lamps with Flexibl…

PESRAE Floor Lamp, Remote Control with Stpeless Color Temperatures and B…

BOHON LED Desk Lamp with USB Charging Port 3 Color Modes Dimmable Readin…
Step 4: Incorporate Accent Lighting

Accent lighting adds depth and highlights architectural features. Here’s how to choose it:
- Select wall sconces to frame artwork or mirrors.
- Install LED strip lighting behind furniture or along shelves for a modern touch.
- Ensure accent lights are directed towards focal points to enhance their visibility.
Why this matters: Accent lighting creates visual interest and enhances the overall ambiance. Warning: Avoid overly bright accent lights that can detract from the room’s coziness. Time estimate: 30 minutes.
Step 4: Incorporate Accent Lighting
Editor’s Choice

Govee RGBIC LED Strip Lights, Smart LED Lights for Bedroom, Bluetooth LE…

SUNVIE 2 Pack LED 120V SpotLights Indoor, 3W Up Lights Floor Spotlight, …

Ouyulong Battery Operated Wall Sconces Set of 2, Wireless Rechargeable D…
Step 5: Layer Your Lighting Controls
Having control over your lighting is crucial for creating different moods. Follow these steps:
- Install dimmer switches for your ambient lighting to adjust intensity.
- Use smart bulbs that can be controlled via an app for convenience.
- Consider using a remote control for easy access to all lighting options.
Why this matters: Proper control enhances the versatility of your lighting, allowing you to switch from bright work mode to soft relaxation mode effortlessly. Pro Tip: Group your lights into zones for easier control. Time estimate: 30 minutes.
Step 5: Layer Your Lighting Controls
Editor’s Choice

Wireless Dimmer Switch, Remote Light Switch and Receiver kit, Compatible…
Step 6: Finalize and Test Your Lighting
Once you’ve installed your lighting, it’s time to finalize and test everything. Follow these steps:
- Turn on all lights to assess the overall brightness and ambiance.
- Adjust the positioning of task and accent lights as needed.
- Experiment with dimmer settings to find your ideal mood lighting.
Why this matters: Testing ensures that your layered lighting works harmoniously and meets your needs. Warning: Take note of any areas that feel too dark or too bright and adjust accordingly. Time estimate: 30 minutes.
Step 6: Finalize and Test Your Lighting
Editor’s Choice

Kasa Smart Dimmer Switch HS220, Single Pole, Needs Neutral Wire, 2.4GHz …

KSIPZE 100ft Led Strip Lights RGB Music Sync Color Changing Led Lights w…

64.4” Slim Floor Lamp for Living Room with Magnetic Remote and Foot Sw…
Pro Tips
- Choose the Right Bulbs: Use warm white bulbs (2700K-3000K) for a cozy atmosphere.
- Mix Light Sources: Combine different light sources to create depth.
- Consider Light Placement: Place lights at different heights for a layered effect.
- Invest in Quality Fixtures: High-quality fixtures can elevate your design.
- Use Reflective Surfaces: Mirrors can help amplify light and make your room feel larger.
Pro Tips
Editor’s Choice

Great Eagle A19 LED Light Bulbs 60 Watt Equivalent – UL Listed – Soft Wh…
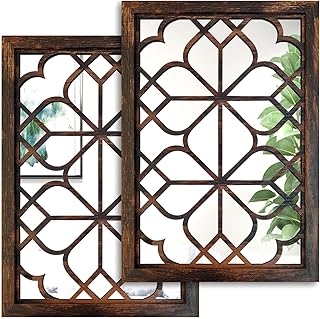
Wocred Set of 2 Rectangular Wall Mirror,Gorgeous Rustic Farmhouse Accent…
Common Mistakes to Avoid
Warning: Don’t Overlook Natural Light: Failing to consider how natural light affects your room can lead to poor lighting choices. Always assess daylight before making decisions.
Warning: Avoid Heavy Shadows: Insufficient task lighting can create shadows that hinder functionality. Ensure your task lights are positioned correctly.
Warning: Don’t Underestimate Dimmer Switches: Not using dimmers can limit your room’s versatility. Always incorporate them for flexible lighting.
Common Mistakes to Avoid
Editor’s Choice

LEPOWER Desk Lamp, 800LM LED for Home Office, 12W Reading for Desk, Eye-…
Kasa Smart Light Bulbs, Full Color Changing Dimmable Smart WiFi Bulbs Co…

Lightdot 3-Light Globe Floor Lamp with Shelf Modern Dimmable Floor Lamps…
Troubleshooting Section
Problem: Lights are too dim.
Solution: Check bulb wattage and replace with higher wattage bulbs if needed. Adjust dimmer settings.
Problem: Shadows are present in work areas.
Solution: Move task lights closer to work surfaces and ensure they are directed properly.
Problem: Lighting feels harsh.
Solution: Use warm bulbs and adjust the brightness through dimmers to soften the light.
Troubleshooting Section
Editor’s Choice

Super Bright LED Light Bulbs, 150 Watt Equivalent, 5000K Daylight White,…

OttLite LED Soft Touch Desk Lamp – 3 Brightness Settings with Energy Eff…
Kasa Smart Dimmer Switch HS220, Single Pole, Needs Neutral Wire, 2.4GHz …
Variations/Alternative Methods
If you’re looking for different lighting styles, consider options like:
- String Lights: Great for creating a whimsical atmosphere, perfect for bohemian styles.
- Smart Lighting Systems: Ideal for tech enthusiasts; control your lights via apps or voice commands.
- Floor Lamps with Adjustable Arms: Flexible for task lighting without hardwiring fixtures.
Each option has its pros and cons, depending on your preferences and design style.
Variations/Alternative Methods
Editor’s Choice

Outdoor Decorative Patio String Lights, Beaded Copper Wire Ball Style La…

PACOVY Floor Lamp, Adjustable Height Floor Lamps for Living Room Bedroom…

Linkind Matter Smart Light Bulb, WiFi Smart Bulbs, Work with Apple Home,…
FAQs
What if I don’t have a ceiling fixture? You can use floor lamps or wall sconces to provide ambient lighting instead.
How long should I expect my lighting to last? Most LED bulbs last between 15,000-25,000 hours, depending on usage.
Is it safe to mix different light bulb types? Yes, but ensure they are compatible with your fixtures and dimmers.
Can I use smart bulbs without a home automation system? Yes, many smart bulbs work independently and can be controlled via an app.
What if my lights flicker? This may indicate a wiring issue; check connections or consult a professional electrician.
FAQs
Editor’s Choice
Linkind Smart Light Bulbs, Smart Bulb that Work with Alexa, Google Home,…

TRLIFE Wall Sconce Plug in, Dimmable Wall Sconce with Switch Swing Arm W…
Modern Floor Lamp Simple Design with White Shade, Foot Pedal Switch, 60″…
Conclusion
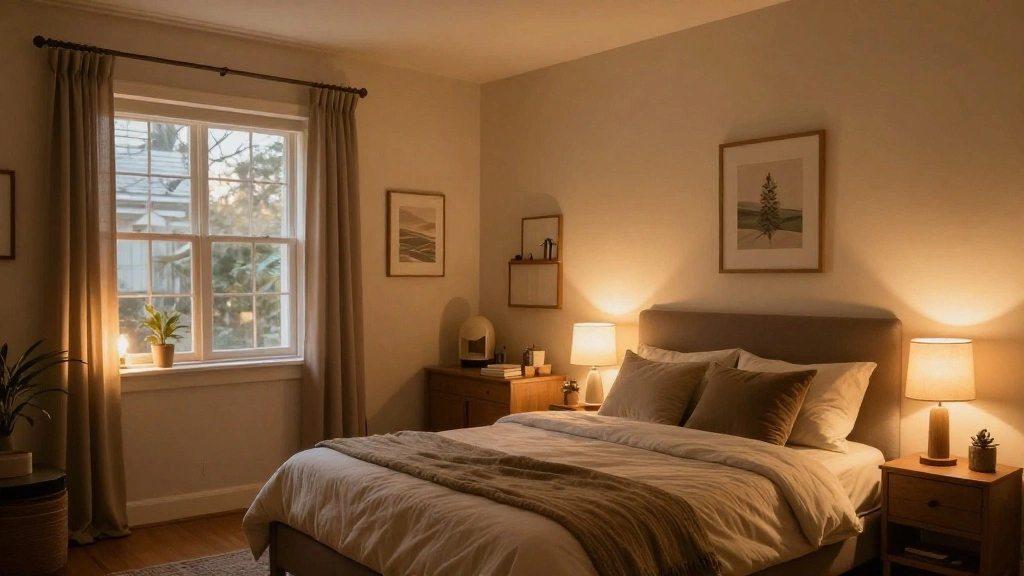
Congratulations! You’ve successfully layered lighting in your bedroom, creating a beautiful and functional space. Enjoy the ambiance you’ve crafted, and remember that lighting can be easily adjusted based on your needs. Consider exploring accent decor or additional lighting options to further enhance your bedroom’s style.
For more design tips, feel free to explore our other resources. Your bedroom is now a cozy retreat, so take the time to relax and enjoy your new, well-lit sanctuary!