
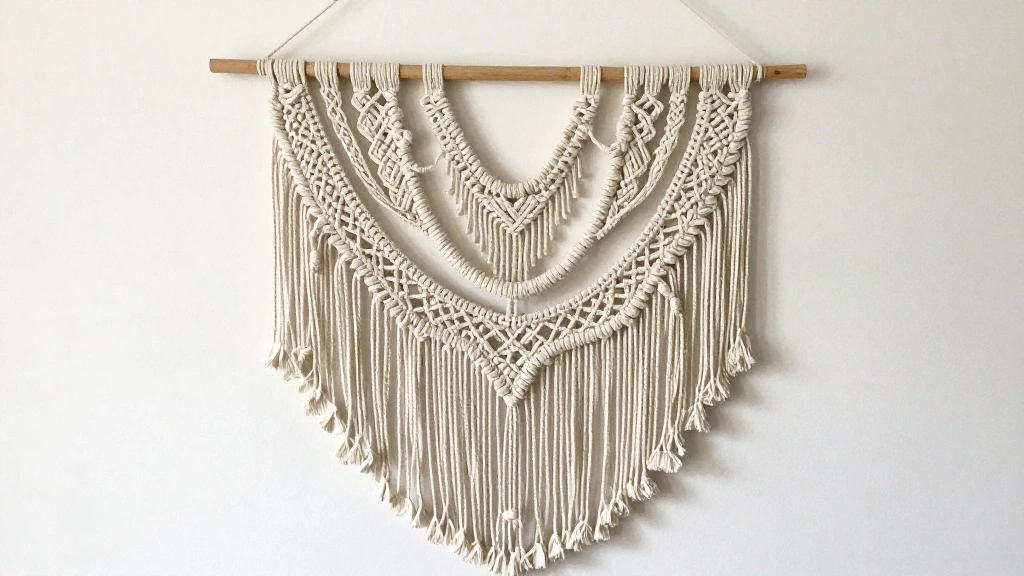
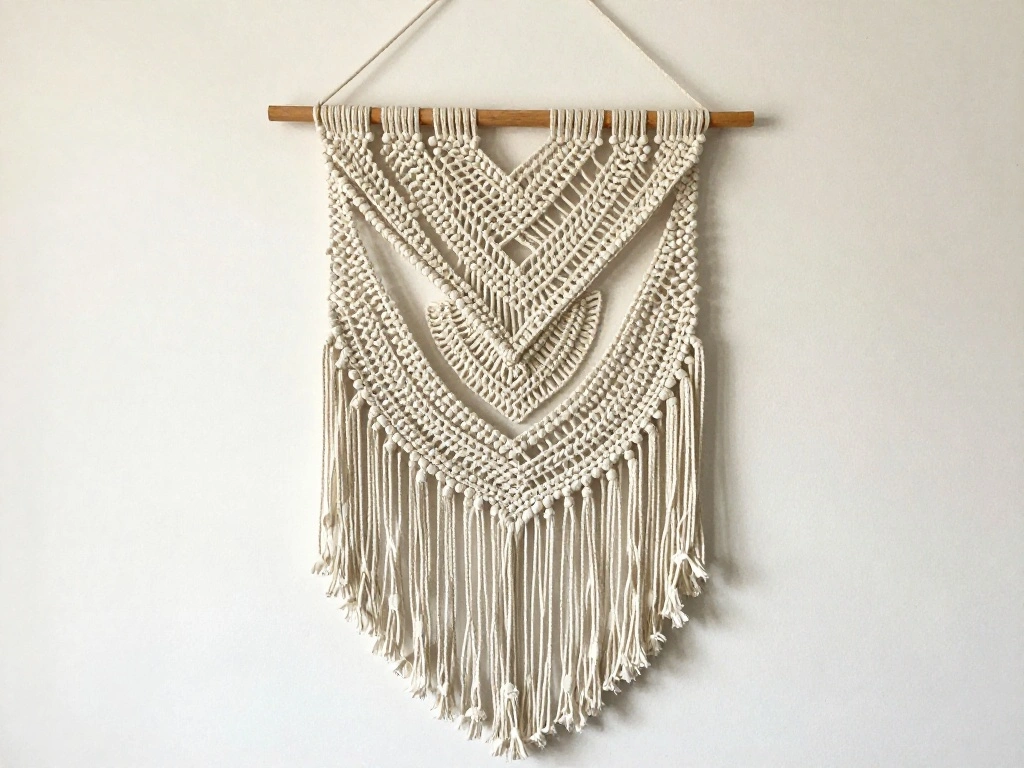
Are you looking to add a touch of bohemian charm to your bedroom? Crafting a DIY macrame wall hanging can transform your space into a cozy retreat while allowing you to express your creativity. With the right materials and a bit of patience, you can create a stunning piece that serves as a focal point in your room.
This guide will walk you through each step of the process, from gathering your materials to completing your unique wall hanging. By the end, you’ll have a beautiful, handcrafted piece that reflects your personal style. Expect to spend about 2-3 hours on this project, making it perfect for a weekend afternoon.
Even if you’re a beginner, this guide will provide you with the knowledge and confidence to tackle macrame. Let’s get started!
TL;DR Summary
- Gather materials: macrame cord, wooden dowel, scissors, and a measuring tape.
- Learn basic macrame knots: square knot and lark’s head knot.
- Follow step-by-step instructions to create your wall hanging.
- Customize your design to match your bedroom decor.
TL;DR Summary
Editor’s Choice

SCAIKTIG Small Craft Scissors, 3″ Tiny Travel Scissors Tsa Compliant wit…

NOANTA Natural Macrame Cord 3mm x 109Yards, Beige Macrame Rope, Cotton C…

BENECREAT 6 Pcs Wooden Dowel Rods with Two Holes, 15.7 Inch Burlywood Ro…
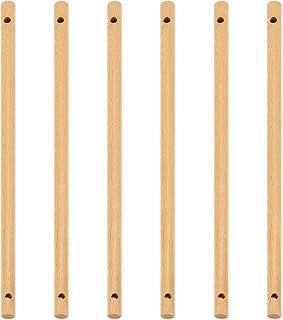
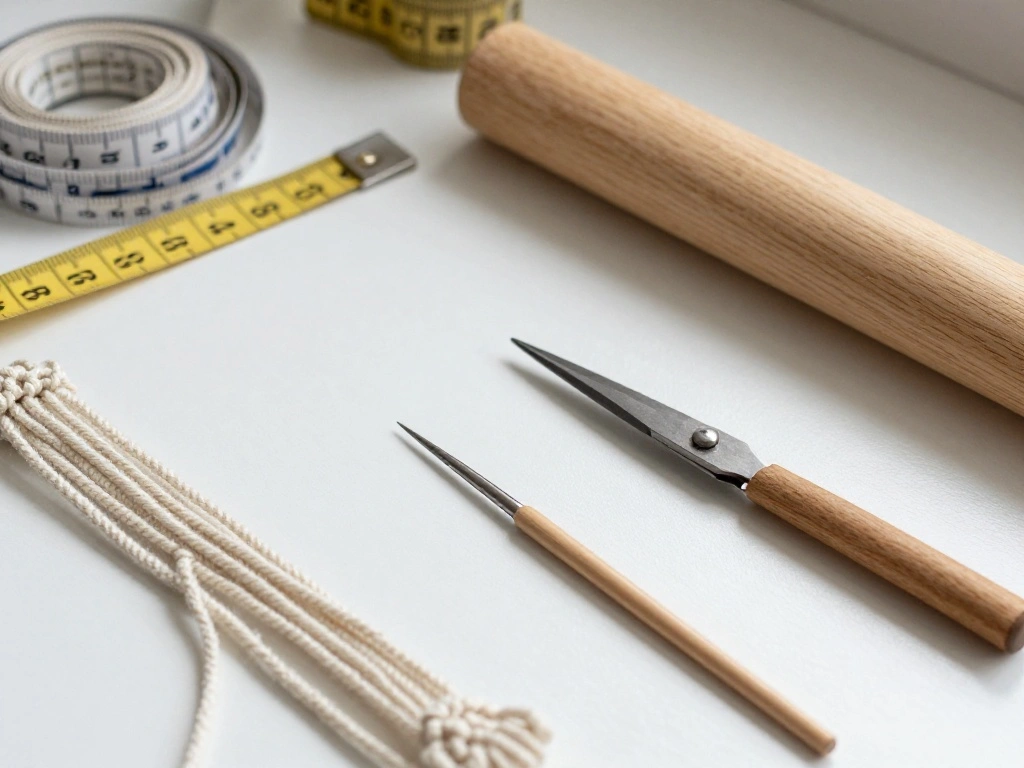
Prerequisites/Materials Needed
- Macrame Cord: 3-5mm thickness, 100 feet
- Wooden Dowel: 24 inches long
- Scissors: sharp for cutting cord
- Measuring Tape: for accurate measurements
- Optional: beads or decorations for added flair
Prerequisites/Materials Needed
Editor’s Choice
SCAIKTIG Small Craft Scissors, 3″ Tiny Travel Scissors Tsa Compliant wit…
BENECREAT 6PCS Wooden Dowels with Two Holes, 11.8inch Navajo White Round…

Adult DIY Craft Keychain Making Kit Boho Macrame Keychain Kit Includes K…
Skill Level & Time Estimate
Skill Level: beginner
Total time estimate: 2-3 hours.
This includes approximately 30 minutes for gathering materials, 1-2 hours for knotting, and 30 minutes for finishing touches.
Skill Level & Time Estimate
Editor’s Choice

Handmade Evil Eye Bracelet – White Mother of Pearl Beads with Gold-Pla…

BEUNITONE DIY Crochet Bag Kit for Beginners Blue Handbag Macrame Kit for…

The Macrame Bible: The complete reference guide to macrame knots, patter…
Step 1: Gather Your Materials
To kick off your macrame project, gather all the necessary materials listed above. This ensures you have everything at hand and can focus on crafting without interruptions.
1. Locate a clean, flat workspace where you can comfortably work on your project.
2. Take your measuring tape and measure out your macrame cord to 100 feet.
3. Cut the cord with your scissors, ensuring clean edges.
Warning: Always be careful while handling scissors to avoid injuries.
Why this matters: Having all your materials ready will streamline your process, making it easier to follow the steps without having to pause.
Estimated time: 15 minutes.
Step 1: Gather Your Materials
Editor’s Choice

Nosiny 24 Pieces Boho Macrame Keychains Bulk Mini Cute Handcrafted Tasse…

Women’S Pubic Hair Scissors Round-Tip Scissors&Bikini Trimmer Safety G…

KURUI 303Pcs Picture Hanging Kit, Picture Hangers Assorted Kit with Heav…
Step 2: Measure and Cut the Cord
Once you have gathered your materials, it’s time to measure and cut the macrame cord into the right lengths. This is crucial for the overall design of your wall hanging.
1. Measure and cut 8 pieces of cord, each 5 feet long for a simple design.
2. For a more complex design, you may want to increase the number of cords or their lengths.
Pro Tip: Use a ruler or the measuring tape for accuracy.
Why this matters: Accurate measurements ensure that your wall hanging is balanced and looks professional.
Estimated time: 20 minutes.
Step 2: Measure and Cut the Cord
Editor’s Choice

6 PCS Tape Measure Body Measuring Tape with Soft Ruler & Scissors for Se…
Step 3: Attach the Cord to the Dowel
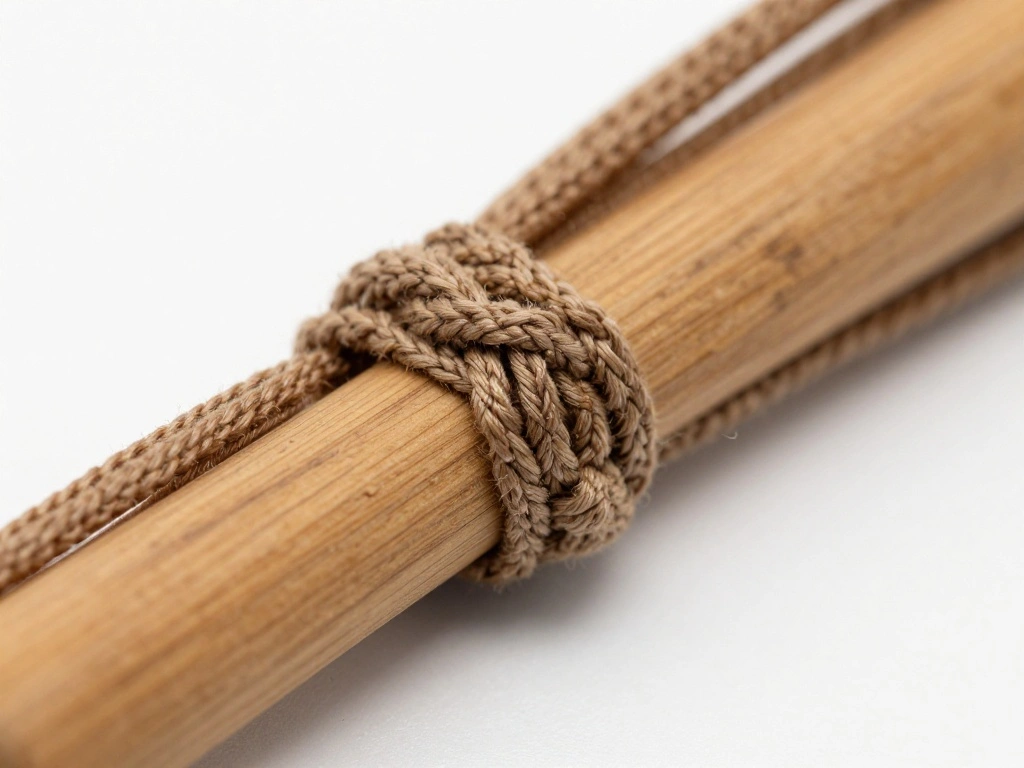
Now that you have your cords cut, it’s time to attach them to the wooden dowel. This step forms the foundation of your wall hanging.
1. Fold each piece of cord in half to create a loop.
2. Position the loop over the dowel and pull the ends through the loop, creating a lark’s head knot.
3. Repeat this process until all cords are attached, spacing them evenly.
Warning: Ensure your knots are tight to prevent them from unraveling.
Why this matters: This step secures your design and provides a sturdy base for your macrame wall hanging.
Estimated time: 15 minutes.
Step 3: Attach the Cord to the Dowel
Editor’s Choice

100Pcs Leather Necklace Cord with Clasps, Rope Necklace String, 25Color …
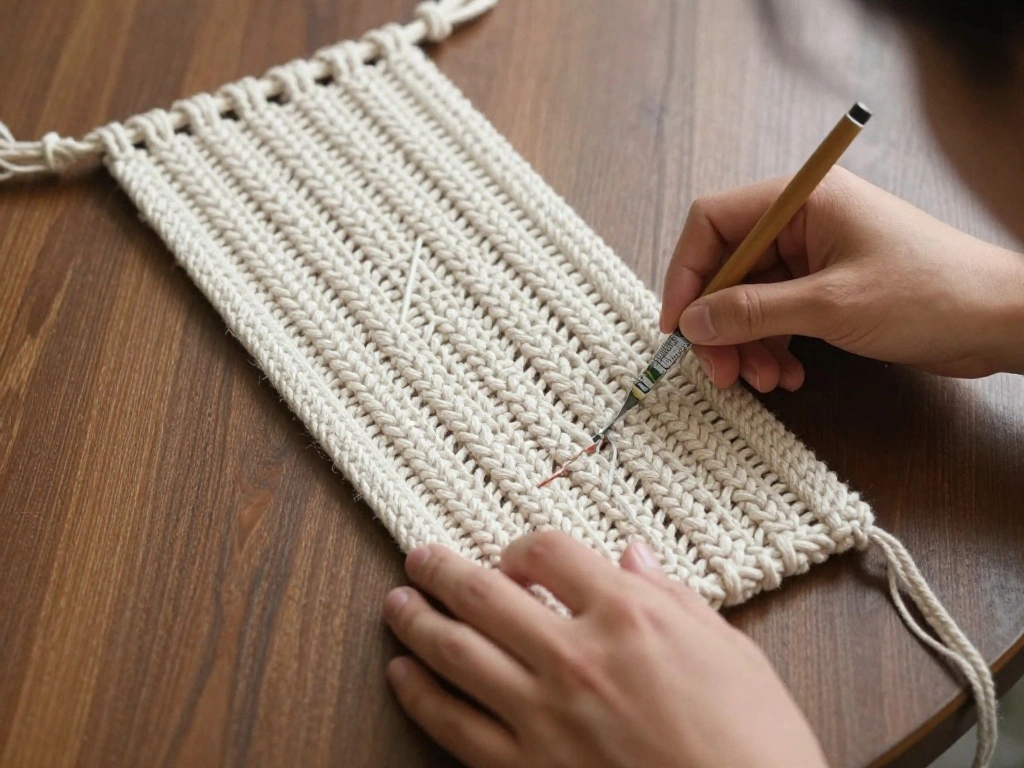
Step 4: Learn Basic Knots
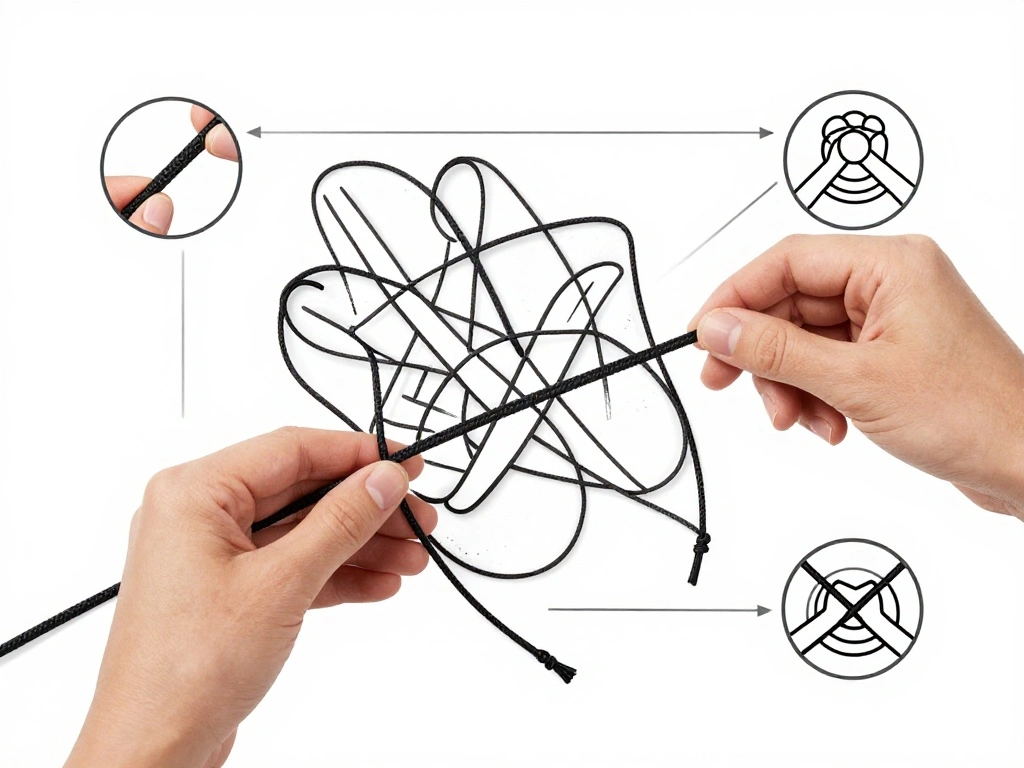
Before you begin your design, familiarize yourself with basic macrame knots. The square knot and lark’s head knot are essential for creating your wall hanging.
1. To create a square knot, take two outer cords and tie them over the middle cords, then pull tight.
2. Repeat this process with the two outer cords to form a square knot.
3. Practice a few times until you feel comfortable.
Pro Tip: Watch tutorial videos to visualize these knots in action.
Why this matters: Mastering these knots is key to achieving the desired look for your wall hanging.
Estimated time: 30 minutes.
Step 4: Learn Basic Knots
Editor’s Choice
The Macrame Bible: The complete reference guide to macrame knots, patter…
Step 5: Begin Your Design

With your knots mastered, it’s time to start designing your wall hanging. Choose a pattern that suits your style and skill level.
1. Begin from the center of the dowel and work outwards.
2. Use square knots or any other knot you prefer to create patterns.
3. Continue until you reach your desired length, keeping your knots uniform.
Warning: Consistency is key; uneven knots can disrupt the overall look.
Why this matters: This step allows you to showcase your creativity while building a beautiful piece of art.
Estimated time: 1 hour.
Step 5: Begin Your Design
Editor’s Choice

BAZIMA DIY String Art Kit for Beginner, DIY Lavender Craft Kit,Unique Gi…
The Macrame Bible: The complete reference guide to macrame knots, patter…
Nosiny 24 Pieces Boho Macrame Keychains Bulk Mini Cute Handcrafted Tasse…
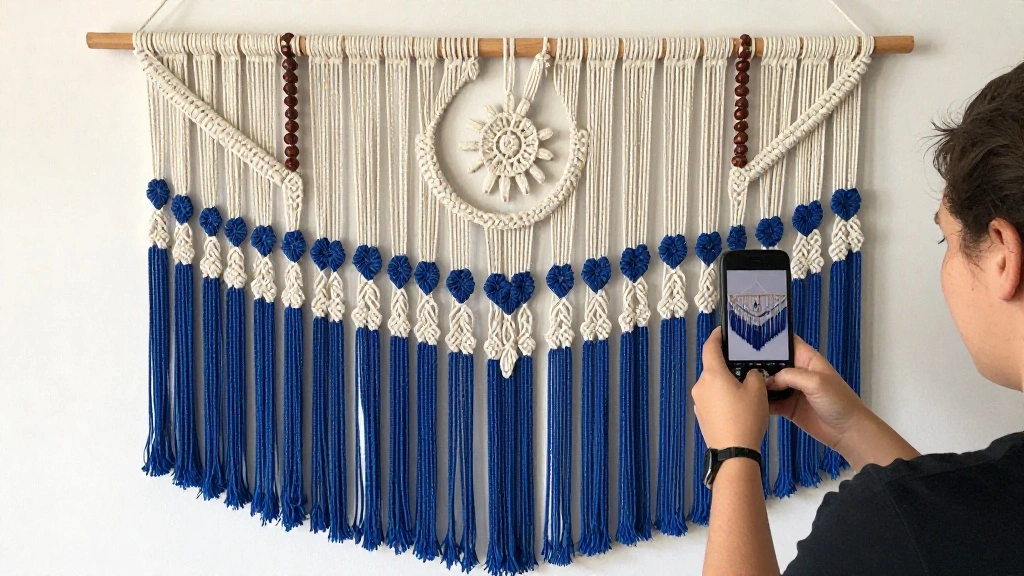
Step 6: Add Decorative Elements
Once you’ve completed your main design, consider adding decorative elements to enhance your wall hanging.
1. Incorporate beads or other embellishments into your knots.
2. Experiment with different textures by using various types of cords.
3. Ensure that any additions are securely tied in.
Pro Tip: Use a mix of cord colors for a vibrant look.
Why this matters: Decorative elements can personalize your piece and make it stand out.
Estimated time: 30 minutes.
Step 6: Add Decorative Elements
Editor’s Choice
BAZIMA DIY String Art Kit for Beginner, DIY Lavender Craft Kit,Unique Gi…

SUNTQ Macrame Hoops Ring for Dream Catcher Metal Crafts Round Brass Plat…
Step 7: Trim the Ends

After completing your design, it’s time to trim the ends of the cords to achieve a polished look.
1. Assess the length of the cords; decide how much you want to trim.
2. Use scissors to cut the ends evenly, creating a uniform appearance.
3. Consider a V-shape or straight cut for a styled finish.
Warning: Take your time to ensure even cuts; uneven ends can detract from your design.
Why this matters: Trimming gives your wall hanging a clean and professional finish.
Estimated time: 15 minutes.
Step 8: Secure and Finish
Now that your wall hanging is trimmed, it’s time to secure everything and finish off your piece.
1. Inspect all knots for tightness; retie any loose knots if necessary.
2. Optionally, use fabric glue on the knots for extra security.
3. Hang the piece on the wall using the dowel.
Pro Tip: Use decorative hooks that match your wall decor for a cohesive look.
Why this matters: Proper finishing ensures durability and showcases your hard work.
Estimated time: 20 minutes.
Step 8: Secure and Finish
Editor’s Choice

B-7000 Glue Clear for Rhinestone Crafts, Jewelry and Bead Adhesive B7000…

Midukit Butterfly Design Wall Hooks for Towel and Coat: 20LB Screw in Ae…
Step 9: Display Your Creation
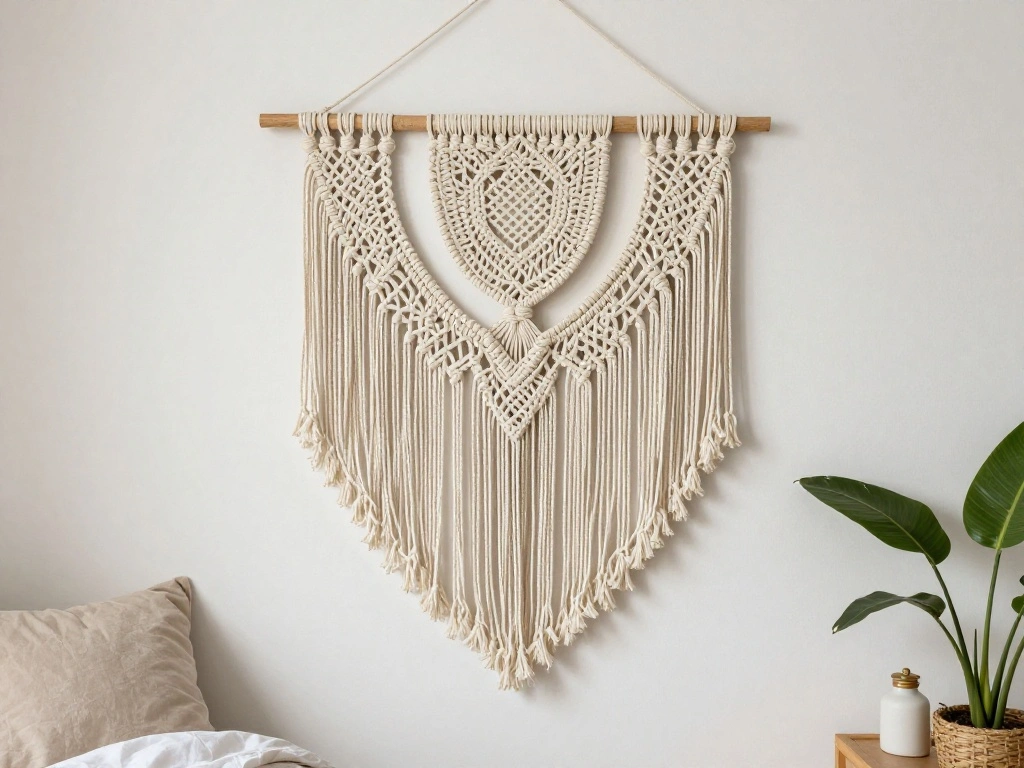
Now that your macrame wall hanging is complete, it’s time to proudly display your creation in your bedroom.
1. Choose a wall that needs a touch of decor.
2. Hang your wall hanging at eye level for the best visual impact.
3. Step back and admire your work, adjusting as necessary for balance.
Pro Tip: Pair your wall hanging with other decor items like plants or photos for a layered look.
Why this matters: Displaying your work not only beautifies your space but also serves as a reminder of your creative accomplishment.
Estimated time: 10 minutes.
Step 9: Display Your Creation
Editor’s Choice

10 PCS Vintage Metal Wall Hooks, Bohemian Decorative Hook with Screws, W…

EYITUPC Light Up Teacher Picture Frame Gifts for Women – End of Year Gif…
Step 10: Share Your Work
Celebrate your achievement by sharing your DIY macrame wall hanging with friends and family or on social media.
1. Take quality photos of your finished piece in your bedroom setting.
2. Post on social media with crafting hashtags to connect with others.
3. Encourage others to try their hand at macrame.
Pro Tip: Join macrame or DIY groups for feedback and inspiration.
Why this matters: Sharing your creation can inspire others and build a community of craft enthusiasts.
Estimated time: 10 minutes.
Step 10: Share Your Work
Editor’s Choice
100Pcs Leather Necklace Cord with Clasps, Rope Necklace String, 25Color …

YOUYISI 3.75″ Round Tip Safe Mini Pubic Hair Scissors For Women, Small P…

WEBEEDY Macrame Bag DIY Kit for Adults Macrame Kit for Beginners Macrame…
Pro Tips
- Consistency: Keep knot sizes uniform for a polished look.
- Experiment: Don’t hesitate to try new patterns and styles.
- Use Quality Cord: Invest in good-quality macrame cord for durability.
- Practice Knots: The more you practice, the better your knots will look.
- Decorate Wisely: Choose embellishments that complement your design rather than overwhelm it.
Pro Tips
Editor’s Choice

Macrame Pattern Book: Includes Over 70 Knots and Small Repeat Patterns P…
100Pcs Leather Necklace Cord with Clasps, Rope Necklace String, 25Color …
Common Mistakes to Avoid
Warning: Avoid the following common mistakes:
- Uneven Knots: They can ruin the overall look; measure and practice for consistency.
- Incorrect Measurements: Always double-check before cutting your cord.
- Loose Ends: Make sure all knots are tight to prevent unraveling.
- Overloading with Decorations: Too many embellishments can clutter the design; keep it simple.
Troubleshooting Section
Problem: Knots are unraveling.
Solution: Ensure all knots are tight; consider using fabric glue for extra security.
Problem: Cords are uneven.
Solution: Trim the cords evenly after completing the design.
Problem: Difficulty in tying knots.
Solution: Watch tutorial videos for additional guidance.
Problem: Design looks cluttered.
Solution: Simplify your design by reducing the number of knots or decorations.
Problem: Wall hanging is too heavy.
Solution: Use lighter cord or reduce the number of beads/embellishments.
Troubleshooting Section
Editor’s Choice

Body Adhesive Glue for Clothes 30ml, Sweat Proof, Water Wash Off Skin Ad…

The Complete Photo Guide to Knitting: *All You Need to Know to Knit *The…
NOANTA Natural Macrame Cord 3mm x 109Yards, Beige Macrame Rope, Cotton C…
Variations/Alternative Methods
- Natural Twine: Use natural twine for a rustic look; great for farmhouse decor.
- Colorful Cords: Experiment with colorful macrame cords to add vibrancy to your piece.
- Mixed Media: Combine macrame with other materials like wood or fabric for a unique twist.
Variations/Alternative Methods
Editor’s Choice

Macraweave: Macrame Meets Weaving with 18 Stunning Home Decor Projects
INFUNLY 5 Set Colorful Macrame Cord Knotting Kits for Adults DIY Macrame…
NOANTA Natural Macrame Cord 3mm x 109Yards, Beige Macrame Rope, Cotton C…
FAQs
- What if I don’t have enough cord? Always measure twice and have extra cord on hand for adjustments.
- How long should I hang my wall hanging? Eye level is best for visibility; adjust based on your wall space.
- Is it safe to use glue on my knots? Yes, fabric glue is safe and can help secure your knots.
- What if my knots look uneven? Practice makes perfect; trim to even them out after completion.
- Can I use any type of cord? It’s best to use macrame-specific cord for durability and ease of use.
Conclusion
Congratulations on completing your DIY macrame wall hanging! You’ve not only created a stunning piece of decor but also honed a new skill.
Now that you’ve mastered the basics, consider exploring more complex designs or even incorporating other materials into your projects. Share your work with friends or join crafting communities online for inspiration and support.
Keep crafting and let your creativity shine!