
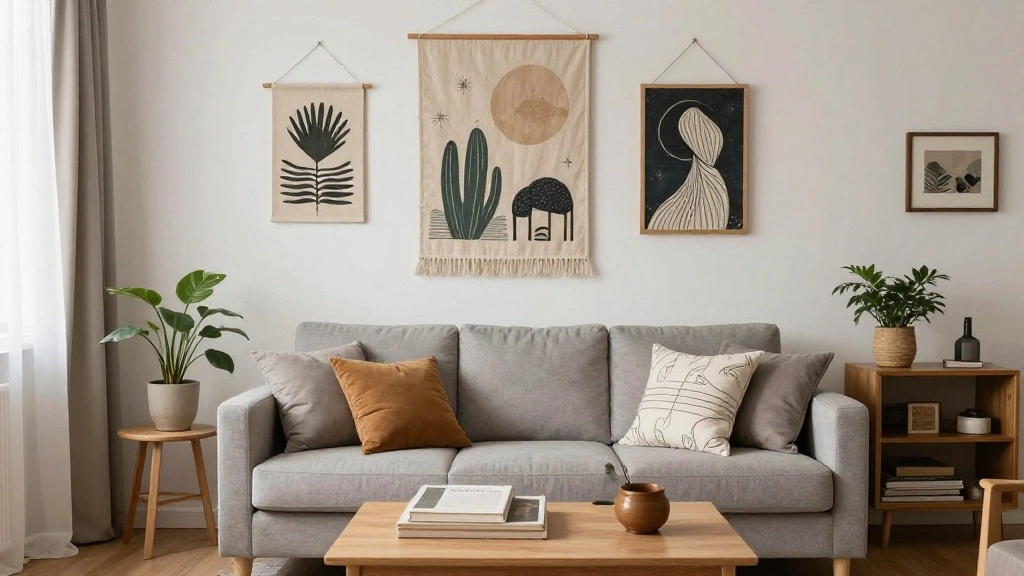
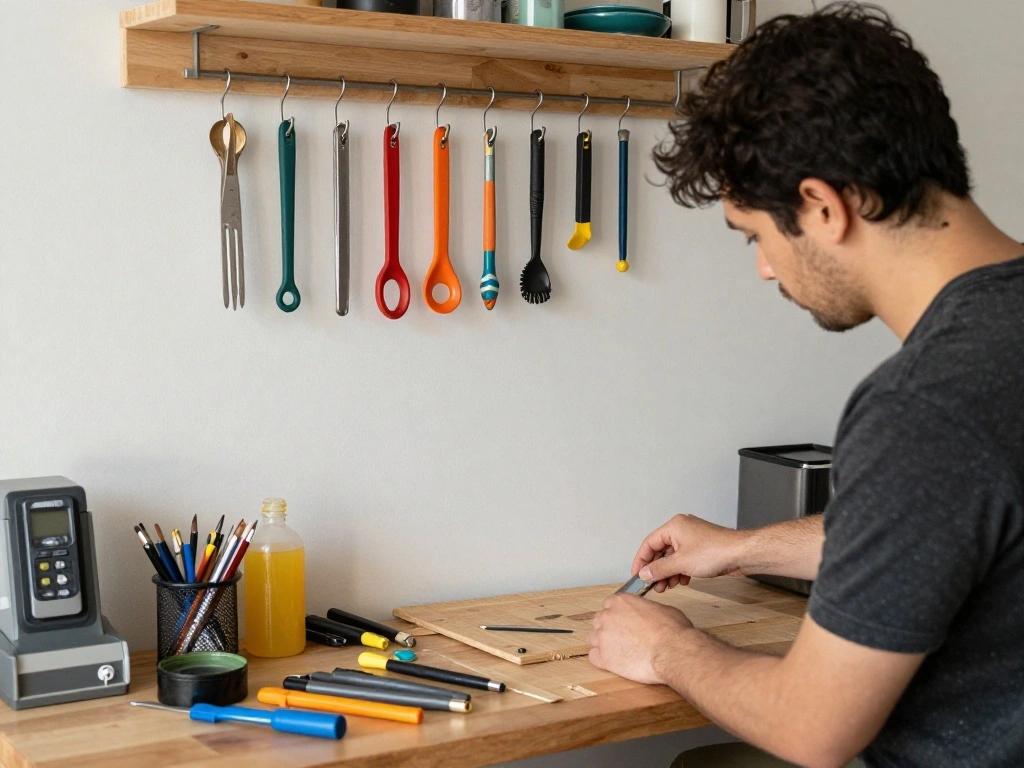
Renting a home often means you have to compromise on creating a personal space, especially when it comes to hanging decor. The fear of losing your security deposit or facing penalties for damaging walls can make it seem impossible to personalize your rental. But it doesn’t have to be that way!
This guide will show you how to hang items in your rental without causing any damage. By using various techniques and tools, you can showcase your style while keeping your landlord happy. You’ll learn about damage-free hanging methods, tools you can use, and tips for planning your layout effectively.
This guide is designed for beginners and can be completed in an estimated 30-60 minutes. Get ready to transform your rental into a home without leaving a mark!
TL;DR Summary
- Use damage-free hanging methods to personalize your rental.
- Gather the right materials and tools for the job.
- Follow each step carefully to ensure a successful installation.
- Enjoy your beautifully decorated space without the worry of damaging walls.
TL;DR Summary
Editor’s Choice

Big Kizzy Pro Hold Double Sided Replacement Tape Tabs for Hair Extension…

15 lb Large Picture Hanging Strips 14 Pairs (28 Strips), Damage-Free Han…

Adhesive Hooks, 32 Pack 33lb(Max) Sticky Hooks, Transparent Reusable Rem…
Prerequisites/Materials Needed
- Command strips (various sizes)
- Adhesive hooks
- Picture hanging strips
- Level
- Measuring tape
- Pencil
Prerequisites/Materials Needed
Editor’s Choice
Command 15 lb Large Picture Hanging Strips 14 Pairs (28 Strips), Damage-…
Adhesive Hooks, 32 Pack 33lb(Max) Sticky Hooks, Transparent Reusable Rem…
Skill Level & Time Estimate
Skill Level: beginner
Total time estimate: 30-60 minutes. This includes gathering materials and hanging items.
Skill Level & Time Estimate
Editor’s Choice
Adhesive Hooks, 32 Pack 33lb(Max) Sticky Hooks, Transparent Reusable Rem…
Step 1: Choose Your Items Wisely

Begin by selecting the items you want to hang. Consider their size, weight, and how they will fit into your space. This step is crucial because choosing the wrong item can lead to damage or ineffective decor.
1. Decide on the type of decor (art, shelves, mirrors, etc.).
2. Assess the weight of each item. Most damage-free methods are suitable for lighter items.
3. Visualize the arrangement on the wall before proceeding.
Pro Tip: Use painter’s tape to outline where you plan to hang items before making any commitments.
Time estimate: 10-15 minutes.
Step 1: Choose Your Items Wisely
Editor’s Choice

Command Large Utility Hooks, 7-Hooks, 12-Strips, Organize Damage-Free
15 lb Large Picture Hanging Strips 14 Pairs (28 Strips), Damage-Free Han…
Step 2: Measure and Mark Your Layout
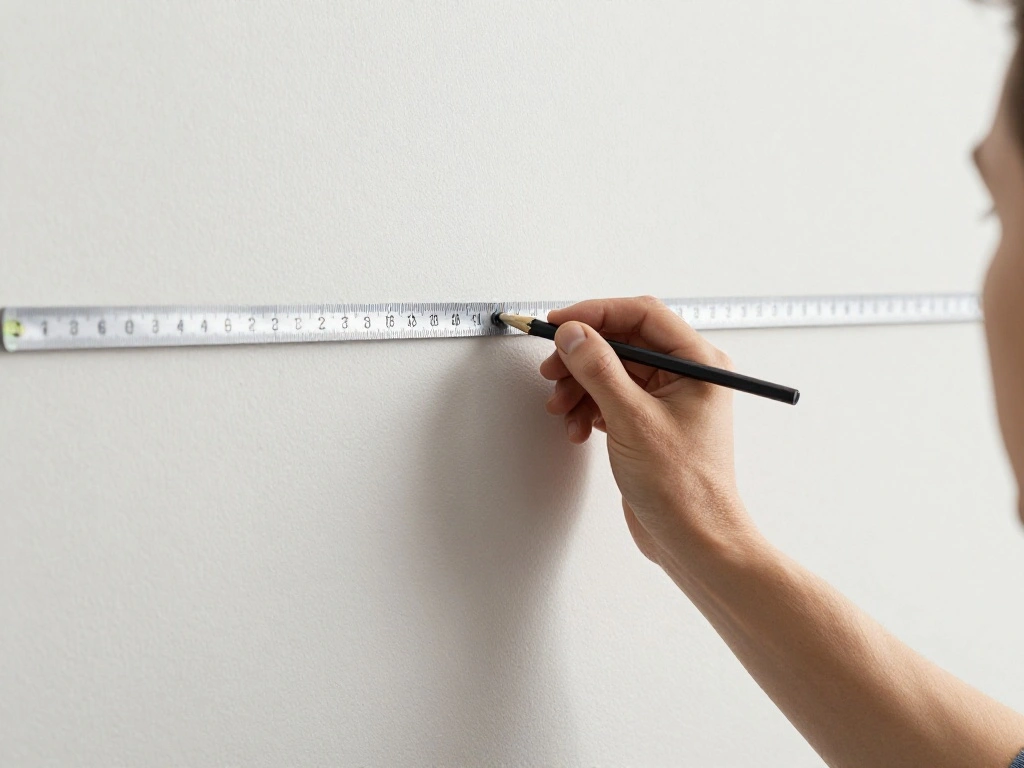
Now that you’ve chosen your items, it’s time to measure and mark your layout on the wall. This ensures everything is aligned and visually appealing.
1. Use a measuring tape to find the center of the wall.
2. Mark the spots where you plan to hang the items with a pencil.
3. Use a level to ensure the marks are straight.
Pro Tip: Create a mock layout on the floor to visualize how the items will look together.
Time estimate: 10-15 minutes.
Step 2: Measure and Mark Your Layout
Editor’s Choice

Torpedo Level Magnetic, Firecore 9 Inch Shockproof Small Leveler Tool wi…

20 lb XL 8 Pairs Heavyweight Picture Hanging Strips (16 Strips), Damage-…
Step 3: Prepare Your Hanging Method
Different items require different hanging methods. Understanding how to use damage-free options is key to protecting your walls.
1. For Command strips: Follow the package instructions for application.
2. For adhesive hooks: Clean the wall surface where the hook will go.
3. For picture hanging strips: Ensure both the wall and the back of the picture are clean.
Warning: Do not use nails or screws as they will damage the wall and violate your rental agreement.
Time estimate: 10 minutes.
Step 3: Prepare Your Hanging Method
Editor’s Choice
Command 15 lb Large Picture Hanging Strips 14 Pairs (28 Strips), Damage-…

Adhesive Wall Hooks for Hanging Heavy Duty 50 lbs Large Hooks for Walls …

Command 20 lb XL 8 Pairs Heavyweight Picture Hanging Strips (16 Strips),…
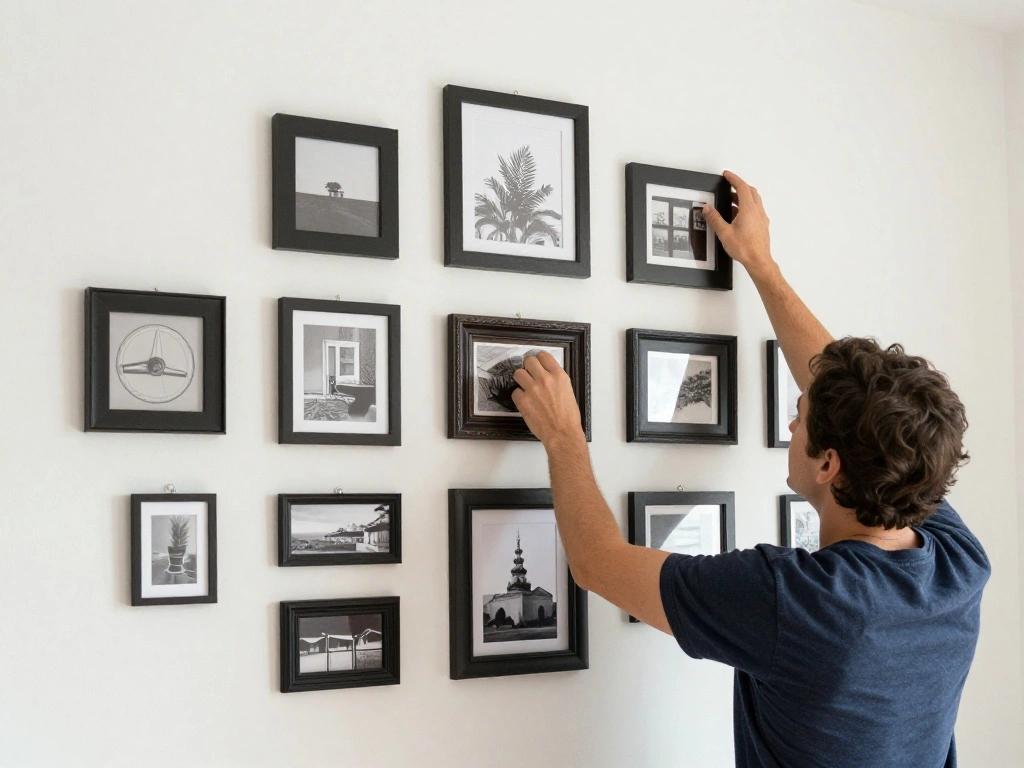
Step 4: Hang Your Items Carefully

Now comes the exciting part! It’s time to hang your items using the methods you prepared in the previous step.
1. Align the item with your marked spot.
2. Press firmly for the recommended time mentioned on the package to ensure adhesion.
3. Double-check with a level to make sure it’s straight.
Pro Tip: Start with lighter items and gradually progress to heavier ones as you build confidence.
Time estimate: 10-15 minutes.
Step 4: Hang Your Items Carefully
Editor’s Choice

Variety Pack, Including 10 Pairs of Picture Hanging Strips, 6 Wire Hooks…
15 lb Large Picture Hanging Strips 14 Pairs (28 Strips), Damage-Free Han…
Torpedo Level Magnetic, Firecore 9 Inch Shockproof Small Leveler Tool wi…
Step 5: Assess and Adjust
Once you’ve hung your items, take a step back to assess the overall look. Adjustments might be necessary to achieve your desired aesthetic.
1. Check for alignment and spacing between items.
2. If something looks off, carefully remove it and re-hang it.
3. Make sure everything feels secure before moving on.
Warning: Avoid pulling too hard on the items as this may weaken the adhesive.
Time estimate: 10 minutes.
Step 5: Assess and Adjust
Editor’s Choice

Command 15, 10, & 5 lb Large, Medium and Small 32 Pairs Picture Hanging …
Step 6: Clean Up the Area
After hanging your items, clean up any tools or materials used during the process. This step helps maintain a tidy space and showcases your new decor.
1. Gather all leftover materials and tools.
2. Dispose of any trash or packaging.
3. Wipe down the area to remove any dust or residue from the wall.
Pro Tip: Use this opportunity to take a photo of your newly decorated wall!
Time estimate: 5-10 minutes.
Step 6: Clean Up the Area
Editor’s Choice
Command 15 lb Large Picture Hanging Strips 14 Pairs (28 Strips), Damage-…
Command Large Utility Hooks, 7-Hooks, 12-Strips, Organize Damage-Free

Gorilla Mounting Putty, Natural Tan Color, 168 Pre-Cut Squares (Pack of …
Step 7: Enjoy Your Space

Congratulations! You’ve successfully hung your items without damaging the walls. Now it’s time to sit back and enjoy your personalized rental.
1. Spend some time admiring your handiwork.
2. Invite friends or family over to show off your new decor.
3. Consider adding seasonal decor or changing items periodically to keep the space fresh.
Pro Tip: Document your decor journey on social media to inspire others!
Time estimate: Ongoing joy!
Step 7: Enjoy Your Space
Editor’s Choice
15 lb Large Picture Hanging Strips 14 Pairs (28 Strips), Damage-Free Han…

pickpiff Adhesive Wall Coat Hooks – Heavy Duty Stick-On Door Hanger, Met…

Floating Shelves Set of 3 Rustic Solid Wood Floating Shelf Wall Storage …
Pro Tips
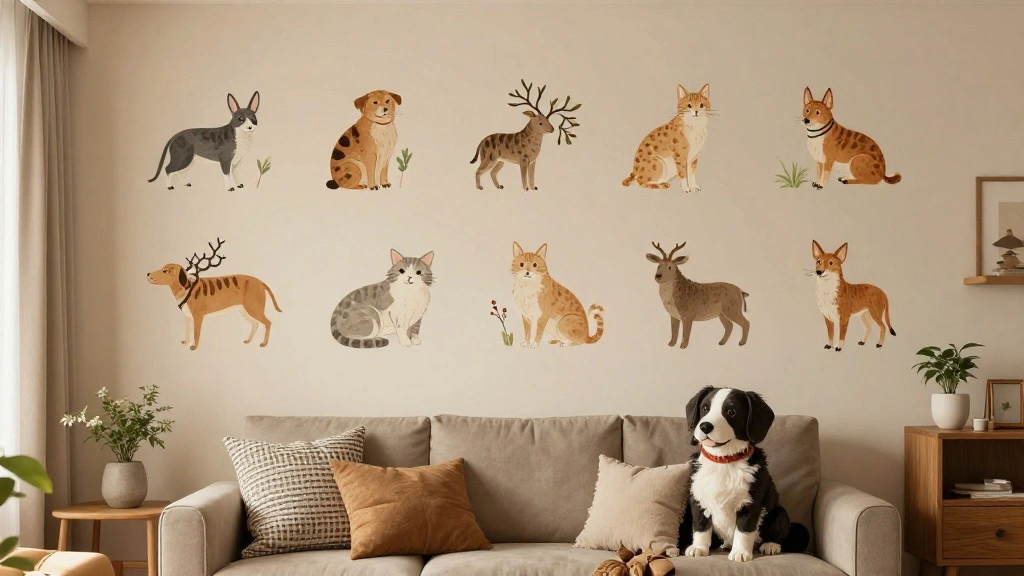
- Use Wall Decals: These are great for adding flair without causing damage.
- Try Gallery Walls: Arranging multiple small frames can create a stunning focal point.
- Rotate Decor Seasonally: Keep your space feeling fresh and new.
- Invest in Quality Adhesives: Quality products will hold better and last longer.
- Keep Instructions Handy: Always refer back to product instructions for best results.
Common Mistakes to Avoid
Warning: Not Cleaning the Wall: Failing to clean the wall before hanging can lead to poor adhesion.
Warning: Overloading Adhesive: Using items that exceed the weight limit can cause them to fall.
Warning: Ignoring Instructions: Not following the product instructions can lead to damage or ineffective hanging.
Common Mistakes to Avoid
Editor’s Choice
Command Large Utility Hooks, 7-Hooks, 12-Strips, Organize Damage-Free
Command 20 lb XL 8 Pairs Heavyweight Picture Hanging Strips (16 Strips),…
Gorilla Mounting Putty, Natural Tan Color, 168 Pre-Cut Squares (Pack of …
Troubleshooting Section
Problem: Item fell off the wall.
Solution: Check the weight limit of the adhesive used. Clean the wall and reapply.
Problem: Items are uneven.
Solution: Use a level to reposition items and ensure proper alignment.
Problem: Adhesive residue left on the wall.
Solution: Use a gentle adhesive remover or rubbing alcohol to clean the area.
Troubleshooting Section
Editor’s Choice

Uni Solve 402300 Adhesive Remover Wipe, Pack of 50

Motovera Self Leveling Laser Level 100ft, Green Cross Line with Tripod, …
Command 15 lb Large Picture Hanging Strips 14 Pairs (28 Strips), Damage-…
Variations/Alternative Methods
Consider these alternative methods to hang items:
- Magnetic Hooks: Useful for lightweight items and easy to remove.
- Removable Wallpaper: Allows for a temporary design change without damage.
- Freestanding Displays: Use shelves or easels for a no-holes approach.
Variations/Alternative Methods
Editor’s Choice

DIYMAG Magnetic Hooks, 30lbs+ Magnet Hook 2026 Cruise Cabin Ship Essenti…

Dimoon 118”x17.7” Green Peel and Stick Wallpaper Contact Paper Modern …

JEAWIWI 3PCS Black Lightweight Easel Stand for Wedding Signs, 66 Inch Ad…
FAQs
What if I don’t have Command strips? You can use adhesive hooks or picture hanging strips as alternatives.
How long should I wait before hanging something? Allow the adhesive to set for at least an hour before hanging anything.
Is it safe to use nails? No, nails will damage the wall and can lead to penalties.
FAQs
Editor’s Choice
Command 15 lb Large Picture Hanging Strips 14 Pairs (28 Strips), Damage-…

Command Medium Clear Wire Toggle Hooks, 6 Wall Hook and 8 Strips, Damage…
Gorilla Mounting Putty, Natural Tan Color, 168 Pre-Cut Squares (Pack of …
Conclusion
You did it! You’ve successfully hung items in your rental without damaging the walls. Your space is now personalized and reflects your style.
Next, consider exploring other areas of your home to enhance, or perhaps add some seasonal decorations to keep things interesting. Remember, your home is your sanctuary; enjoy it!