
Do you have two kids sharing a bedroom and struggle with how to make the space work for both? A shared bedroom can lead to conflicts over space, organization, and personal preferences if not designed thoughtfully. Transforming their room into a harmonious space can significantly impact their comfort and daily routines.
In this guide, you will learn how to design a shared bedroom that caters to both children. You will achieve a functional and aesthetically pleasing room that reflects their personalities while promoting cooperation and creativity. By the end of this article, you will have a clear plan to create a shared bedroom that both kids love.
This guide is suitable for beginners and will take approximately 3-4 hours to complete, depending on the complexity of your design and layout. Get ready to dive into the world of shared bedroom design!
TL;DR Summary
– Design a shared bedroom that meets the needs of both children.
– Use color schemes and furniture arrangements to create balance.
– Incorporate personal touches to reflect each child’s personality.
TL;DR Summary
Editor’s Choice

Bonnlo Bunk Bed Twin Over Twin for Kids/Teens/Adults Heavy Duty 2 Decker…

Personalized Wooden Name Sign for Nursery Wall Letters Custom Baby Name …

popoly Large Toy Box Storage with Lid, Collapsible Sturdy Toy Chest Stor…
Prerequisites/Materials Needed
- Measuring tape (1)
- Pencil and paper for sketching (1 set)
- Color swatches (2-4 options)
- Furniture (2 beds, 2 nightstands, 1 shared desk, etc.)
- Storage solutions (baskets, shelves, etc.)
- Decor items (posters, bedding, cushions, etc.)
- Lighting fixtures (2 bedside lamps, overhead light)
Prerequisites/Materials Needed
Editor’s Choice

BALEINE 1 Pack Fabric Closet Storage Bins for Shelves, Linen Closet Orga…

NEW JETO Metal Bed Frame,Twin Size Bed Frame with Storage Space,Heavy Du…

Wooden Kids Study Desk with Storage and 2 Stools, Kids Study Desk and Ch…
Skill Level & Time Estimate
Skill Level: beginner
Total time estimate: 3-4 hours. This can be broken down as follows:
- Planning and measuring: 1 hour
- Shopping for materials: 1-2 hours
- Assembling and decorating: 1 hour
Skill Level & Time Estimate
Editor’s Choice

Sterilite 4-Pack 27 Gallon Industrial Storage Tote, Heavy-Duty Plastic B…

iMagitek 3 Pack 3D Potted Green Plant Shelf Wall Decals, Hanging Green P…
Step 1: Measure the Space
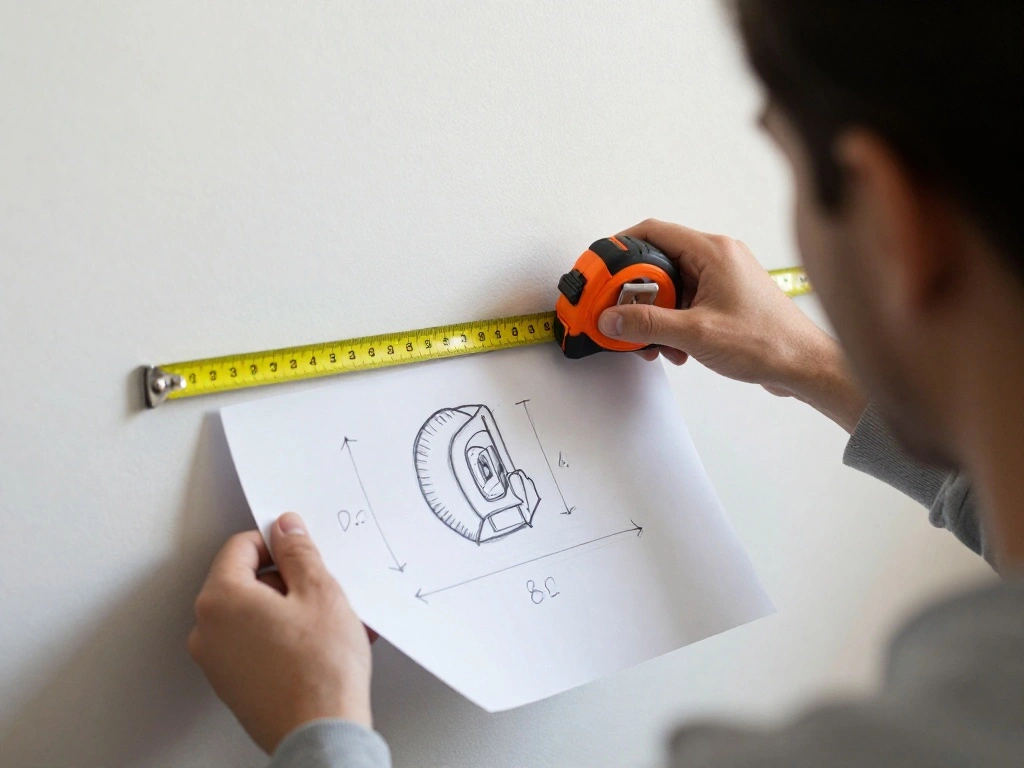
Start by accurately measuring the dimensions of the bedroom. This will help you understand what furniture fits and how to arrange it effectively. Follow these sub-steps:
- Use a measuring tape to get the room’s length and width.
- Measure the height of the walls and note any features like windows and doors.
- Sketch a rough layout of the room on paper with these measurements.
Warning: Avoid estimating dimensions, as this could lead to purchasing furniture that does not fit.
Pro Tip: Measure in inches for more precision and keep a notebook for your measurements.
Why this matters: Knowing the exact dimensions helps you plan a layout that maximizes space and ensures comfort. Estimated time: 30 minutes.
Step 1: Measure the Space
Editor’s Choice

Virtual Architect Home & Landscape Platinum Suite

New York School of Interior Design: Home: The Foundations of Enduring Sp…

Digital Caliper, Sangabery 0-6 inches Caliper with Large LCD Screen, Aut…
Step 2: Plan the Layout
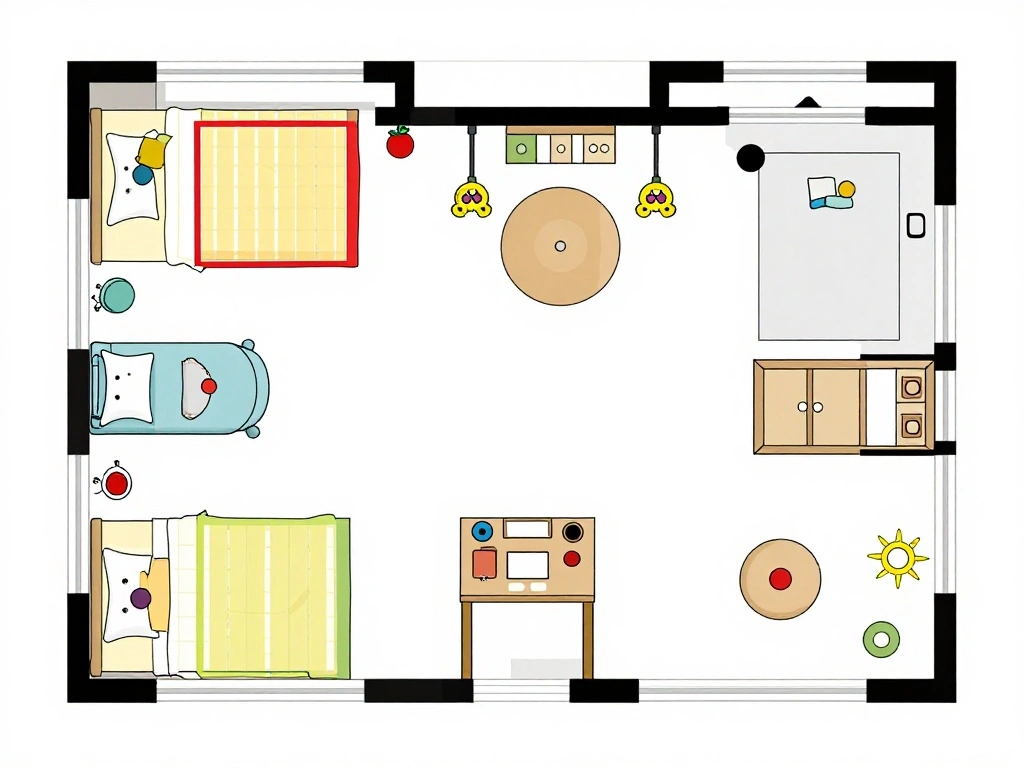
With your measurements in hand, it’s time to plan the layout. Think about how the space can be used effectively for both kids. Follow these steps:
- Decide on the placement of beds—consider using bunk beds for saving space.
- Arrange desks or play areas based on how the children use the room.
- Leave space for walking paths and easy access to storage.
Warning: Don’t overcrowd the room; ensure each child has their own space.
Pro Tip: Use painter’s tape to outline where furniture will go on the floor before moving it in.
Why this matters: A well-planned layout enhances functionality and reduces clutter. Estimated time: 30 minutes.
Step 2: Plan the Layout
Editor’s Choice
GITAWUSA Kids Desk and Chair Set, Height Adjustable Childrens Study Desk…

Foldable Large Kids Toy Chest with Flip-Top Lid, Collapsible Fabric Anim…

LIKIMIO Bunk Bed Twin Over Twin, House Bunk Bed Frame with Ladder and Gu…
Step 3: Choose a Color Scheme
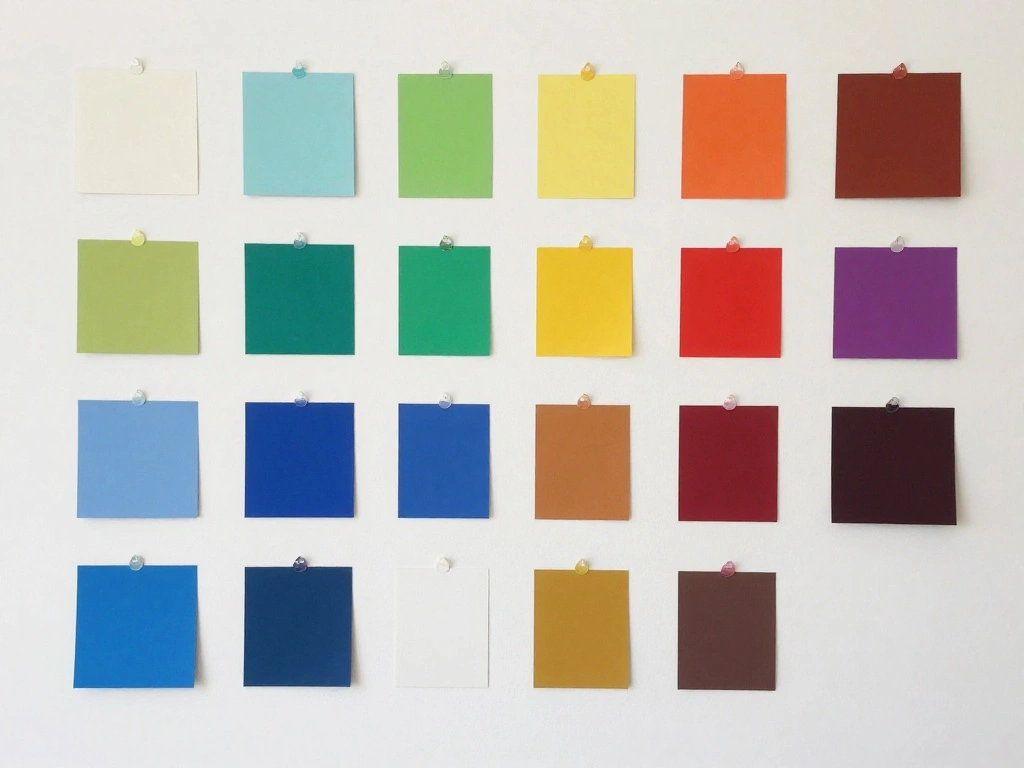
Selecting a color scheme can unify the room while allowing each child to express their personality. Consider the following:
- Choose a base color for the walls—light colors can make the room feel larger.
- Involve your kids in selecting accent colors or themes that reflect their interests.
- Test color swatches on the walls to see how they look in different lighting.
Warning: Avoid overly dark colors in small rooms as they can make the space feel cramped.
Pro Tip: Use removable wall decals for easy updates as children’s tastes change.
Why this matters: A cohesive color scheme creates a calming environment for both kids. Estimated time: 30 minutes.
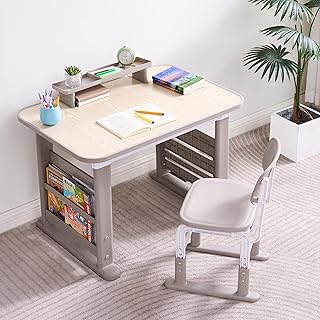
Step 4: Select Furniture Wisely
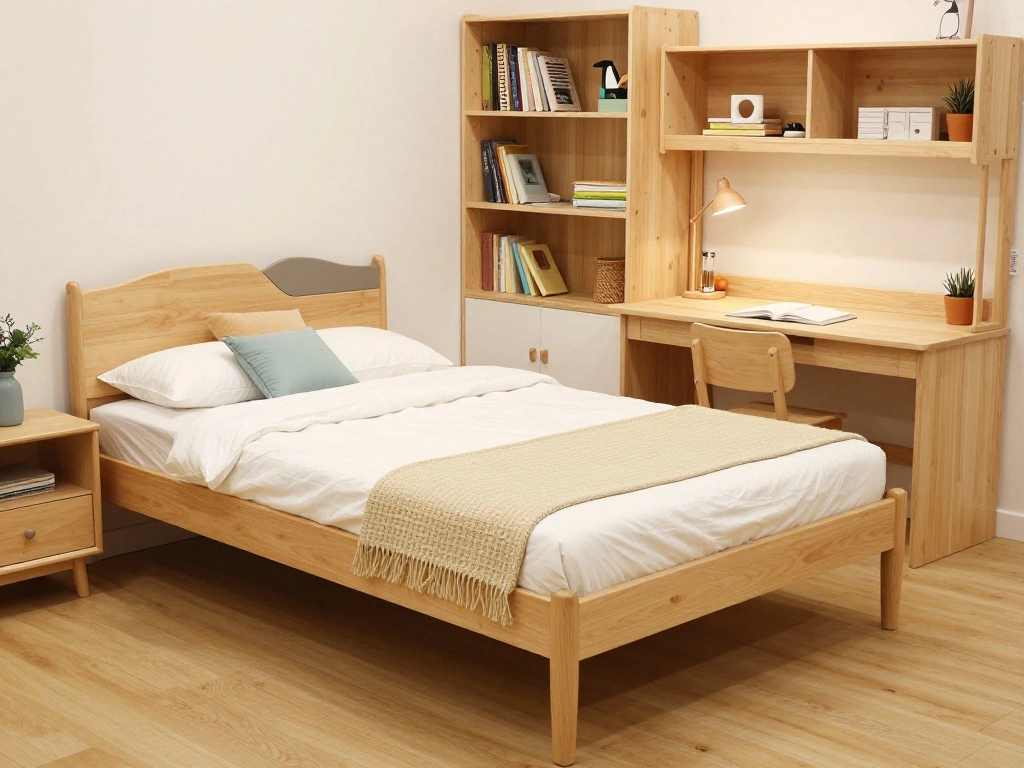
Choose furniture that maximizes functionality while being appealing to both kids. Here are the steps:
- Look for beds and desks that fit the room’s layout and the children’s needs.
- Select storage solutions that both kids can easily access.
- Consider multi-functional furniture, like beds with drawers or desks that can convert to play areas.
Warning: Ensure all furniture meets safety standards and is age-appropriate.
Pro Tip: Shop for second-hand furniture to save money and find unique pieces.
Why this matters: Choosing the right furniture creates a functional and inviting space for both kids. Estimated time: 1 hour.
Step 4: Select Furniture Wisely
Editor’s Choice

Delta Children MySize Kids Convertible Activity Bench – Greenguard Gold …

Twin Over Twin Bunk Bed with 6 Storage Drawers & 3 Boxes, Dual Side Shel…
Step 5: Organize Storage Solutions
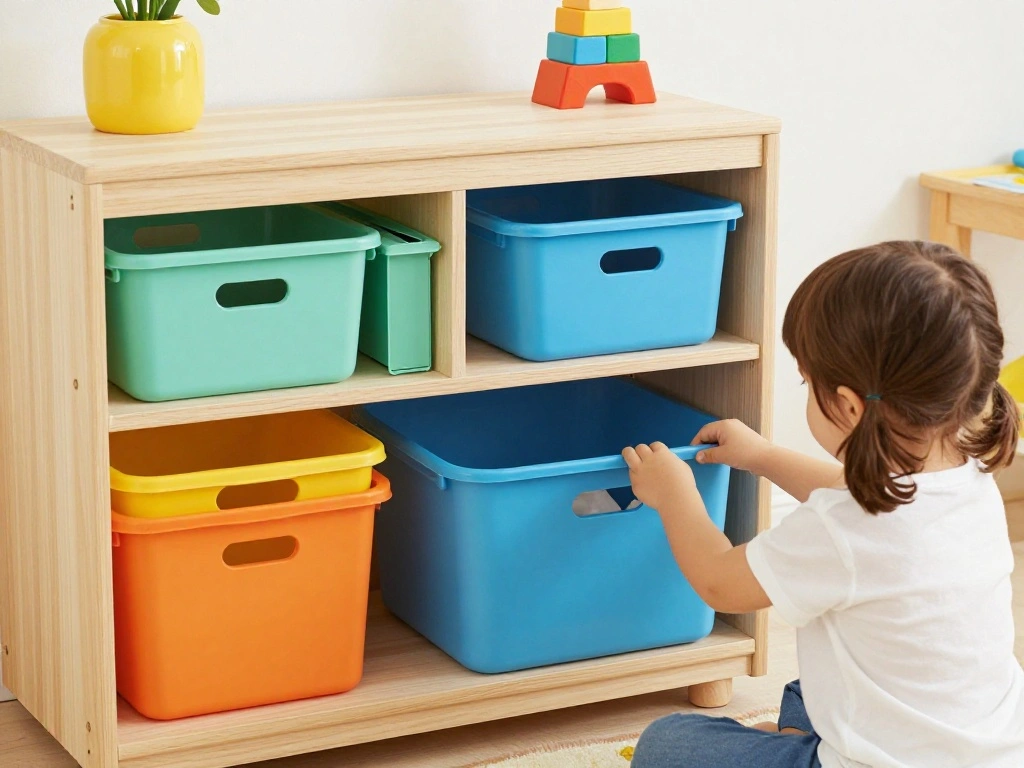
Effective storage is crucial in a shared bedroom. Follow these steps to keep things organized:
- Evaluate what items need storage—clothes, toys, books, etc.
- Implement a mix of open and closed storage solutions for easy access and neatness.
- Label bins or baskets to help kids know where to put things back.
Warning: Don’t overload shelves; ensure items are within reach for the kids.
Pro Tip: Use vertical space by adding shelving above beds or desks.
Why this matters: Organized storage helps reduce clutter and teaches kids responsibility. Estimated time: 30 minutes.
Step 5: Organize Storage Solutions
Editor’s Choice
Sterilite 4-Pack 27 Gallon Industrial Storage Tote, Heavy-Duty Plastic B…

Brother P-Touch -N25BTV3 Personal Connected Label Maker, Bluetooth (Bund…

Humble Crew Kids Bookshelf, 4-Tier Front-Facing Book Display Organizer, …
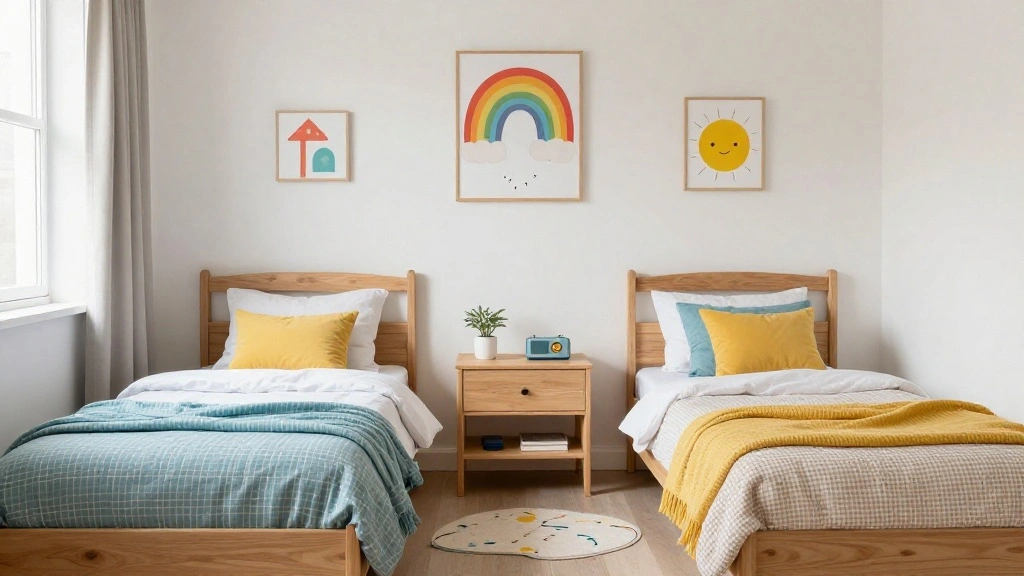
Step 6: Add Personal Touches
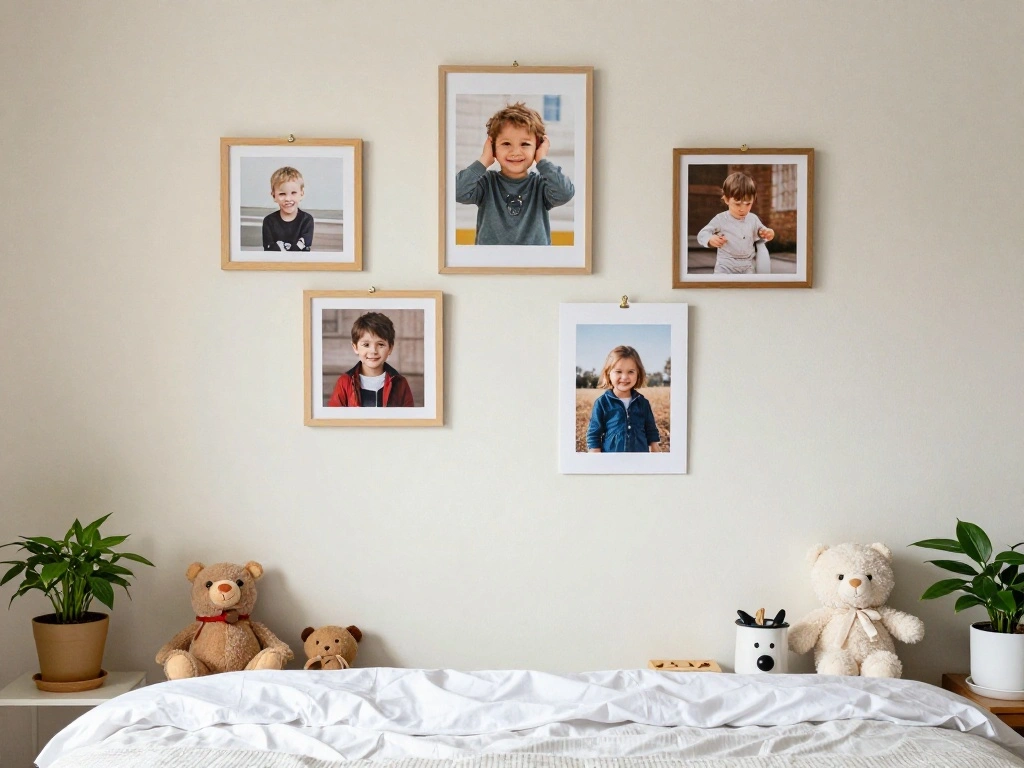
Incorporating personal touches allows each child to feel ownership of the shared space. Here’s how:
- Let each child choose personal decor items like bedding, wall art, or accessories.
- Incorporate areas where each child can display their interests, such as a bulletin board or shelves.
- Ensure there are shared items that encourage bonding, like a shared reading nook.
Warning: Balance personal items with shared elements to promote harmony.
Pro Tip: Rotate decor periodically to keep the space fresh and exciting.
Why this matters: Personal touches create a sense of belonging and ownership for each child. Estimated time: 30 minutes.
Step 6: Add Personal Touches
Editor’s Choice

Utopia Bedding Dinosaur Kids Comforter Set with 2 Pillow Shams, 3 Piece …

VIZ-PRO 72″ x 48″ Large Cork Bulletin Board, Foldable & Wall-Mounted Not…
Humble Crew Kids Bookshelf, 4-Tier Front-Facing Book Display Organizer, …
Step 7: Create Zones for Activities
Designate specific areas in the room for different activities to enhance functionality. Follow these steps:
- Identify each child’s activities, such as studying, playing, or relaxing.
- Set up distinct zones for each activity, like a study corner or a play area.
- Use rugs or furniture arrangement to visually separate these zones.
Warning: Ensure that each zone is accessible and not cluttered to maintain a flow.
Pro Tip: Use room dividers for added privacy if space allows.
Why this matters: Creating zones helps kids know where to go for specific activities, promoting focus and relaxation. Estimated time: 30 minutes.
Step 7: Create Zones for Activities
Editor’s Choice
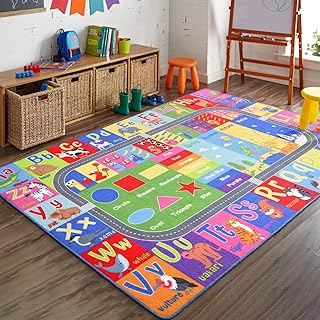
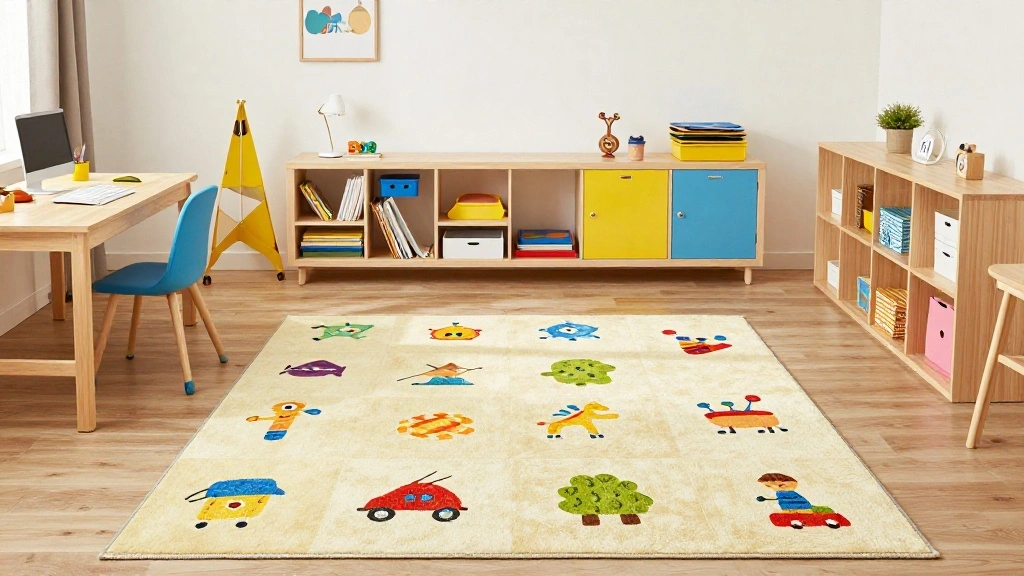
HOMORE Kids Educational Rug, Kids Collection Area Rug for Learning Alpha…

BOLUO White Kids Desk and Chair Set for 6-12 Year Old, Children Study De…
Pro Tips
- Involve Kids: Let them have a say in design choices to increase their investment in the space.
- Flexible Solutions: Use furniture that can adapt as kids grow and their needs change.
- Regular Decluttering: Schedule regular clean-ups with the kids to keep the room organized.
- Use Multi-Functional Decor: Choose decor items that can serve more than one purpose.
- Encourage Creativity: Provide materials for them to personalize their space, like art supplies.
Pro Tips
Editor’s Choice

EXPERLAM Toy Storage Organizer for Kids, 9-Bin Toy Organizer with 2-Draw…

COSVALVE Adjustable Kids Desk with Hutch and Drawers, 47″ Wide Multifunc…
Common Mistakes to Avoid
Warning: Not considering individual preferences can lead to conflict.
Ensure each child has a space that reflects their personality.
Warning: Overcrowding the room with furniture can make it uncomfortable.
Choose only essential pieces and leave room to move.
Warning: Ignoring safety standards can put children at risk.
Always check that furniture is safe and stable.
Troubleshooting Section
Problem: Kids argue over space.
Solution: Redesign zones to ensure both have their own areas.
Problem: Clutter builds up quickly.
Solution: Introduce a regular cleaning schedule to encourage responsibility.
Problem: One child feels overlooked.
Solution: Ensure that both kids have equal input in design choices.
Troubleshooting Section
Editor’s Choice

2 Pack Play Panel – Classroom Dividers for Room Separation, Versatile Di…

Sorbus 11 Inch Fabric Storage Cubes – Sturdy Collapsible Bins With Handl…
Variations/Alternative Methods
Consider these alternative methods for designing a shared bedroom:
- Shared Bunk Beds vs. Separate Beds: Bunk beds save space but may not be suitable for older children.
- Wall-Mounted Desks vs. Free-Standing Desks: Wall-mounted options save space but require wall strength.
- Color Blocks vs. Neutral Tones: Color blocks can energize the space, while neutral tones promote calmness.
Variations/Alternative Methods
Editor’s Choice

Meeting Story Gamer Gaming Bedding Sets Red Blue Lightnings Gamepad Comf…

HOMCOM Foldable Convertible Writing Table, Wall Mounted Space-Saving Com…
Bonnlo Bunk Bed Twin Over Twin for Kids/Teens/Adults Heavy Duty 2 Decker…
FAQs
What if I don’t have enough space? Consider vertical solutions like bunk beds and wall-mounted shelves to maximize space.
How long should I expect the design process to take? It typically takes 3-4 hours, including planning and assembling furniture.
Is it safe to use bunk beds? Yes, as long as they meet safety standards and are appropriate for the children’s ages.
FAQs
Editor’s Choice

Bunk Bed,Bunk Bed Twin Over Twin with Power Outlet and LED Lights,Heavy-…
Conclusion

Congratulations on taking the steps to design a shared bedroom for your kids! You’ve created a space that not only meets their individual needs but also encourages harmony and creativity. Next, consider involving them in regular updates to the decor as their tastes evolve. For further inspiration, look at online resources or visit local stores to see the latest in children’s bedroom design.
Remember, a well-designed shared space can foster cooperation and creativity, making it a cherished area in your home. Enjoy the journey of transforming their room!