

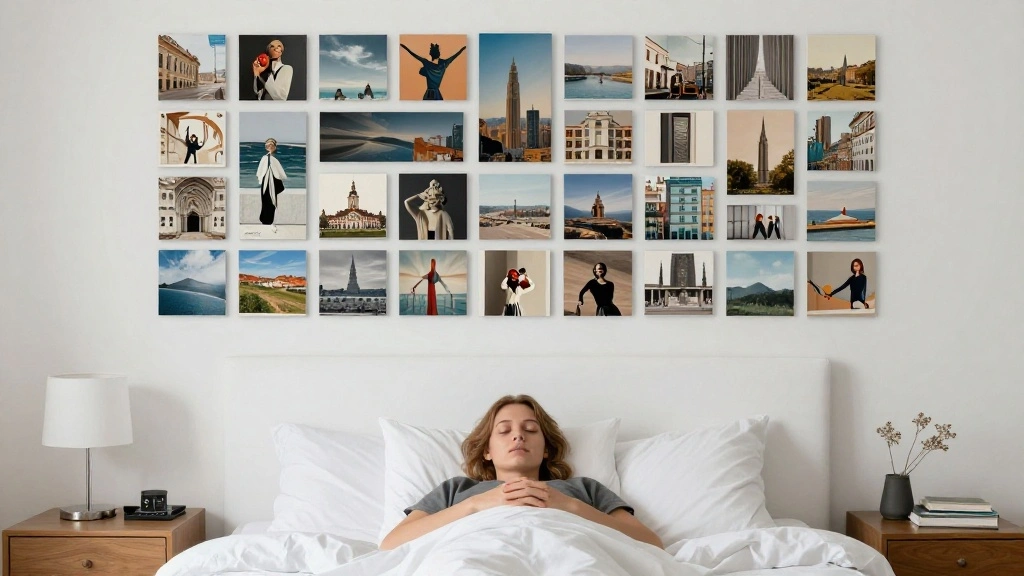
Are you tired of staring at a blank wall above your bed? A gallery wall can transform that empty space into a stunning focal point, but many people feel overwhelmed by the idea of arranging and hanging multiple pieces of art. This project can feel daunting, but it doesn’t have to be! By following a structured approach, you’ll create a beautiful gallery wall that reflects your personal style and enhances your bedroom.
In this guide, you will learn how to select the right artwork, plan your layout, and hang your pieces securely. You’ll gain the confidence to create a gallery wall that not only looks amazing but also adds a personal touch to your space.
This project is rated as beginner level and can be completed in approximately 2-3 hours. Whether you’re redecorating or just want to add some character to your room, this guide will help you every step of the way.
Get ready to dive into the world of art and creativity!
TL;DR Summary
- Select and gather your art pieces.
- Plan your layout using paper templates.
- Measure and mark the wall for accurate placement.
- Hang your artwork securely for a professional finish.
TL;DR Summary
Editor’s Choice

Milescraft 1212 SignPRO Sign Making Kit for Routers- 2.5 in. & 1.5 in. H…

Torpedo Level Magnetic, Firecore 9 Inch Shockproof Small Leveler Tool wi…

Command 15 lb Large Picture Hanging Strips 14 Pairs (28 Strips), Damage-…
Prerequisites/Materials Needed
- Art Pieces: At least 5-7 framed artworks of various sizes.
- Hanging Supplies: Picture hooks, nails, or adhesive strips.
- Tools: Measuring tape, level, hammer or drill, pencil.
- Templates: Sheets of paper cut to the sizes of your frames.
Prerequisites/Materials Needed
Editor’s Choice
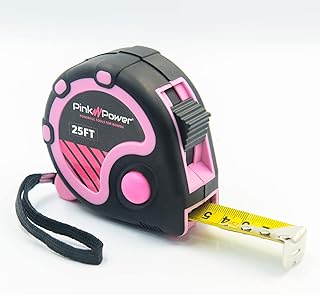
Pink Power 25ft Pink Tape Measure – Measuring Tape for Women’s Tool Kit …

KPLUNDO Black Woman Wall Art Pink Black Girl With Floral Paintings Afric…

Picture Hanging Kit, 315pcs Hanging Hardware with Hooks, Wire, Nails, D …
Skill Level & Time Estimate
Skill Level: beginner
Total Time Estimate: 2-3 hours
This project breaks down into the following time estimates:
– Selecting art pieces: 30 minutes
– Planning layout: 30-60 minutes
– Measuring and marking: 30 minutes
– Hanging artwork: 30-60 minutes
Skill Level & Time Estimate
Editor’s Choice
Torpedo Level Magnetic, Firecore 9 Inch Shockproof Small Leveler Tool wi…

Digital Caliper, Sangabery 0-6 inches Caliper with Large LCD Screen, Aut…

KURUI 303Pcs Picture Hanging Kit, Picture Hangers Assorted Kit with Heav…
Step 1: Select Your Art Pieces
Start by choosing the artwork you want to display above your bed. Consider your personal style and the colors in your bedroom.
Follow these steps to select the right pieces:
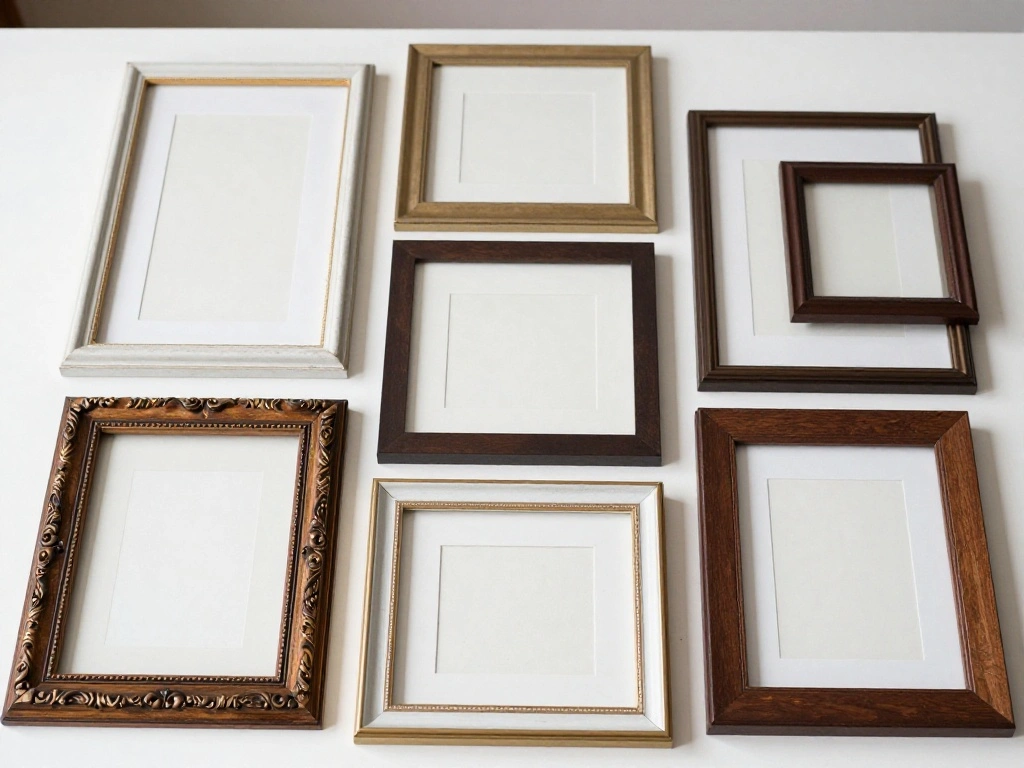
1. Gather a variety of artworks, such as paintings, prints, or photographs.
2. Choose at least 5-7 pieces that complement each other in terms of color and theme.
3. Consider mixing different sizes and orientations (landscape vs. portrait) for visual interest.
Pro Tip: Use a consistent frame color or style to create cohesion among diverse pieces.
This step is crucial because the selection of art sets the tone for your entire gallery wall.
Time estimate: 30 minutes.
Step 1: Select Your Art Pieces
Editor’s Choice

Canvas Wall Art for Bathroom Bedroom Decor Abstract Sexy Nude Woman Blac…

BAZIMA DIY String Art Kit for Beginner, DIY Lavender Craft Kit,Unique Gi…

4×6 Vintage Picture Frame, Gold Antique Ornate Picture Frame, Boho Decor…
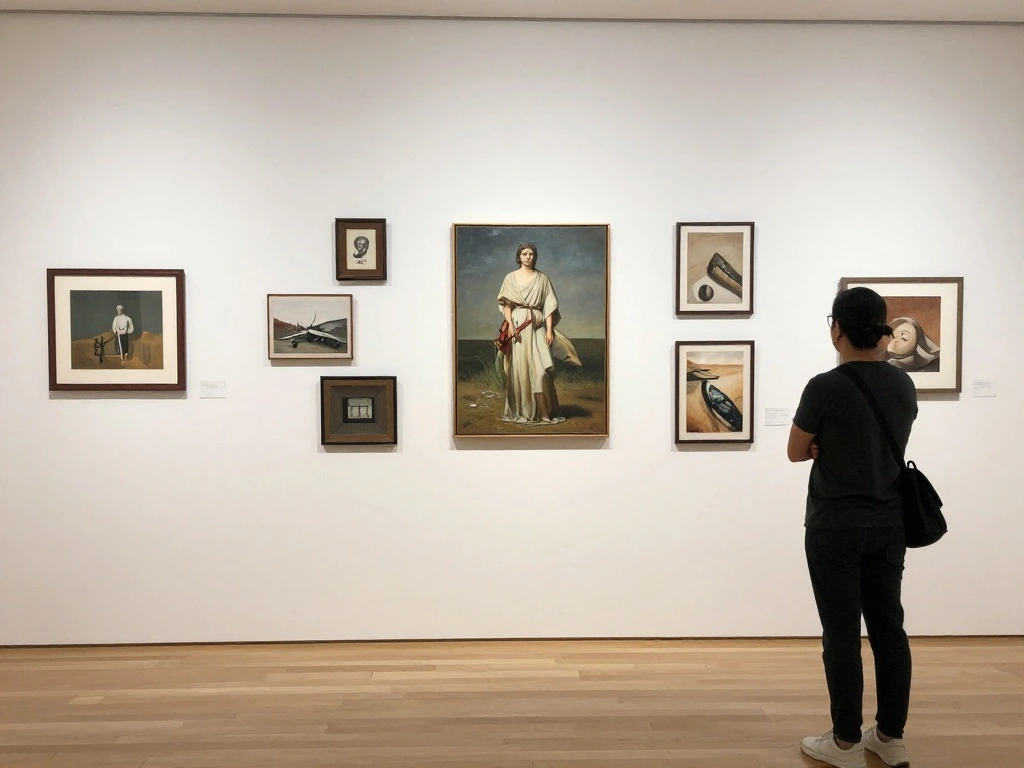
Step 2: Plan Your Layout

Before hanging anything, it’s important to visualize how your gallery wall will look.
Here’s how to plan your layout:
1. Lay your artwork on the floor to experiment with different arrangements.
2. Use templates made from paper that match the sizes of your frames to outline your layout on the wall.
3. Ensure there’s a consistent spacing of 2-4 inches between pieces for a balanced look.
Pro Tip: Take a photo of your layout on the floor for reference when you move to the wall.
This planning step helps avoid unnecessary holes in your wall and ensures a cohesive look.
Time estimate: 30-60 minutes.
Step 2: Plan Your Layout
Editor’s Choice

KURUI 700PCs Small Nails for Hanging Pictures & 8oz Small Hammer for Wom…

Vittanly 15 Pack Picture Frames Collage Wall Decor for Mounting or Table…

3Pcs Framed Black Women Christian Scripture Afrocentric Design Wall Art …
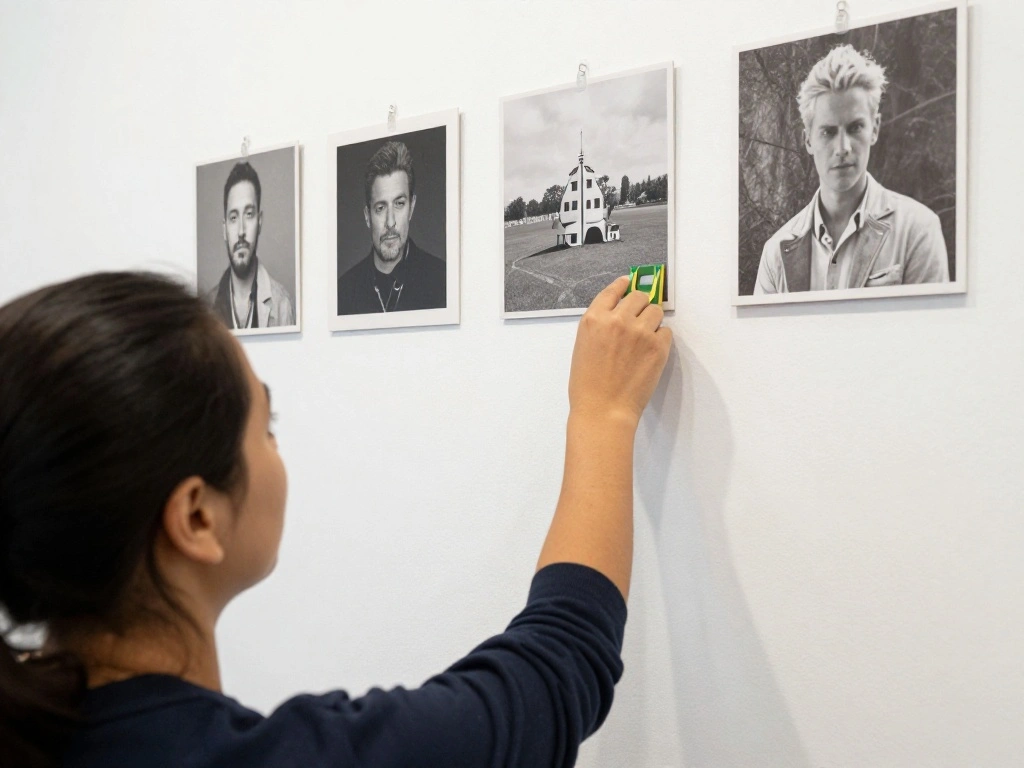
Step 3: Measure and Mark the Wall
Once you’re happy with your layout, it’s time to transfer it to the wall.
Follow these steps:
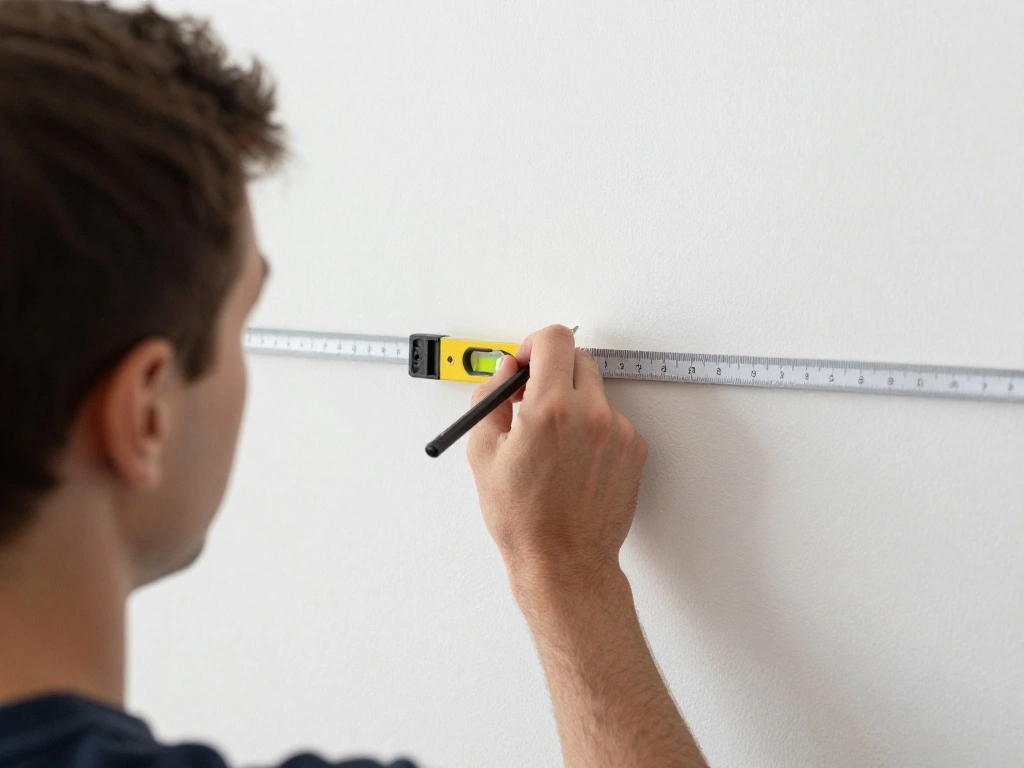
1. Use a measuring tape to find the center of the wall above your bed.
2. Measure the distance from the floor to where the center of your artwork will be.
3. Mark this spot lightly with a pencil.
4. Using a level, draw a light horizontal line at this height to guide your hanging process.
Warning: Double-check your measurements to avoid uneven hanging!
This step is vital for ensuring that your gallery wall appears straight and visually appealing.
Time estimate: 30 minutes.
Step 3: Measure and Mark the Wall
Editor’s Choice

ANERZA 16 PCS Black Girl Wall Art Decor, African American Gallery Wall P…
Step 4: Prepare Your Hanging Supplies
Now that you have your layout marked, it’s time to get your supplies ready for hanging.
Do the following:
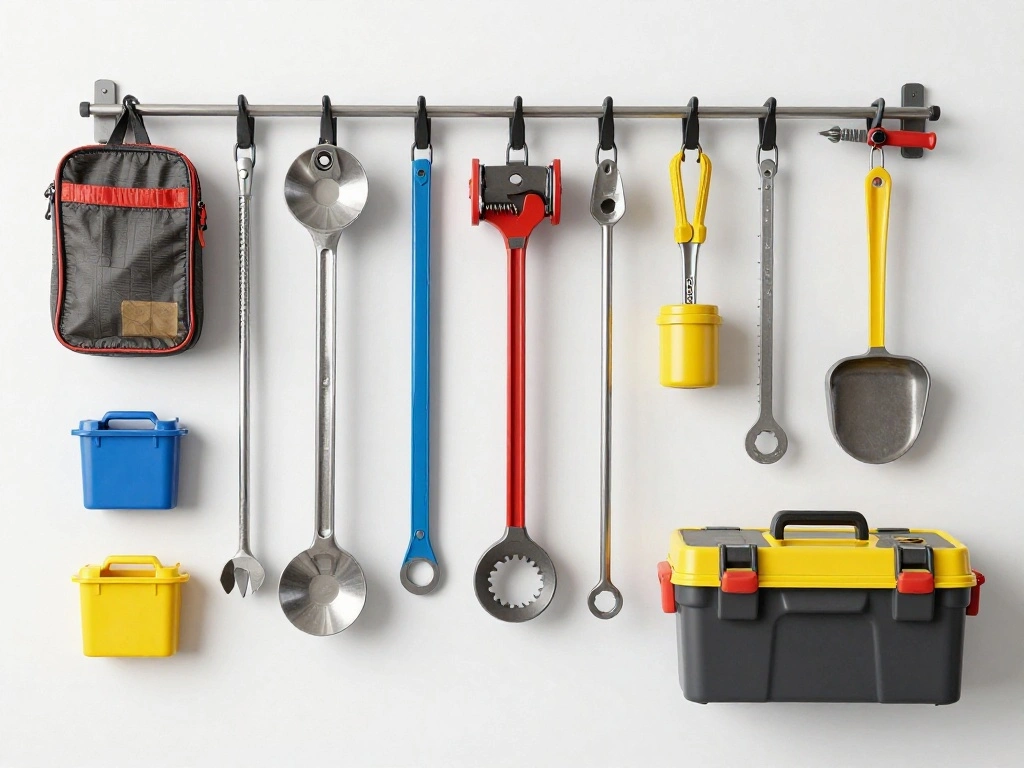
1. Gather all your hanging supplies, including picture hooks, nails, or adhesive strips.
2. Match the appropriate hook or nail type to the weight of each piece of art.
3. Prepare your tools: hammer or drill, and level.
Pro Tip: If using adhesive strips, follow the manufacturer’s instructions for the best results.
This preparation step ensures that you have everything on hand and reduces interruptions while hanging.
Time estimate: 15 minutes.
Step 4: Prepare Your Hanging Supplies
Editor’s Choice

Art3d 16 Sets Hook and Loop Tape Sticky Back,1 in.x 4 in. Double-Sided C…
Picture Hanging Kit, 315pcs Hanging Hardware with Hooks, Wire, Nails, D …
Step 5: Hang Your Artwork – Start from the Center
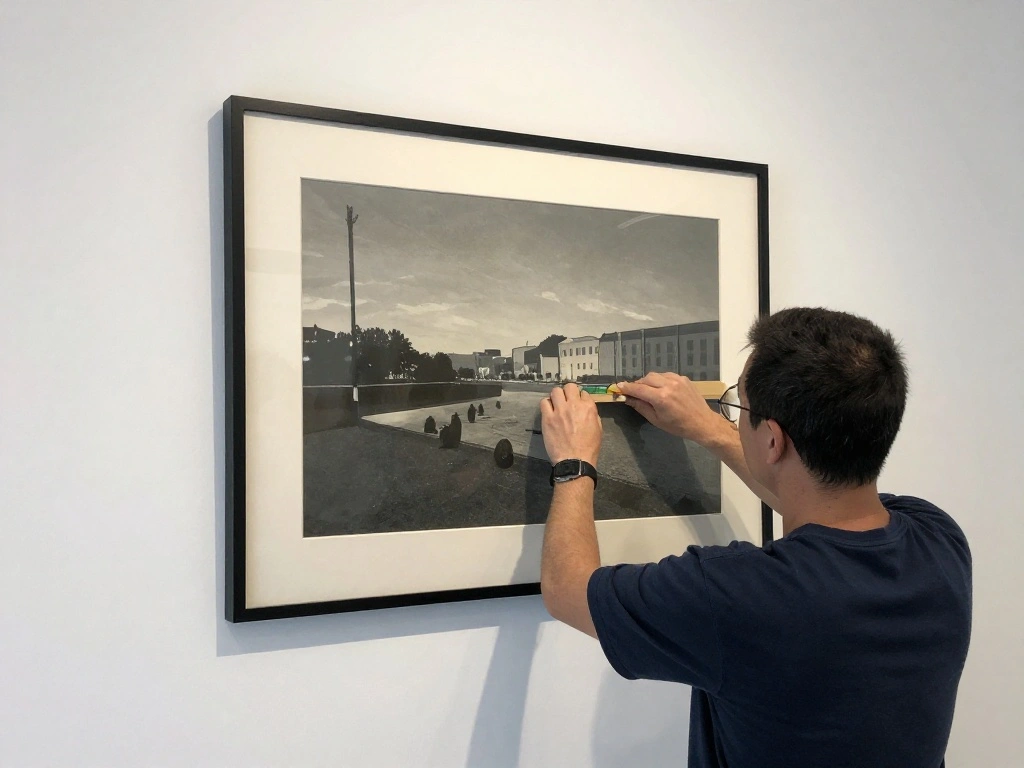
Begin hanging your artwork from the center of your layout for a balanced look.
Here’s how:
1. Identify the center piece of your layout and align it with the mark you made on the wall.
2. Depending on your hanging method, either hammer in your hook or affix your adhesive strip to the back of the frame.
3. Hang the artwork and use a level to ensure it is straight.
Pro Tip: If using multiple hooks, pre-install them before hanging to save time.
Starting from the center helps guide the arrangement and keeps the wall visually balanced.
Time estimate: 30-60 minutes.
Step 5: Hang Your Artwork – Start from the Center
Editor’s Choice
KURUI 700PCs Small Nails for Hanging Pictures & 8oz Small Hammer for Wom…

Vicenpal 15 Pack Collage Picture Frames Wall Decor Gallery Wall Picture …

Step 6: Hang the Remaining Pieces
Now that your center piece is up, it’s time to hang the remaining artworks.
Follow these steps:
1. Refer back to your layout template for the placement of each piece.
2. Work outward from the center, hanging one piece at a time.
3. Continuously check for levelness and spacing as you go.
Warning: Avoid rushing this step; take your time to ensure accuracy.
Hanging from the center outwards helps maintain symmetry and balance in your gallery wall.
Time estimate: 30-60 minutes.
Step 6: Hang the Remaining Pieces
Editor’s Choice
ANERZA 16 PCS Black Girl Wall Art Decor, African American Gallery Wall P…
KPLUNDO Black Woman Wall Art Pink Black Girl With Floral Paintings Afric…
Step 7: Final Adjustments
After all your artwork is hung, take a step back and assess the overall look.
Here’s what to do:
1. Stand at a distance and check if the pieces are aligned and spaced correctly.
2. Make minor adjustments if necessary, gently shifting pieces to ensure a cohesive arrangement.
3. Ensure that all frames are secure and properly hung.
Pro Tip: Take a photo of your gallery wall to help identify any areas that may need adjustment.
Final adjustments ensure that your hard work pays off and that the gallery wall looks professionally done.
Time estimate: 15-30 minutes.
Step 7: Final Adjustments
Editor’s Choice
Torpedo Level Magnetic, Firecore 9 Inch Shockproof Small Leveler Tool wi…


Command 20 lb XL 8 Pairs Heavyweight Picture Hanging Strips (16 Strips),…
Step 8: Add Decorative Touches
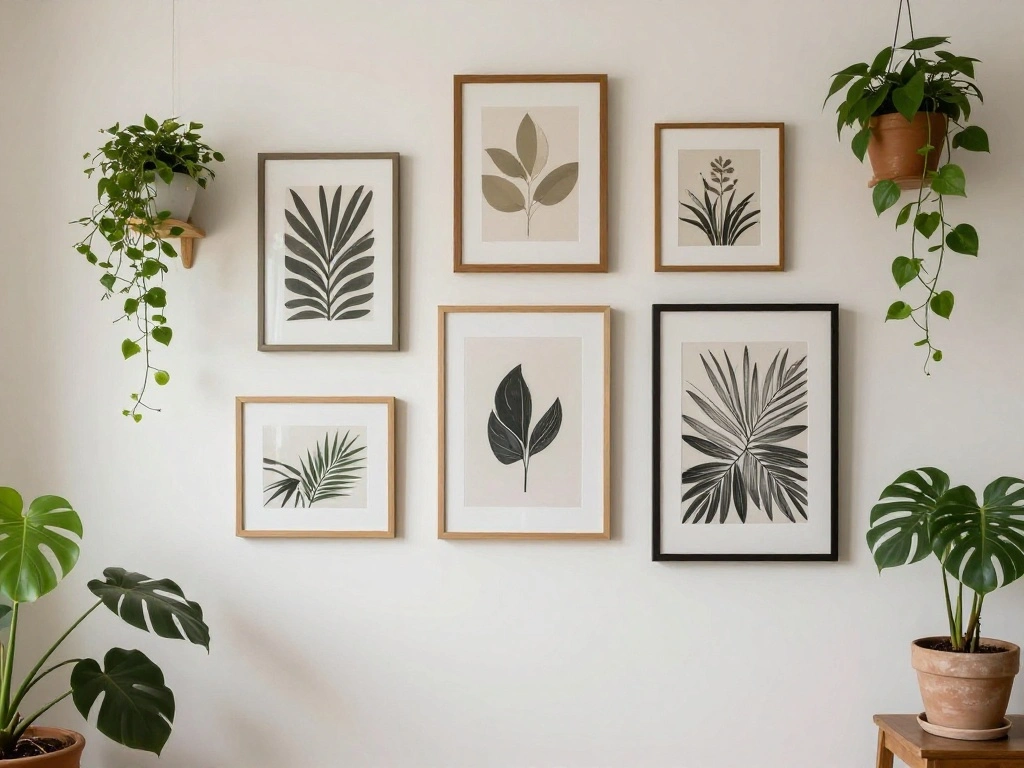
Your gallery wall is looking great, but you can enhance it further!
Consider these ideas:
1. Add decorative elements like wall sconces or plants that complement your artwork.
2. Incorporate personal items like framed photos or unique artifacts for a personal touch.
3. Ensure that any additional items don’t overcrowd the wall.
Pro Tip: Layering different textures and materials can add depth to your gallery wall.
This step adds personality and warmth, making your gallery wall truly unique.
Time estimate: 30 minutes.
Step 8: Add Decorative Touches
Editor’s Choice

Jkolalin Custom Picture Frames with Photo, Personalized Picture Frame wi…
Step 9: Enjoy Your New Gallery Wall
Congratulations! You’ve successfully hung a stunning gallery wall above your bed.
Here’s how to enjoy it:
1. Take a moment to appreciate your work and the transformation of your space.
2. Share photos with friends or on social media to showcase your creativity.
3. Consider refreshing the gallery wall periodically with new art to keep it fresh and inspiring.
Pro Tip: Rotate artwork seasonally or when new pieces come into your collection.
Enjoying your gallery wall is the ultimate reward for your efforts, and it adds character to your home.
Time estimate: Ongoing.
Step 9: Enjoy Your New Gallery Wall
Editor’s Choice

GalleryOne Clearline Picture Hanging System Set- Covers 9.75 ft of Wall …

HYBLOM Inspirational Quote Motivational Wall Art – Hippie Boho Home Deco…
Pro Tips
- Tip for Spacing: Use a consistent space between frames to create a cohesive look.
- Tip for Weight Distribution: Ensure heavier pieces are hung lower to prevent tipping.
- Tip for Variety: Mix frame styles and colors for visual interest.
- Tip for Maintenance: Dust frames regularly and check for loose hooks.
- Tip for Seasonal Changes: Refresh your gallery wall with seasonal artwork for a new look.
Pro Tips
Editor’s Choice

Best Friend Birthday Gifts for Women Teen Girls, Mothers Day Gifts for B…

Seiber Glasses Cleaning Cloth,Bohemian Pattern Microfiber Cleaner Cloths…

Go Hang It! Pro, All-in-One Picture Hanging Kit – Picture Leveling and H…
Common Mistakes to Avoid
- Warning: Not measuring before hanging can lead to uneven placements. Always measure first!
- Warning: Overcrowding the wall can make it look cluttered. Less is often more!
- Warning: Using the wrong hanging method for your artwork can cause damage. Choose the right method for each piece.
Common Mistakes to Avoid
Editor’s Choice

Classic Tailoring Techniques: A Construction Guide for Women’s Wear (F.I…
KURUI 303Pcs Picture Hanging Kit, Picture Hangers Assorted Kit with Heav…

RENPHO Smart Tape Measure with Large Display, Bluetooth Body Measuring T…
Troubleshooting Section
- Problem: Artwork is not level.
Solution: Adjust the hook or nail and recheck with a level. - Problem: Wall damage from nails.
Solution: Use adhesive strips designed for hanging artwork to prevent damage. - Problem: Artwork appears too crowded.
Solution: Rearrange to increase spacing between pieces.
Troubleshooting Section
Editor’s Choice
Command 15 lb Large Picture Hanging Strips 14 Pairs (28 Strips), Damage-…
Variations/Alternative Methods
- Use a grid layout for a structured look; ideal for modern decors.
- Opt for a salon-style arrangement for an eclectic feel; mix frames and sizes.
- Incorporate shelves for a dynamic display; allows for easy swapping of art.
Variations/Alternative Methods
Editor’s Choice

upsimples 19 Pack Picture Frames Collage Wall Decor for Mounting or Tabl…

WOPITUES Wood Floating Shelves Set of 6, Shelves for Wall Decor, Farmhou…
KURUI 303Pcs Picture Hanging Kit, Picture Hangers Assorted Kit with Heav…
FAQs
- What if I don’t have enough wall space? Consider a smaller gallery wall or a shelf display instead.
- How long should I wait to hang new pieces? You can change artwork anytime; it keeps the space fresh!
- Is it safe to use adhesive strips? Yes, if used correctly, they can hold lightweight frames securely.
FAQs
Editor’s Choice
Framed Canvas Wall Art Beautiful Woman With Colorful Flowers, White Flow…
Command 15 lb Large Picture Hanging Strips 14 Pairs (28 Strips), Damage-…

RYOFOBETTO Pink and White Floating Shelves, Kawaii Room Decor Wall Shelv…
Conclusion
You’ve done it! Your gallery wall above the bed is complete, and it looks fantastic. This project not only adds character to your bedroom but also creates a personalized space that showcases your style.
Now that you know how to create a gallery wall, consider exploring other areas in your home that could benefit from similar decor. You might want to create a gallery in your living room or hallway, or even experiment with different art styles and layouts.
Each new project will enhance your creativity and make your home feel even more like you. Happy decorating!