
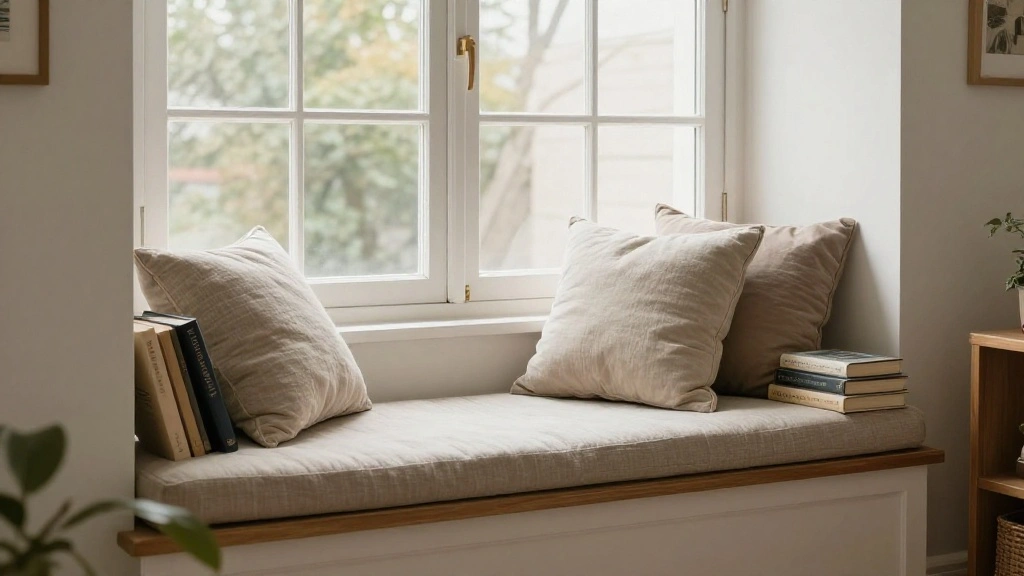
Are you tired of not having a cozy spot in your home to curl up with a good book? A reading nook can transform an ordinary space into a peaceful sanctuary where you can escape into the pages of your favorite novels. The urgency to create a designated area for relaxation is real, especially as we all seek comfort and tranquility in our busy lives.
In this guide, you will learn how to build a stunning DIY window seat reading nook that not only enhances your home’s aesthetic but also provides a comfortable place to unwind. By the end of this project, you will have a beautiful window seat complete with cushions, storage, and charming decor.
This beginner-friendly project will break down the steps necessary to create your reading nook, ensuring you gain confidence in your DIY skills. Difficulty Level: Beginner
Estimated Time: 4-6 hours
Get ready to dive into a rewarding experience that brings comfort and style to your home!
TL;DR Summary
- Learn how to build a cozy reading nook with a window seat.
- Gather all materials and tools before starting the project.
- Follow eight simple steps to complete your nook in 4-6 hours.
- Enjoy your new favorite spot for reading and relaxing!
TL;DR Summary
Editor’s Choice

Portable Seat Cushion for Office Soft Memory Foam Seat Cushion Non Slip …

JeogYong Thick Plush Bay Window Mat Non-Slip Crystal Velvet Bay Window C…

FIDUCIAL HOME 3 Tiers Small Bookshelf for Small Spaces White Mini Short …
Prerequisites/Materials Needed
- Materials:
- 1 sheet of plywood (4×8 ft)
- 2×4 lumber (4 pieces, 8 ft each)
- Wood screws (1.5 inches, 1 box)
- Wood glue (1 bottle)
- Foam cushions (2-3 pieces, depending on size)
- Fabric for cushions (2-3 yards)
- Paint or wood stain (optional)
- Tools:
- Circular saw or jigsaw
- Drill
- Screwdriver
- Measuring tape
- Level
- Sandpaper
Prerequisites/Materials Needed
Editor’s Choice

GoTo Foam 1″ Height x 24″ Width x 72″ Length 44ILD (Firm) Upholstery Cus…

50 Pack 4 x 8 Basswood Sheets, Unfinished Plywood Boards, 1/16 Inch Thin…

Wood Screws 1-1/2 Inch, 80 PCS FIXLINK Premium Flat Head Phillips Black …
Skill Level & Time Estimate
Skill Level: Beginner
Total time estimate: 4-6 hours
Here’s a breakdown of time by steps:
Step 1: 30 minutes
Step 2: 1 hour
Step 3: 30 minutes
Step 4: 1 hour
Step 5: 1 hour
Step 6: 30 minutes
Step 7: 30 minutes
Step 8: 30 minutes
Skill Level & Time Estimate
Editor’s Choice

42 Inch Bench Cushions for Indoor Furniture, Super Soft Rectangle Bench …
Step 1: Choose Your Location

Do this: Identify the perfect spot in your home for the reading nook. Look for a window that allows natural light and a view. Consider factors like privacy and noise levels.
1. Walk around your home and note possible locations.
2. Test the space by sitting or standing in it to see if it feels comfortable.
Pro Tip: A spot near a power outlet is ideal for adding a lamp later on.
Why this matters: The right location enhances your reading experience and ensures you enjoy your nook for years to come.
Time Estimate: 30 minutes.
Step 1: Choose Your Location
Editor’s Choice

Women Bedside Table Lamps for Bedroom, Cute Flower Desk Lamp with Adjust…

Bedsure GentleSoft White Throw Blanket for Couch – Graduation Gifts Teac…

Sasttie Reading Pillows for Sitting in Bed Adult, Back Pillow Bed Sittin…
Step 2: Measure Your Space

Do this: Measure the area where your window seat will go. Accurate measurements are crucial for building a seat that fits perfectly.
1. Use a measuring tape to determine the width of the window.
2. Measure the depth of the available space.
3. Write down your measurements for reference.
Warning: Double-check your measurements to avoid mistakes, as cutting wood incorrectly can waste materials.
Why this matters: Precise measurements ensure a snug fit and enhance the overall look of your nook.
Time Estimate: 1 hour.
Step 2: Measure Your Space
Editor’s Choice

Digital Caliper, Sangabery 0-6 inches Caliper with Large LCD Screen, Aut…
Step 3: Cut the Wood Pieces

Do this: Cut the plywood and 2×4 lumber according to your measurements. Ensure your cuts are straight and accurate.
1. Mark the plywood for the seat base and backrest.
2. Cut the plywood using a circular saw.
3. Cut the 2x4s for the frame that will support the seat.
Pro Tip: Use a straight edge to guide your saw for cleaner cuts.
Why this matters: Properly cut wood is essential for a sturdy and aesthetically pleasing window seat.
Time Estimate: 30 minutes.
Step 3: Cut the Wood Pieces
Editor’s Choice

Bar Clamps for Woodworking, 4 Pack 6 Inch F Clamp Set 300 lbs Load Limit…
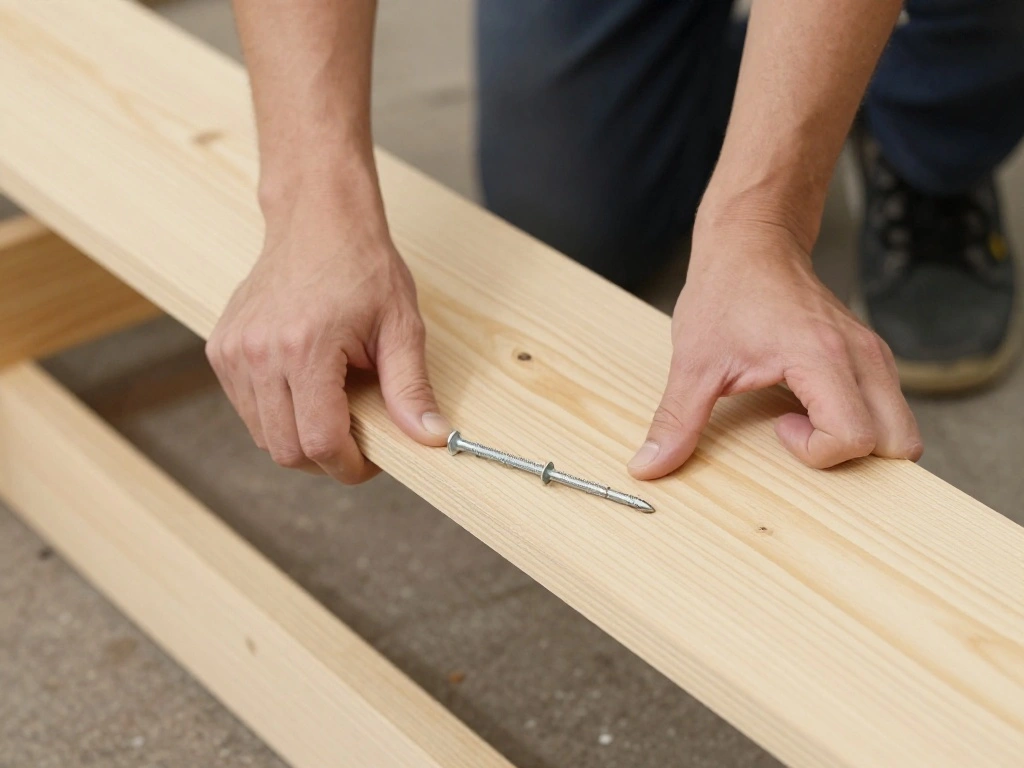
Step 4: Assemble the Frame
Do this: Construct the frame that will support your window seat. A strong frame is crucial for durability.
1. Lay out the 2×4 pieces to form a rectangular frame.
2. Use wood screws to secure the corners.
3. Check for level using a level tool.
Warning: Ensure the frame is level before securing all screws to prevent future issues.
Why this matters: A solid and level frame supports the weight of the seat and cushions.
Time Estimate: 1 hour.
Step 4: Assemble the Frame
Editor’s Choice

MYWISH (20Sets) 1/4″ x 2″ Hex Head Lag Bolts, Heavy Duty Lag Screws with…

VENTRAL Lumber 2 in. x 4 in. (1 1/2″ x 3 1/2″) Construction Premium Doug…

Motovera Self Leveling Laser Level 100ft, Green Cross Line with Tripod, …
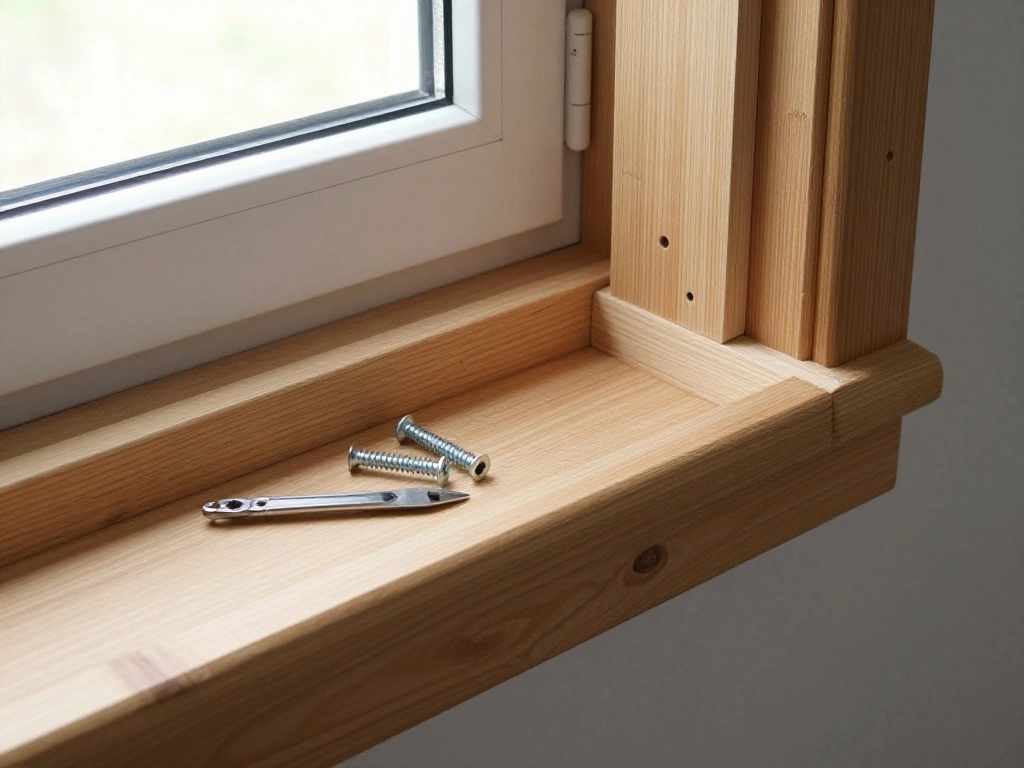
Step 5: Attach the Seat Base
Do this: Secure the plywood seat base to the frame. This step creates the foundation of your reading nook.
1. Position the plywood seat on top of the frame.
2. Use wood screws to attach the plywood securely.
3. Check for stability by pressing down on the seat.
Pro Tip: Pre-drill holes for the screws to avoid splitting the wood.
Why this matters: A well-attached seat base ensures safety and comfort when you sit down to read.
Time Estimate: 1 hour.
Step 6: Add the Backrest

Do this: Install the backrest to provide support and comfort while reading.
1. Position the remaining plywood piece vertically at the back of the seat.
2. Attach it to the frame using screws.
3. Make sure it is securely fastened and sturdy.
Warning: Ensure the backrest is tall enough for support yet comfortable to lean against.
Why this matters: A proper backrest enhances comfort, making your nook inviting for long reading sessions.
Time Estimate: 30 minutes.
Step 6: Add the Backrest
Editor’s Choice
GoTo Foam 1″ Height x 24″ Width x 72″ Length 44ILD (Firm) Upholstery Cus…

Wensilon #10 * 3″ Deck Screws, (137pcs) 2 lbs.Exterior Wood Screws, Rust…

Baltic Birch Plywood 8 x 12 x 1/2 Inch – 12 mm Craft Wood, Pack of 2 B/B…
Step 7: Finish the Surface
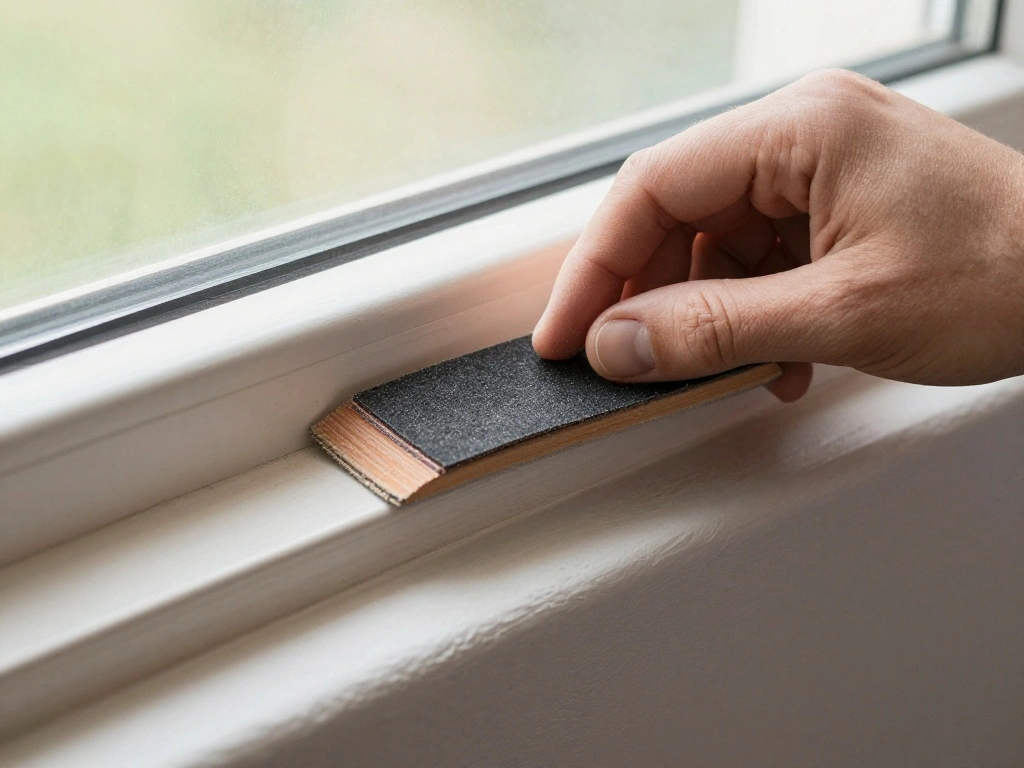
Do this: Sand the edges and surfaces of your window seat to create a smooth finish. This step will prepare it for painting or staining.
1. Use sandpaper to smooth out all surfaces.
2. Wipe down the surface to remove dust.
3. Apply paint or wood stain if desired.
Pro Tip: Choose weather-resistant paint or stain if your nook is near a window for added durability.
Why this matters: A finished surface looks appealing and protects the wood from wear and tear.
Time Estimate: 30 minutes.
Step 8: Add Cushions and Decor
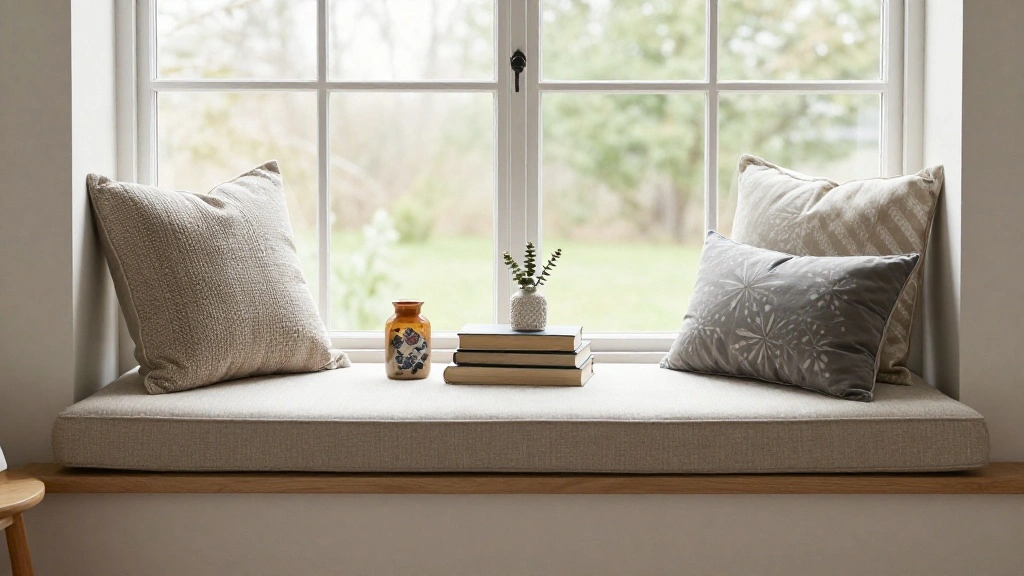
Do this: Place foam cushions on the seat and add decorative items to personalize your nook.
1. Measure the cushion size for the seat area.
2. Cover the cushions with fabric, securing it tightly.
3. Arrange books, lamps, or decorative items around the nook.
Pro Tip: Incorporate soft lighting, like a small lamp, to create an inviting ambiance.
Why this matters: Personal touches make your reading nook a unique retreat that reflects your style.
Time Estimate: 30 minutes.
Step 8: Add Cushions and Decor
Editor’s Choice

Reading Nook Decor,Vintage Book Theme Throw Pillow Covers 18×18 Set of 4…
Women Bedside Table Lamps for Bedroom, Cute Flower Desk Lamp with Adjust…

Inspirational Women Empowerment Gifts Throw Pillow Covers 18×18, She is …
Pro Tips
- Measure Twice, Cut Once: Always double-check your measurements before cutting to avoid waste.
- Choose Quality Materials: Invest in sturdy wood and comfortable cushions to ensure longevity.
- Personalize Your Nook: Use colors and decor that reflect your personality for a cozy feel.
- Maximize Natural Light: Consider sheer curtains that allow light while providing privacy.
- Comfort Matters: Use plush cushions and throws to make your nook inviting.
Pro Tips
Editor’s Choice

Custom Tufted Bench Cushion,Customized Size Shape Bay Window Seat Cushio…
Common Mistakes to Avoid
Warning: Avoid these common mistakes:
- Not securing the frame properly: This can lead to instability. Always check for level and secure all screws.
- Incorrect measurements: Double-check your measurements before cutting to avoid wasting materials.
- Skipping sanding: Rough edges can splinter and damage fabric. Always sand surfaces before finishing.
Common Mistakes to Avoid
Editor’s Choice
Dura-Block Set 6pc – Flexible EVA Foam Wet or Dry Autobody Sanding Block…

Torpedo Level Magnetic, Firecore 9 Inch Shockproof Small Leveler Tool wi…

CRAFTSMAN 25-Ft Tape Measure with Fraction Markings, Retractable, Self-L…
Troubleshooting Section
Problem: The seat feels wobbly.
Solution: Check all screws for tightness, and ensure the frame is level. Tighten any loose screws and adjust the frame as necessary.
Problem: The cushions are too loose.
Solution: Use fabric that fits snugly or add ties to secure the cushions in place.
Problem: The paint is chipping.
Solution: Ensure you used weather-resistant paint or reapply a protective coat.
Problem: The backrest feels too low.
Solution: Consider adding a cushion or adjusting the height of the backrest during assembly.
Troubleshooting Section
Editor’s Choice

Silicone Bra Strap Cushion 6Pcs Breathable Design Anti Slip Bra Strap Pa…

iCreek Women’s Waterproof Rain Pants Packable Hiking Pants Over Pants Wi…
Variations/Alternative Methods
- Use Built-in Storage: Design your nook with drawers or a hinged top for additional storage beneath the seat.
- Add a Canopy: Create a whimsical feel by adding a fabric canopy over the seat.
- Incorporate Shelving: Attach shelves above or beside the nook to store books and decorative items.
Variations/Alternative Methods
Editor’s Choice
![PRANDOM Larger Collapsible Storage Bin with Lid [1-Pack] Fabric Decorati...](https://m.media-amazon.com/images/I/71I03fRwSCL._AC_UL320_.jpg)
PRANDOM Larger Collapsible Storage Bin with Lid [1-Pack] Fabric Decorati…

QsQueen Scalloped Wood Wall Shelf – 17 Inch Floating Shelf with Wood B…

Bed Canopy for Girls with Lights 30 * 228in King Canopy Bed Curtains for…
FAQs
- What if I don’t have enough space for a window seat? Consider a small bench or use a chair with a side table for a cozy reading area.
- How long should I wait for the paint to dry? Allow at least 24 hours for paint to fully cure before using the seat.
- Is it safe to use power tools? Always follow safety instructions and wear protective gear when using power tools.
- What if my cushions don’t fit? Measure carefully and adjust the cushion size or purchase custom cushions if necessary.
- Can I use this design outdoors? Yes, but make sure to use weather-resistant materials and finishes.
Conclusion

Congratulations! You’ve successfully built your DIY window seat reading nook. This cozy spot will be your haven for relaxation and reading. Now that you have your nook, consider how to keep it inviting with seasonal decor or a new throw blanket.
Don’t stop here! Explore more DIY projects to enhance your home or share your reading nook with friends and family. Remember, your creativity and personal touch are what make your space truly special. Happy reading!