
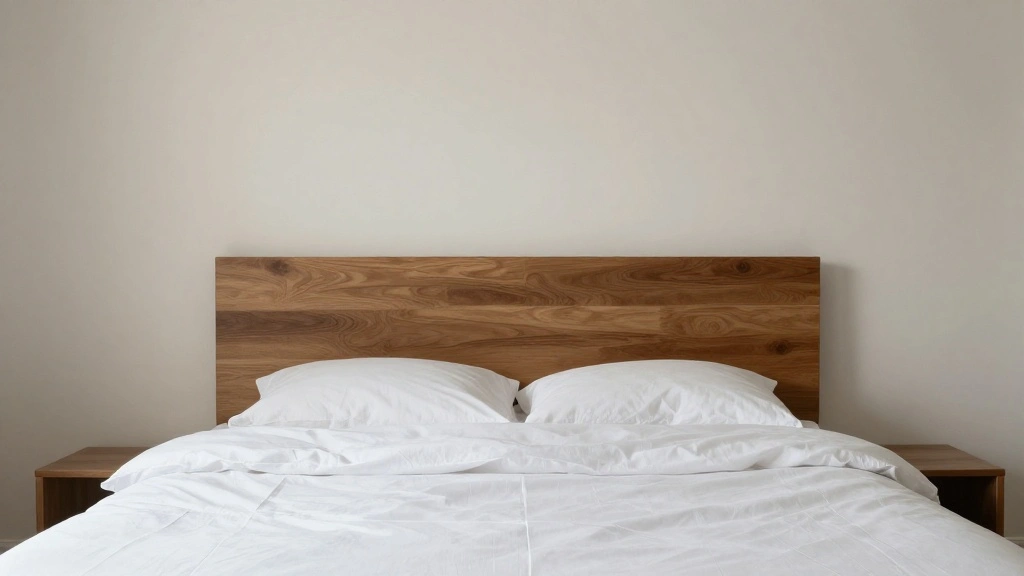
Are you tired of waking up to a bland bedroom? An upholstered headboard can transform your space, but buying one can be expensive. Instead, you can build your own with a few simple materials and tools. In this guide, you’ll learn how to create a stylish, custom headboard that fits your decor and budget.
By following these steps, you will accomplish a beautiful upholstered headboard that not only enhances your bedroom’s aesthetic but also provides comfort while sitting up in bed. You’ll learn how to select materials, cut wood, attach fabric, and assemble everything together.
This project is rated as beginner level, making it accessible for anyone willing to put in a little effort. You can expect to spend about 2-3 hours from start to finish. Let’s dive in and get started on creating your own headboard!
TL;DR Summary
- Create a custom upholstered headboard to elevate your bedroom decor.
- Gather materials like plywood, foam, and fabric.
- Follow six simple steps to cut, cover, and assemble your headboard.
- Enjoy your new, stylish headboard in just 2-3 hours!
Recommended Products

Vertical channel stitching blends classic charm with modern comfort for a refined look.

High-Density Chenille Fabric: Crafted from high-density chenille fabric, this platform bed offers a cloud-like softness that is gentle on the skin, providing a comfortable and temperature-regulating sleep experience.

Effortless Installation: Easily mountable to the wall with included strong, double-sided tape, requiring no tools or hardware.
TL;DR Summary
Editor’s Choice

FOAMYFOAM High Density 2 inch Thick, 24 inch Wide, 72 inch Long Upholste…


House2Home Upholstery Fabric 60 Inch x 3 Yard, Black Fabric, Cambric Dus…

Balsa Wood Sheet, 5 Pack Plywood Sheets, Basswood Sheets 12X12X1/16 Inch…
Prerequisites/Materials Needed
- Wood: 1 sheet of plywood (4′ x 8′)
- Foam: 1 piece (2″ thick, cut to headboard size)
- Fabric: 2-3 yards of upholstery fabric
- Batting: 1 roll
- Tools: Staple gun, scissors, measuring tape, drill, screws
- Optional: Decorative nails or trim
Recommended Products

PROFESSIONAL, FINISHED FURNITURE APPEARANCE: Give your projects a polished, showroom-style upgrade by adding this cambric dust cover fabric to the underside of your upholstery pieces, instantly hiding webbing, springs, and frame details so sofas, chairs, and box springs look neatly finished from every angle, ideal for DIYers who want their work to rival professional upholstery fabric results.

Durable Material: Made of high quality non-woven fabrics, designed for furniture backing and dust cover applications, to repair sagging or tearing at the bottom of your box spring

More Fabric :WIDE=1m(39inch) ,Length= 3m (118 inches). Enough Fabric for Furniture Couch Chairs Upholsterys,ship by folded vacuum packaging
Prerequisites/Materials Needed
Editor’s Choice

GoTo Foam 1″ Height x 24″ Width x 72″ Length 44ILD (Firm) Upholstery Cus…

Upholstery Staple Gun Heavy Duty, YEAHOME 4-in-1 Stapler Gun with 4000 S…

Skill Level & Time Estimate
Skill Level: beginner
Total time estimate: 2-3 hours. Here’s a breakdown:
- Gather materials: 30 minutes
- Cut and prepare wood: 30 minutes
- Attach foam and batting: 30 minutes
- Cover with fabric: 30 minutes
- Assemble and install: 30 minutes.
Recommended Products

NATURAL BASSWOOD MATERIAL - The plywood sheets is made of natural basswood material which is strong as well as flexible and the surface is polished carefully smooth without burs. Provide strong support for you to create amazing crafts.
Carry Your Needs: You will get 24 pcs basswood sheets, each wood dimensions about 4 x 6 inches, and 1/16 inches in thickness., which are enough for your DIY projects.

Abundant for Using and Sharing:You will receive 12 pieces of unfinished square basswood sheets, each wood square cutout measures approx. 20 x 30 cm/7.87 x 11.81 inches, and 3mm/1/8 inch in thickness. sufficient quantity and large size for you to use on DIY craft projects; You can also share them with your friends.
Skill Level & Time Estimate
Editor’s Choice
FOAMYFOAM High Density 1 inch Thick, 24 inch Wide, 72 inch Long Upholste…
House2Home Upholstery Fabric 60 Inch x 3 Yard, Black Fabric, Cambric Dus…
Step 1: Gather Your Materials

Start by gathering all the materials on your checklist. This ensures you have everything you need before you begin, saving you time and frustration.
- Check your workspace for enough room to work comfortably.
- Gather your plywood, foam, fabric, and batting.
- Make sure your tools are nearby and in good condition.
Pro Tip: Lay out all materials to visualize the project before you start.
This step matters because having everything on hand allows for a smoother workflow. Spending extra time gathering materials can lead to mistakes later.
Time estimate: 30 minutes.
Recommended Products

Versatile Fastening Tool - YEAHOME 4-in-1 Staple Gun accepts D-shaped, U-shaped, T-shaped, and Pin Staples. This kit comes with 1000pcs of each " D-Type, " T-Type, " U-Type , and " Pin Brad Nails for a wide variety of applications: general DIY repairs, crafting, decorating, upholstery projects, roofing, and more.

Fits JT21 Staples : This craft stapler perfectly fits 3 sizes of JT21 staples, 1/4” (6mm), 5/16” (8 mm) and 3/8” (10 mm), which is equivalent to NO.53

【Electric Upgrade from Manual Staple Guns】Skip repetitive hand squeezing with the Bielmeier cordless electric staple gun. Designed as an easier alternative to traditional manual staple guns, it helps reduce hand fatigue while making upholstery, furniture repair, wood crafts, home decoration, and DIY fastening faster and more comfortable.
Step 1: Gather Your Materials
Editor’s Choice
FOAMYFOAM High Density 1 inch Thick, 24 inch Wide, 72 inch Long Upholste…

Velvet Bed Headboard Cover Slipcover – Stretch Quilted & Thicken Dustpro…
Step 2: Cut the Plywood to Size
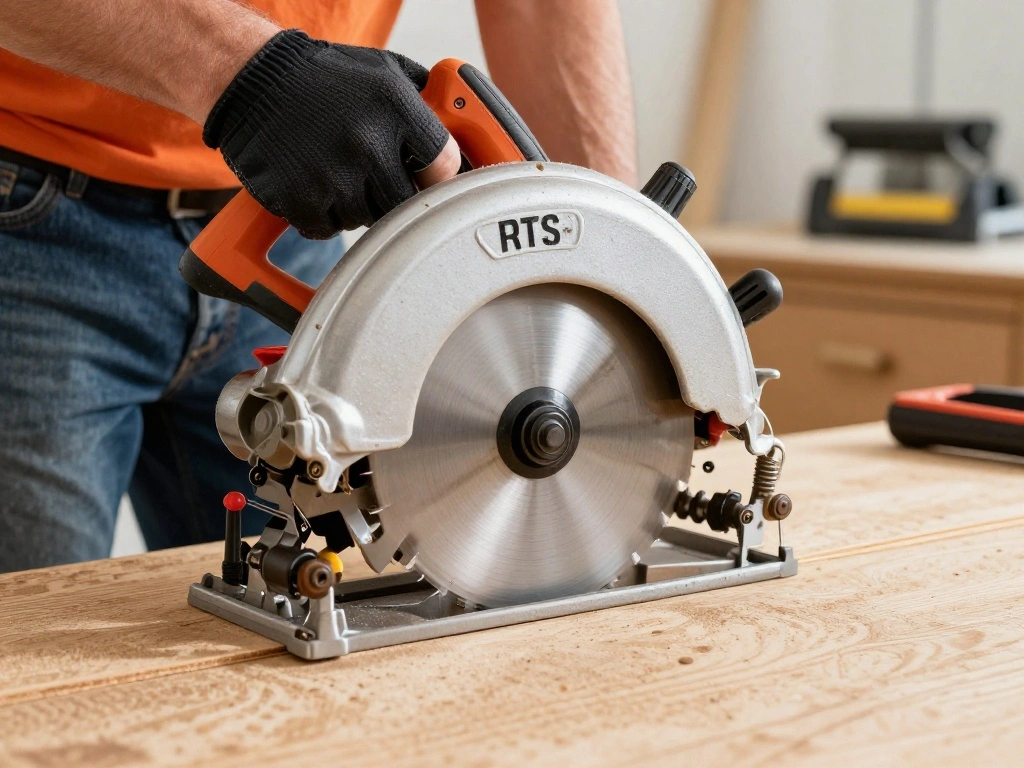
Next, cut your plywood to the desired headboard size. The standard height for headboards is around 24 to 36 inches, but you can adjust it based on your preference.
- Measure and mark your plywood with a pencil.
- Use a circular saw to cut along the marked line.
- Sand the edges to avoid splinters.
Warning: Always wear safety goggles when using power tools.
This step matters because the size of your headboard will impact your overall design and comfort. A well-sized headboard enhances your bedroom’s look.
Time estimate: 30 minutes.
Recommended Products

Built for Comfort: 2 inch of AeroFusion Memory Foam is crafted to fit body's micro pressure points and conform to body's curves and shape for comfort throughout your sleep. Putting the topper on top of the mattress and under the mattress cover will give you a new and softer mattress, extending the life of the mattress and giving you a new sleep experience.

PRESSURE RELIEVING MEMORY FOAM: Plush gel infused memory foam conforms to your curves for personalized comfort that hugs you to sleep; use it to rejuvenate an old mattress, soften a too-hard mattress, or prolong the life of your mattress

GEL MEMORY FOAM MATERIAL: Our memory foam mattress topper readily conforms to the curves and shape of your body, distributes weight evenly to alleviate pressure points for better sleep.
Step 2: Cut the Plywood to Size
Editor’s Choice

Baltic Birch Plywood 12 x 24 x 3/4 Inch – 18 mm Craft Wood, PB/BB Grade,…

12-Pack Sanding Sponge Set, Sanding Block Assorted Grit 60/80/100/120/18…

SKIL 15 Amp 7-1/4 Inch Circular Saw with Single Beam Laser Guide – 5280-01
Step 3: Attach the Foam and Batting
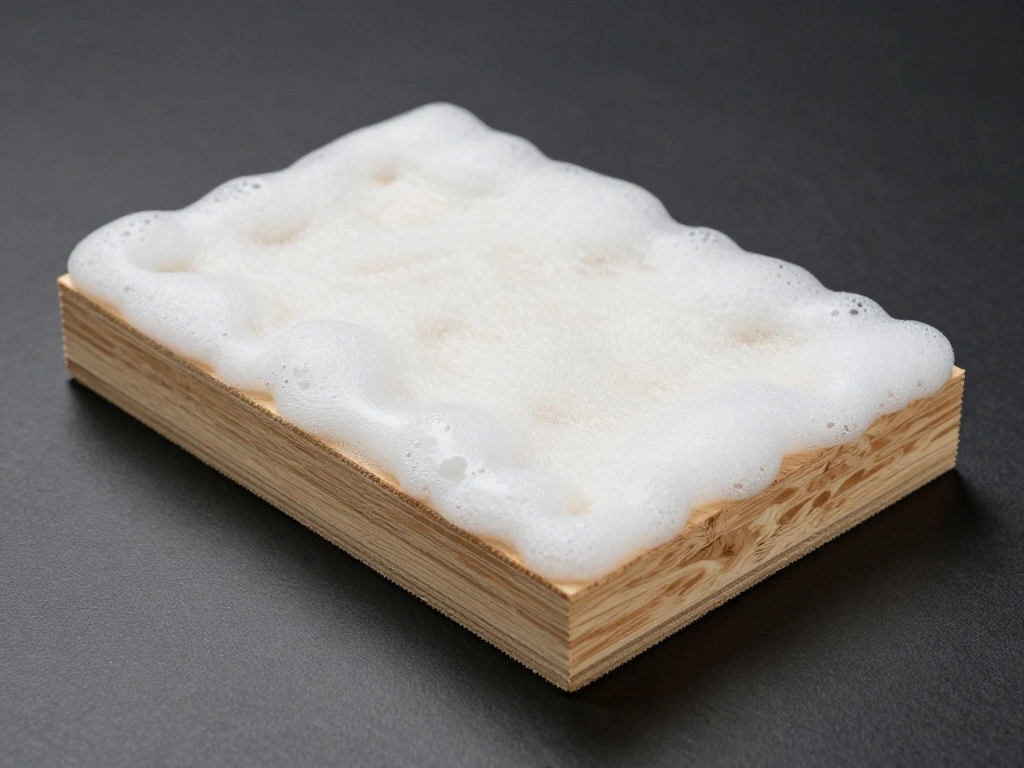
Now it’s time to attach the foam and batting to the plywood. This will provide a soft surface for your headboard.
- Lay the foam on the plywood and cut it to size if necessary.
- Use a staple gun to secure the foam to the plywood.
- Lay the batting over the foam and staple it down, pulling it tight.
Pro Tip: Use a thick layer of batting for a softer look.
This step matters because a well-padded headboard enhances comfort, making it perfect for leaning back while reading or watching TV.
Time estimate: 30 minutes.
Recommended Products
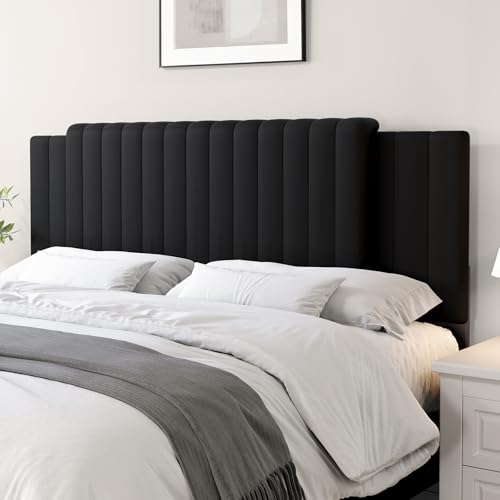
Versatile 3-in-1 Design: Fits Full, Queen, and King bed frames with an adjustable width, eliminating the need for multiple headboards

Single Unit Weight: 23 lbs. Dimension: 39.25"W x 2.5"D x 41.75" - 54.25"H, Color: Beige.
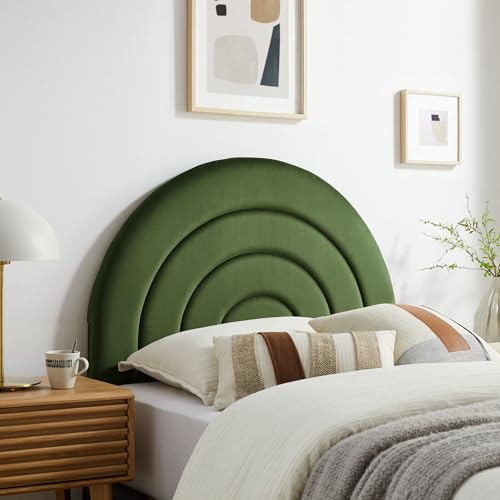
SOFT ARCH SHAPED ROUND HEADBOARD - Featuring a captivating semi-circular layered design, this velvet headboard for twin beds adds modern flair and dimension to a bedroom space
Step 3: Attach the Foam and Batting
Editor’s Choice

High Density Upholstery Foam 24″x27″, 6″ Thick Couch Cushion Replacement…
Step 4: Cover with Fabric

The next step is to cover the headboard with your chosen fabric. This is where your design comes into play.
- Lay the fabric face down on a flat surface.
- Place the padded plywood face down on the fabric.
- Pull the fabric over the plywood and staple it securely, starting from the center and working outwards.
Warning: Ensure the fabric is taut to avoid wrinkles.
This step matters because the fabric choice can greatly influence the room’s overall aesthetic. A well-covered headboard looks professional and polished.
Time estimate: 30 minutes.
Recommended Products

PROFESSIONAL LOOK - Installing a piece of cambric can make the world of difference when it comes to evaluating the quality of a piece of furniture. This is a major reason that new furniture is never retailed without having a piece of dust cloth on the bottom of the furniture.

PROFESSIONAL LOOK - Installing a piece of cambric can make the world of difference when it comes to evaluating the quality of a piece of furniture. This is a major reason that new furniture is never retailed without having a piece of dust cloth on the bottom of the furniture. So regardless of whether you are finishing a new sofa or chair, or discover that your bed box spring is in need of a replacement cover, our dust cover will help you achieve the professional look you're looking for

2.6oz Non-Woven Polypropylene,Conforms to furniture Fire Regs BS5852:2006,NOT FIREPROOF,not suitable to directly face a fire source as fireproof mat
Step 4: Cover with Fabric
Editor’s Choice

SHALL Light Duty Staple Gun for Wood – Pink Upholstery Staple Gun with 1…

Sparkle Crystal Sheer Organza Fabric Shiny for Fashion, Crafts, Decorati…
GoTo Foam 1″ Height x 24″ Width x 72″ Length 44ILD (Firm) Upholstery Cus…
Step 5: Add Decorative Finish (Optional)
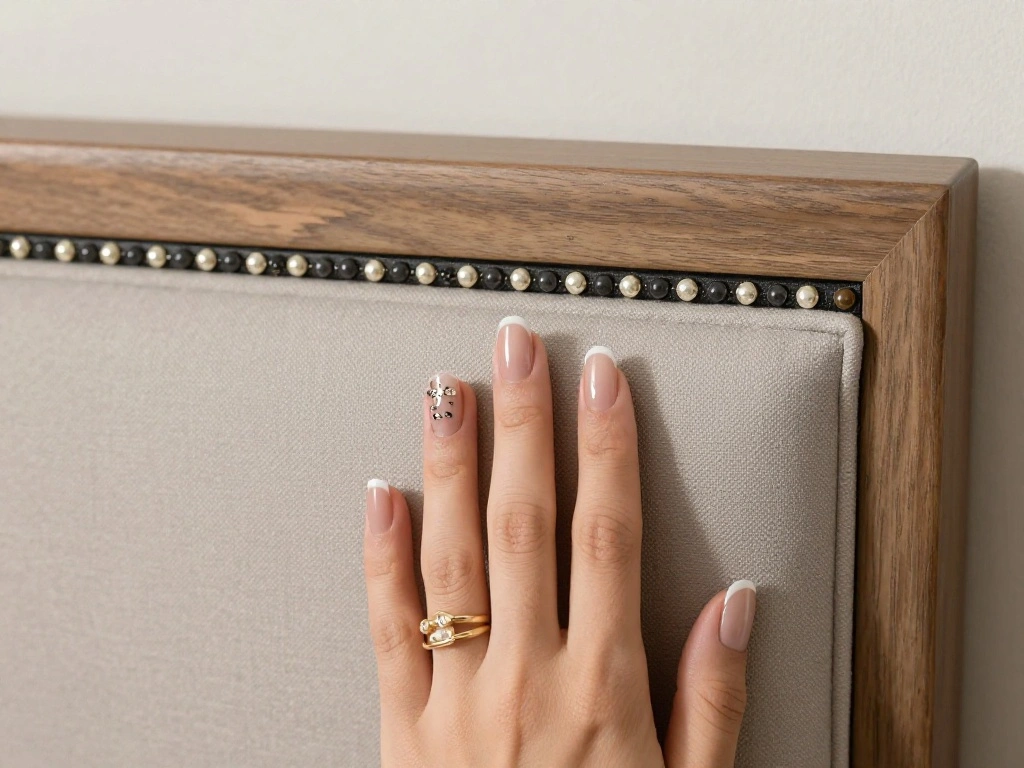
If desired, you can add a decorative finish to your headboard, such as decorative nails or trim. This step adds a personal touch to your project.
- Measure and plan where you want to place the decorative nails.
- Use a hammer to gently tap them into place.
- Alternatively, attach trim around the edges for a polished look.
Pro Tip: Choose decorative elements that match your room’s theme.
This step matters because the decorative finish can elevate the overall look of your headboard, making it a statement piece in your bedroom.
Time estimate: 30 minutes.
Recommended Products

BLANK WOOD SHEETS - These natural plywood wood sheets are unfinished sheets, you can paint it or pigment it as you want. It can be drawing, painted and pigmented flexibly as well.

【BASSWOOD SHEETS】You will receive 12 pieces unfinished plywood sheets, measuring 4" x 4" with a thickness of 1/8";We offer plywood in a variety of sizes and quantities to give you more options for your creativity. Please choose the right size and thickness according to your needs.
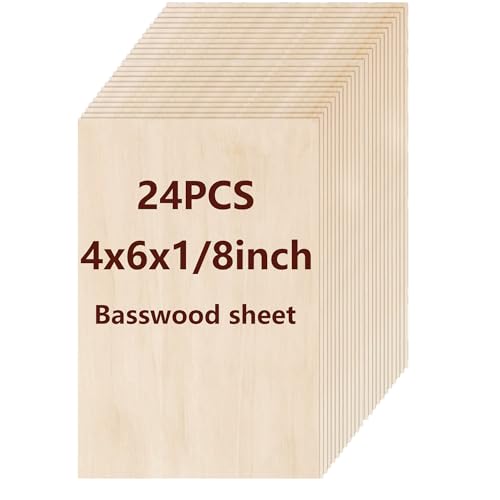
The package Comes With:24 pieces basswood sheets, 4"x6" (101x 152mm) - 1/8" (3.0mm) thick.
Step 5: Add Decorative Finish (Optional)
Editor’s Choice

Antique Upholstery Tacks,120PCS,Furniture Tacks Nails,7/16 Inch Upholste…

Gimp Braid Fabric Trim – 0.59 Inch / 5 Yards, Gold Silver, Upholstery, P…

ESTWING Sure Strike Tack Hammer – 5 oz Forged Steel Head with Magnetic F…
Step 6: Mount the Headboard
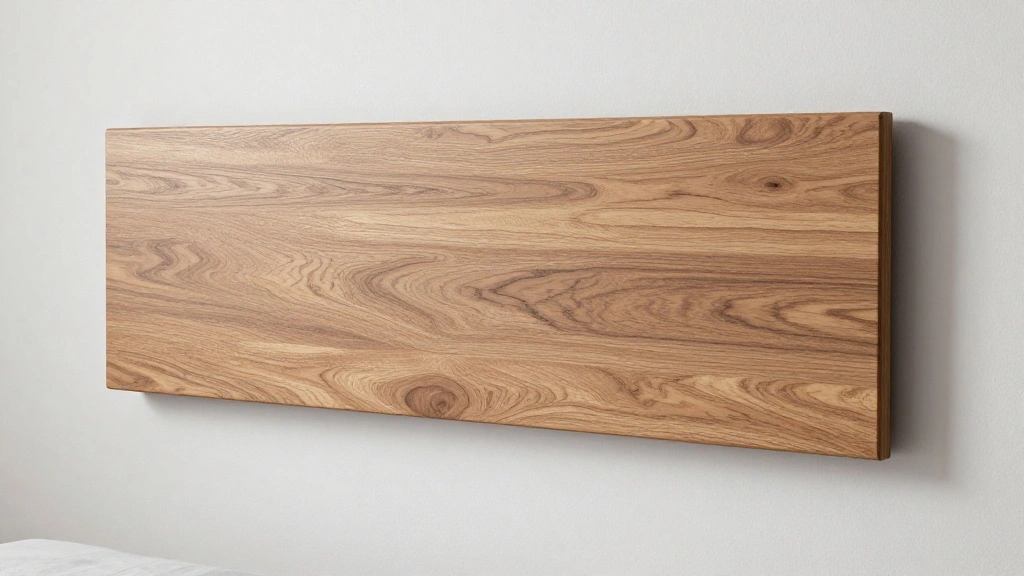
Finally, it’s time to mount your headboard. This step secures it to your bed frame or the wall.
- Position the headboard behind your bed frame, ensuring it is centered.
- If attaching to the wall, use appropriate wall anchors and screws.
- For bed frames, align the headboard with the brackets and tighten screws.
Warning: Ensure the headboard is securely fastened to prevent accidents.
This step matters because a securely mounted headboard ensures safety and stability while enhancing your bedroom’s look.
Time estimate: 30 minutes.
Recommended Products
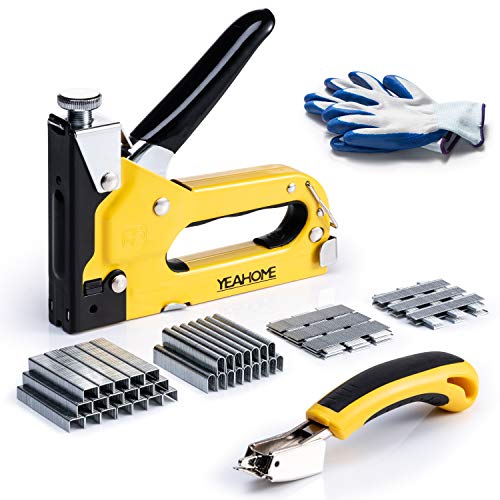
Versatile Fastening Tool - YEAHOME 4-in-1 Staple Gun accepts D-shaped, U-shaped, T-shaped, and Pin Staples. This kit comes with Remover, Gloves, 2000pcs of each 7/16" D-Type and 1/2" U-Type , 1000pcs of each 3/8" T-Type and 5/8" Pin Brad Nails for a wide variety of applications: general DIY repairs, crafting, decorating, upholstery projects, roofing, and more.
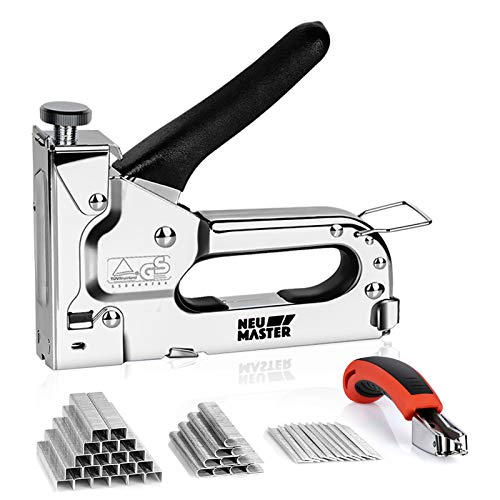
ALL-STEEL CONSTRUCTION & ERGONOMIC GRIP – Built with a durable chrome-plated steel body for long-lasting rust resistance. The rubberized, non-slip handle reduces hand fatigue and delivers a secure, comfortable grip during extended use.

3-in-1 Application : It fits 3 kinds of different staples/nails such as D type staples, U type staples and T type nails; It's suitable for general models: T50, T18, Brad nail gauge 18
Step 6: Mount the Headboard
Editor’s Choice

KURUI Drywall Anchors and Screws Assortment Kit 270PCS, 135 Plastic Dry …
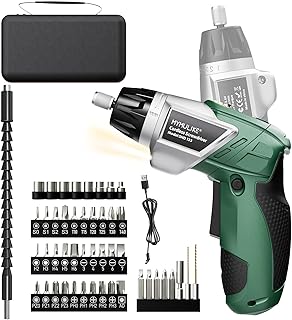
MYMULIKE 49Pcs Electric Screwdriver Set, 3.6V Rechargeable Power Screwdr…

225pcs Screws and Nuts Assortment Kit,M4 M5 M6 Phillips Pan Head Assorte…
Pro Tips
- Choose Quality Materials: Quality fabric and foam last longer and look better.
- Personalize Your Design: Consider patterns or colors that match your style.
- Use a Helper: Having someone assist you can make the process smoother, especially when lifting heavy materials.
- Test Stability: After mounting, gently shake the headboard to ensure it’s secure.
- Consider Height: Make sure the headboard height fits your bed and personal preference.
Recommended Products

Memory Foam for Pressure Relief: Our plush gel-infused memory foam conforms to your body's curves, offering personalized comfort that help improve deep sleep. Use it to refresh an aging mattress, soften a firm surface, or extend your mattress's life.

Pressure Relieving Plush Contouring Memory Foam: High-density gel-infused plush memory foam hugs your body curves to minimize pressure points for restful sleep. It refreshes worn mattresses and softens hard beds to extend mattress lifespan, perfectly suited for side back and stomach sleepers with full contour support
GEL MEMORY FOAM MATERIAL: Our memory foam mattress topper readily conforms to the curves and shape of your body, distributes weight evenly to alleviate pressure points for better sleep.
Pro Tips
Editor’s Choice

2 Pack Adjustable Headboard Brackets for Bed Base, Metal Headboard Brack…
House2Home Upholstery Fabric 60 Inch x 3 Yard, Black Fabric, Cambric Dus…

LveSunny 18Pcs Furniture Pads,EVA Foam Headboard Stoppers for Wall, 8Pcs…
Common Mistakes to Avoid
Warning: Avoid these common mistakes for a successful project:
- Not measuring properly: Always double-check measurements to avoid cutting errors.
- Over-tightening staples: This can cause the fabric to bunch up.
- Choosing the wrong fabric: Ensure fabric can withstand wear and tear.
Common Mistakes to Avoid
Editor’s Choice
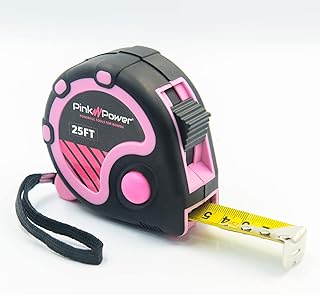
Pink Power 25ft Pink Tape Measure – Measuring Tape for Women’s Tool Kit …
SHALL Light Duty Staple Gun for Wood – Pink Upholstery Staple Gun with 1…
House2Home Upholstery Fabric 60 Inch x 3 Yard, Black Fabric, Cambric Dus…
Troubleshooting Section
Problem: Fabric wrinkles after stapling.
Solution: Remove staples and re-staple using more tension.
Problem: Headboard feels wobbly.
Solution: Check mounting screws and tighten as necessary.
Problem: Foam is uneven.
Solution: Trim foam to desired shape before covering with fabric.
Troubleshooting Section
Editor’s Choice

DEWALT Staple Gun, Carbon Fiber Body, 2-in-1 Tacker (DWHT80276)

KURUI Wall Anchors Kit for Hanging Wall Art Decor, 160Pcs Drywall Anchor…

3 in 1 Foam Cutter Electric Styrofoam Cutting Tool, 100-240V / 18W Hot K…
Variations/Alternative Methods
Here are a few variations to consider:
- Tufted Headboard: Use buttons to create a tufted look.
- Wooden Headboard: Skip the upholstery for a rustic wooden look.
- Adjustable Height: Create a headboard that can be adjusted for height.
Variations/Alternative Methods
Editor’s Choice

Unique Craft Upholstery Repair Tufting Needle and Thread Kit. 4 Heavy Du…
House2Home Upholstery Fabric 60 Inch x 3 Yard, Black Fabric, Cambric Dus…

Huatean Home Tufted Upholstered Headboard Queen Size, Solid Wood Head Bo…
FAQs
- What if I don’t have a staple gun? You can use upholstery tacks or strong adhesive instead.
- How long should I wait before using my headboard? Allow any adhesive used to cure fully, typically 24 hours.
- Is it safe to mount the headboard on drywall? Yes, but use appropriate wall anchors for stability.
FAQs
Editor’s Choice
Upholstery Staple Gun Heavy Duty, YEAHOME 4-in-1 Stapler Gun with 4000 S…

Guardian 1400052 A5 Concrete Expansion Anchor | 5,000 lb MBS | Reusable …
Antique Upholstery Tacks,120PCS,Furniture Tacks Nails,7/16 Inch Upholste…
Conclusion
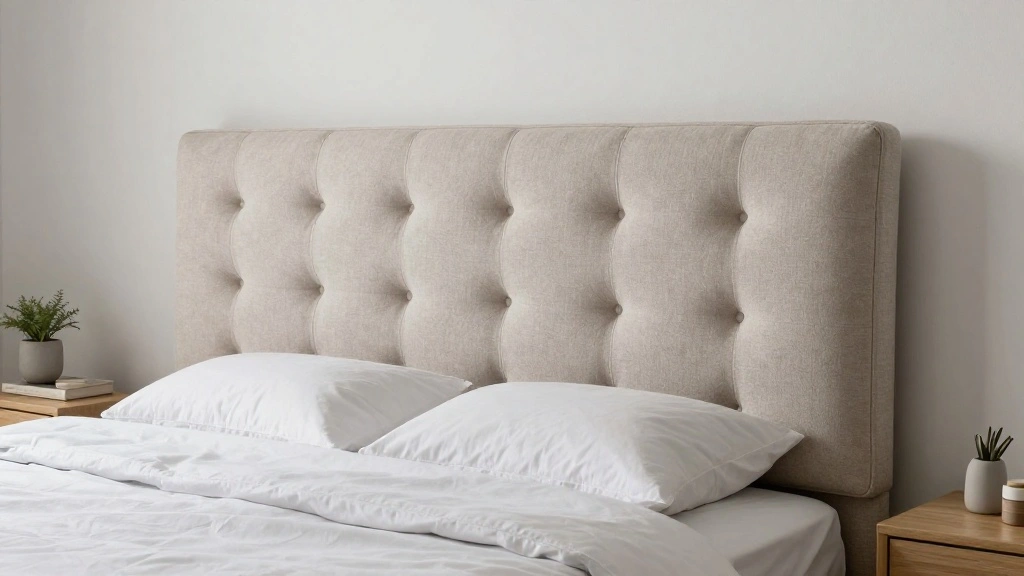
Congratulations on completing your DIY upholstered headboard! You now have a beautiful, personalized piece that enhances your bedroom. Take a moment to admire your hard work.
Consider adding decorative pillows or throws to complement your new headboard. If you enjoyed this project, explore other DIY home decor ideas to further enhance your space.