

Are you tired of waking up to an unkempt bed? A messy bed can set a chaotic tone for your day, making it harder to feel organized and productive. You might think making your bed takes too long, but it doesn’t have to! In just 5 minutes, you can transform your messy bedding into a neat and inviting space. This guide will show you how to accomplish this simple task efficiently.
By following this guide, you will learn a step-by-step process to make your bed every morning quickly. Not only will you feel accomplished, but you’ll also create a serene atmosphere in your bedroom. You’ll learn the essential techniques that can save you time and effort, making bed-making a breeze. This guide is designed for beginners, so you can dive right in, even if you’re new to this task.
Get ready to take control of your mornings and enjoy the benefits of a neatly made bed. With just 5 minutes and a little guidance, you’ll learn how to make your bed like a pro!
TL;DR Summary
- Quick Task: Make your bed in just 5 minutes!
- Essential Steps: Follow 6 simple steps to achieve a neat bed.
- Beginner Friendly: Perfect for anyone, regardless of experience.
- Feel Accomplished: Start your day with a clean, organized space.
TL;DR Summary
Editor’s Choice

Bed MadeEZ Mattress Lifter & Bed Maker Tool for Changing Bed| Patented &…
Prerequisites/Materials Needed
- Fitted sheet (1)
- Flat sheet (1)
- Comforter or duvet (1)
- Pillows (2-4)
- Pillowcases (2-4)
- Bed skirt (optional)
Prerequisites/Materials Needed
Editor’s Choice

Serta Goose Feather Down Fiber Comforter Queen Size – 100% Cotton Cover …
Skill Level & Time Estimate
Skill Level: beginner
Total time estimate: 5 minutes
Breakdown of time by major steps:
- Removing old bedding: 1 minute
- Putting on fresh sheets: 2 minutes
- Arranging pillows and blankets: 2 minutes
Skill Level & Time Estimate
Editor’s Choice

Rolling Pillow Storage Rack Organizer, Adjustable Pillow Display Rack, M…

Bedsure Duvet Cover Queen Size – 3 Pieces Prewashed Extra Soft Bedding S…

HYMOKEGE Queen Comforter Set Seersucker 7 Pieces, All Season Luxury Bed …
Step 1: Remove Old Bedding

Start by stripping your bed of any old bedding. This involves:
- Remove all pillows and blankets from the bed.
- Take off the flat sheet and comforter or duvet.
- Place the used bedding in a designated laundry basket.
Pro Tip: Keep a laundry basket nearby to make the process smoother.
Why this matters: A clean start is essential for making your bed properly. It allows you to freshen up the space and ensures that the new bedding looks its best. This step should take about 1 minute.
Step 1: Remove Old Bedding
Editor’s Choice
Rubbermaid Large Hip-Hugger Laundry Basket/Hamper, 1.5-Bushel, White, St…
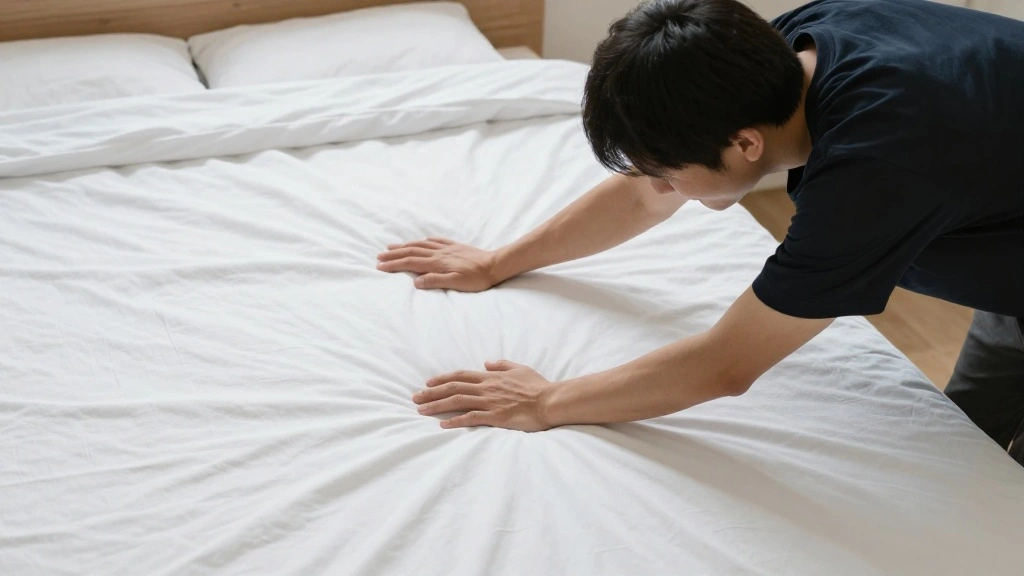
Step 2: Put on the Fitted Sheet
Now, it’s time to put on your fitted sheet. Follow these steps:
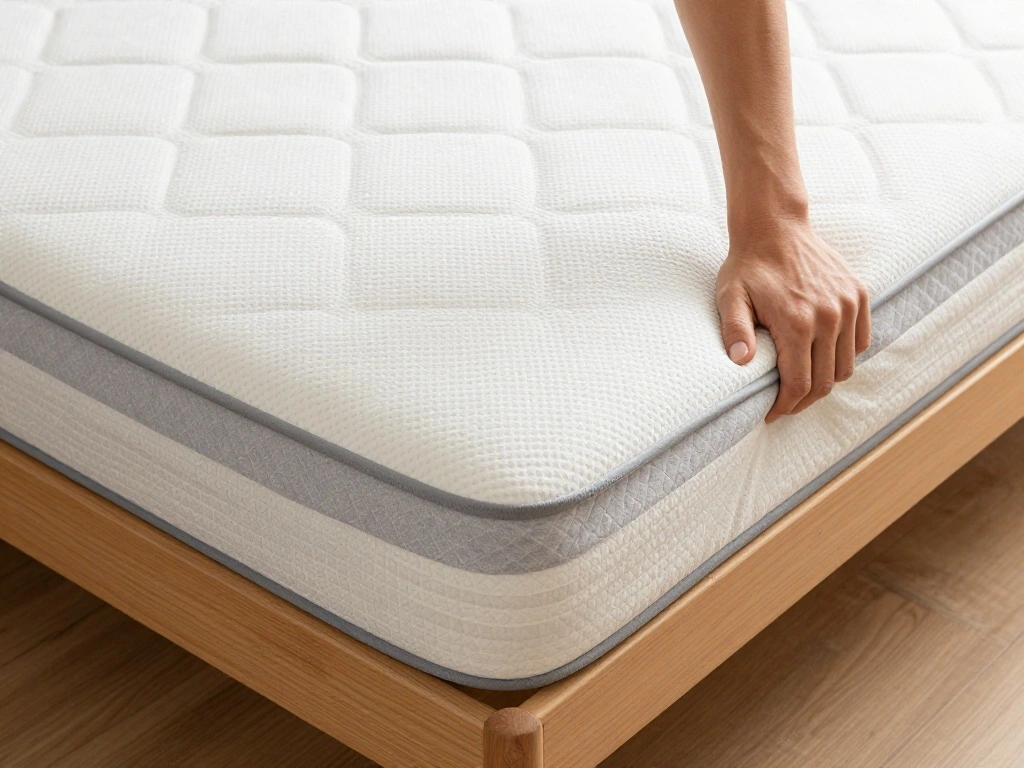
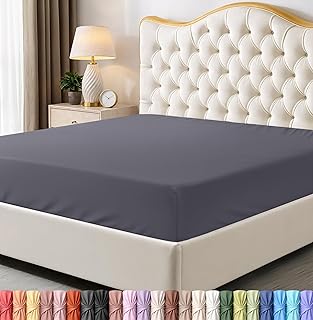
- Identify the corners of the fitted sheet.
- Start by placing one corner of the sheet over the corresponding corner of the mattress.
- Stretch the sheet across the mattress and tuck in the opposite corner.
- Repeat for the remaining corners.
Pro Tip: Ensure the sheet is snug to avoid wrinkles.
Why this matters: A well-fitted sheet provides a foundation for a neat bed and enhances comfort while sleeping. This step should take about 1 minute.
Step 2: Put on the Fitted Sheet
Editor’s Choice

GORILLA GRIP Patented Bed Sheet Holders, Adjustable Elastic Fasteners wi…

Utopia Bedding Queen Fitted Sheet – Bottom Sheet – Deep Pocket – Soft Mi…
Step 3: Add the Flat Sheet
Next, it’s time to add the flat sheet. Here’s how:
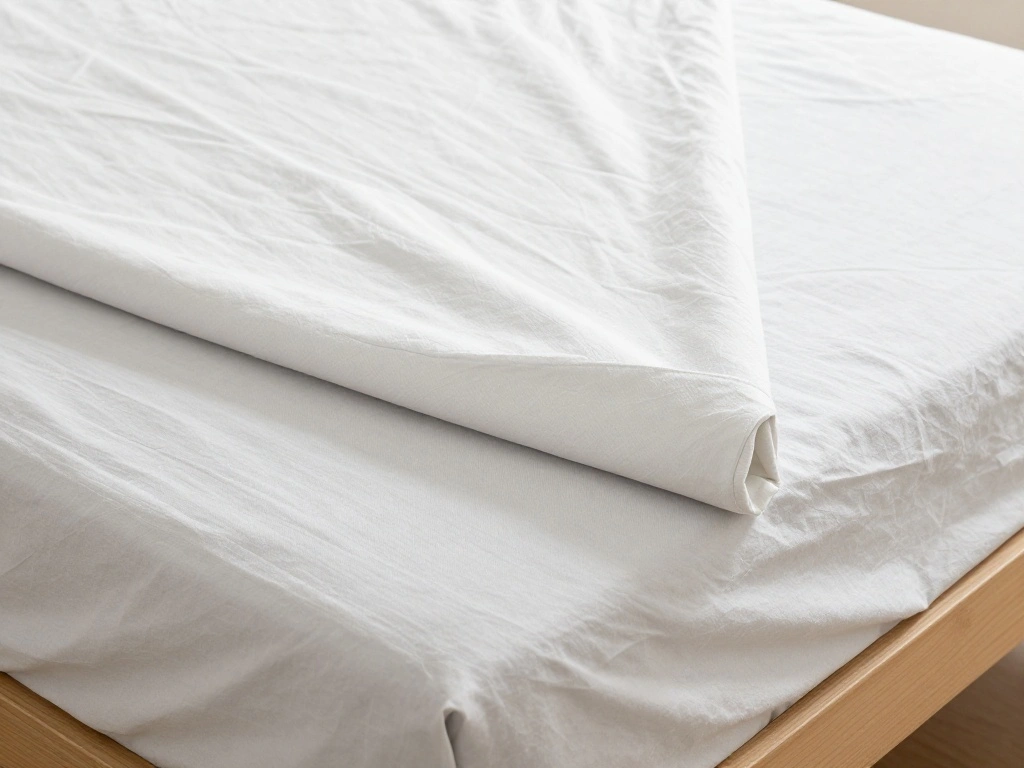
- Lay the flat sheet evenly over the fitted sheet.
- Ensure the top edge of the flat sheet is about 6-12 inches from the top of the mattress.
- Tuck the sides and bottom of the flat sheet under the mattress for a tidy look.
Pro Tip: You can fold the top edge down for a more polished appearance.
Why this matters: Adding the flat sheet creates a barrier between you and your comforter, enhancing comfort and cleanliness. This step should take about 1 minute.
Step 3: Add the Flat Sheet
Editor’s Choice

Berkland Sheet Tucker Tool — 14.5 in Bed Sheet Tucker & Mattress Lifte…

Royale Linens 100% Organic Cotton Full Flat Sheet Only – Super Soft – Pe…

Acacia Wood Mattress Lifter Tool for Changing Sheets and Bed Making, Eas…
Step 4: Place the Comforter or Duvet
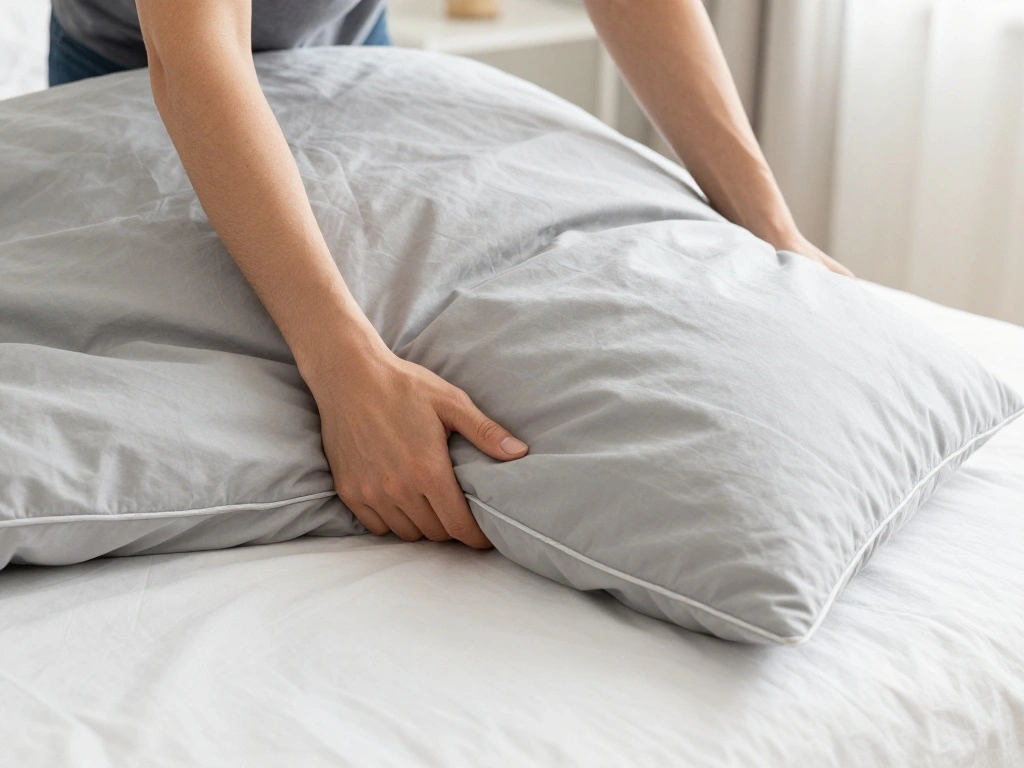
Now, it’s time to add the comforter or duvet. Follow these steps:
- Pick up the comforter or duvet and shake it gently to fluff it up.
- Lay it evenly over the bed, ensuring it covers the flat sheet completely.
- Adjust the comforter so it hangs evenly on both sides of the bed.
Pro Tip: If you have a duvet cover, make sure it’s zipped or buttoned up.
Why this matters: A fluffy comforter adds warmth and style to your bed, making it more inviting. This step should take about 1 minute.
Step 4: Place the Comforter or Duvet
Editor’s Choice

100% Washed Cotton Duvet Cover Queen Size, White Linen Like Breathable N…

Sweet Home Collection 5 Piece Comforter Set Bag Solid Color All Season S…

Bed MadeEZ Mattress Lifter & Bed Maker Tool for Changing Bed| Patented &…
Step 5: Arrange the Pillows
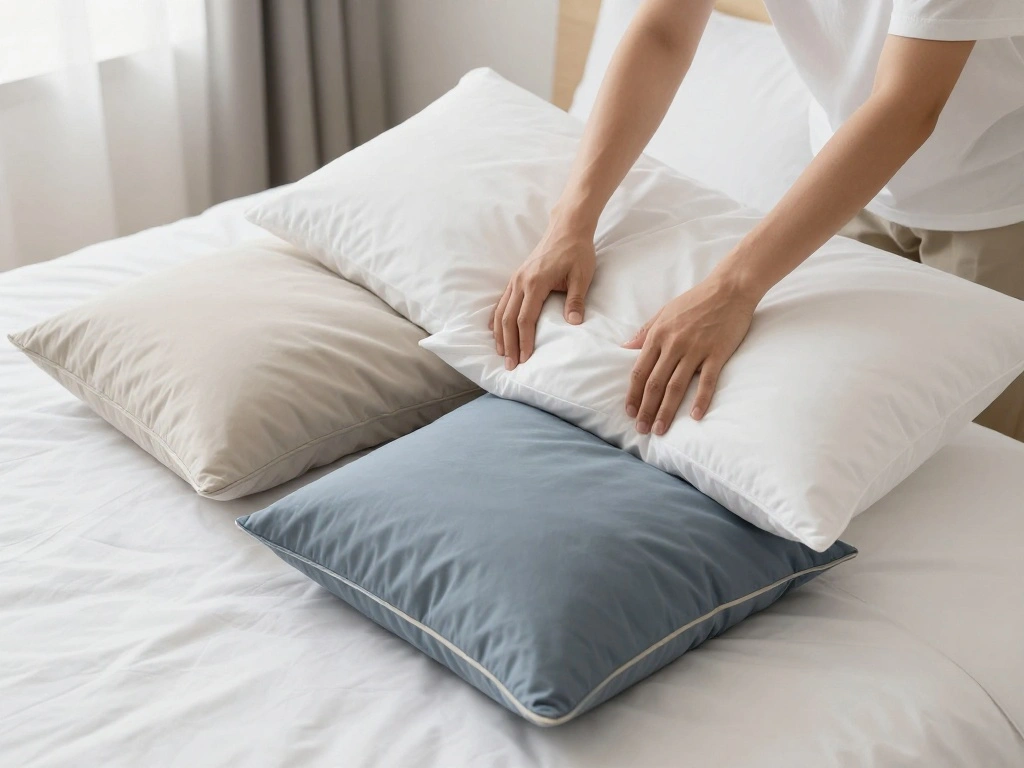
Next, arrange your pillows on the bed. Here’s how:
- Place the larger pillows at the back against the headboard.
- Put the smaller decorative pillows in front of the larger ones.
- Ensure they are centered and aligned for a neat appearance.
Pro Tip: Use pillow shams that match your bedding for a coordinated look.
Why this matters: Properly arranged pillows not only enhance the aesthetic appeal but also provide comfort and support while reading or relaxing in bed. This step should take about 1 minute.
Step 5: Arrange the Pillows
Editor’s Choice

Budding Joy 90L Under Bed Storage Containers, Closet Organizers and Stor…

NTBAY Standard Pillow Shams – 2 Pack Brushed Microfiber 20×26 Sham Cover…
MIULEE Pillows Inserts, Pack of 4 18×18 Inch 100% Virgin Microfiber Fill…
Step 6: Final Touches
Finally, give your bed some finishing touches. Follow these steps:
- Adjust any uneven bedding by fluffing the comforter and smoothing out wrinkles.
- If using a bed skirt, ensure it hangs evenly.
- Step back and check that everything looks neat and tidy.
Pro Tip: A quick fluff of the pillows can make a big difference!
Why this matters: Final adjustments help achieve a polished look, making your bed feel more inviting and comfortable. This step should take about 1 minute.
Step 6: Final Touches
Editor’s Choice

JOLLYVOGUE Pillows King Size Set of 2, Bed Pillow for Side, Back, and St…
Pro Tips
- Consistency: Make it a habit to make your bed every morning; it sets a positive tone for the day.
- Set a Timer: Use a timer to keep you accountable and ensure you stick to the 5-minute limit.
- Involve Others: If you share a bed, encourage your partner or roommate to help. Teamwork makes it faster!
- Choose the Right Bedding: Use lightweight and easy-to-manage bedding for quicker bed-making.
- Keep It Simple: Limit decorative pillows to just a few to reduce time spent arranging.
Common Mistakes to Avoid
Warning: Don’t skip the fitted sheet. It’s essential for comfort and cleanliness.
Make sure to always use it. Warning: Avoid overstuffing your pillows; this can make arranging them difficult.
Stick to two larger pillows and one or two smaller ones. Warning: Don’t forget to check for wrinkles in the bedding.
Smooth them out for a neat appearance.
Common Mistakes to Avoid
Editor’s Choice

Downy Wrinkle Releaser Spray, All In One Formula, Removes Wrinkles, Stat…

SLEEPING LAMB 120L Extra Large Blanket Storage Bags Breathable Clothes S…

Utopia Bedding Full Deep Pocket Queen Fitted Sheet, Fits up to 21 Inch M…
Troubleshooting Section
Problem: The sheets keep coming off the mattress.
Solution: Ensure you have the right size fitted sheet for your mattress. Adjust the corners tightly.
Problem: The bed looks messy even after making it.
Solution: Adjust the comforter and pillows for a tidy appearance. Check for wrinkles.
Problem: Lack of time to make the bed.
Solution: Set a timer for 5 minutes to keep you focused.
Troubleshooting Section
Editor’s Choice

Queen Size Fitted Sheet Only – 4-Way Stretch Knit, Snug Fit, Wrinkle Fre…
Bed MadeEZ Mattress Lifter & Bed Maker Tool for Changing Bed| Patented &…

Utopia Bedding Queen Comforter Duvet Insert, Quilted White Comforter wit…
Variations/Alternative Methods
Consider these methods to make your bed:
- Minimalist Approach: Use a duvet without a top sheet for quicker bed-making.
Pros: Less to manage. Cons: Might not suit everyone’s comfort. - Layered Look: Add throws or decorative blankets for a stylish finish.
Pros: More design options. Cons: Takes longer to arrange.
Variations/Alternative Methods
Editor’s Choice
Bed MadeEZ Mattress Lifter & Bed Maker Tool for Changing Bed| Patented &…

BOURINA Beige Throw Blanket 50×60 Inches Throw Textured Solid Soft Sofa …
Bedsure Duvet Cover King Size-3 Pieces Prewashed 100% Polyester -Like Ex…
FAQs
What if I don’t have a flat sheet? You can skip it, but it helps keep your comforter clean.
How long should I spend on each step? Aim for about 1 minute per step for a total of 5 minutes.
Is it safe to use heavy blankets? Yes, as long as they are manageable for you.
What if I have a small bedroom? Adjust the bed-making process to fit your space; you can still make it work!
FAQs
Editor’s Choice
Royale Linens 100% Organic Cotton Full Flat Sheet Only – Super Soft – Pe…
Bed MadeEZ Mattress Lifter & Bed Maker Tool for Changing Bed| Patented &…

Bedsure Comforter Duvet Insert – Quilted Comforters Queen Size, All Seas…
Conclusion

Congratulations! You’ve learned how to make your bed in just 5 minutes every morning. By incorporating this habit, you’ll enjoy a tidy and inviting bedroom, setting a positive tone for your day. Remember, practice makes perfect, and soon this will be second nature to you.
Now that your bed is made, consider decluttering your bedroom or organizing your closet next. Keeping a clean and organized space can help improve your overall well-being. Take pride in your accomplishments, and enjoy your fresh, neat bed!