
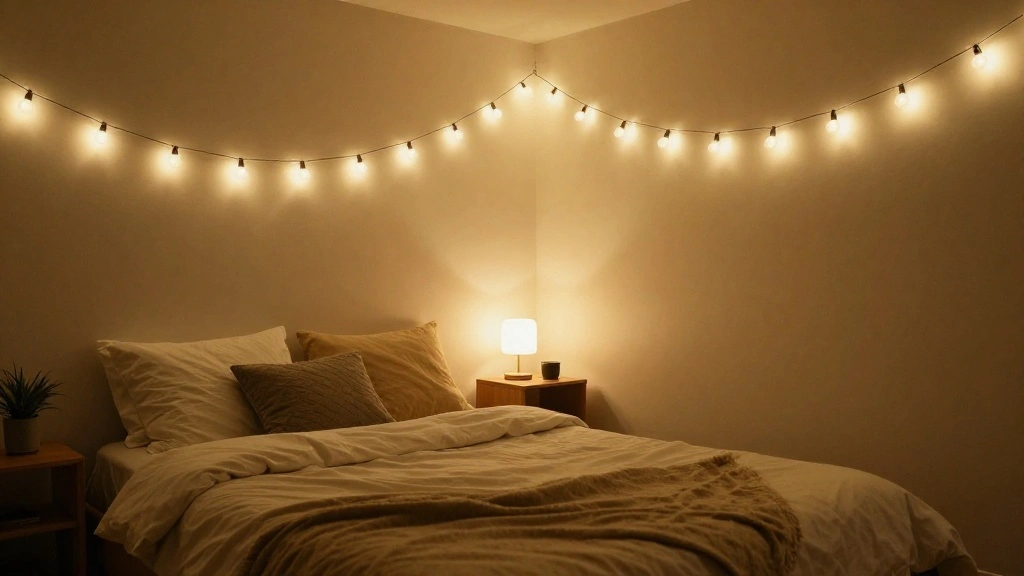
Are you looking to transform your bedroom into a cozy, enchanting space with fairy lights but worried about damaging your walls? You’re not alone! Many homeowners desire the warm, magical glow of fairy lights, but they fret about leaving marks or holes behind. Fear not! This guide will help you hang fairy lights without causing harm to your walls or ceilings.
By the end of this article, you will have a beautifully illuminated bedroom, complete with twinkling fairy lights, all while keeping your living space damage-free. You will learn various methods to hang these lights securely using materials that won’t leave a trace.
Ready to create an inviting atmosphere? This task is beginner-friendly and can be completed in about 30 minutes. Let’s get started on your journey to a magical bedroom!
TL;DR Summary
- Gather materials like adhesive hooks and command strips.
- Plan your layout for the fairy lights.
- Securely hang the lights without damaging walls.
- Enjoy a magical and cozy atmosphere in your bedroom.
TL;DR Summary
Editor’s Choice

Self Adhesive Towel Hooks 4 Pack Black Heart Shaped Wall Hooks, No Drill…

Fairy Lights Battery Operated, 60 LED Fairy String Lights Waterproof Sil…
Prerequisites/Materials Needed
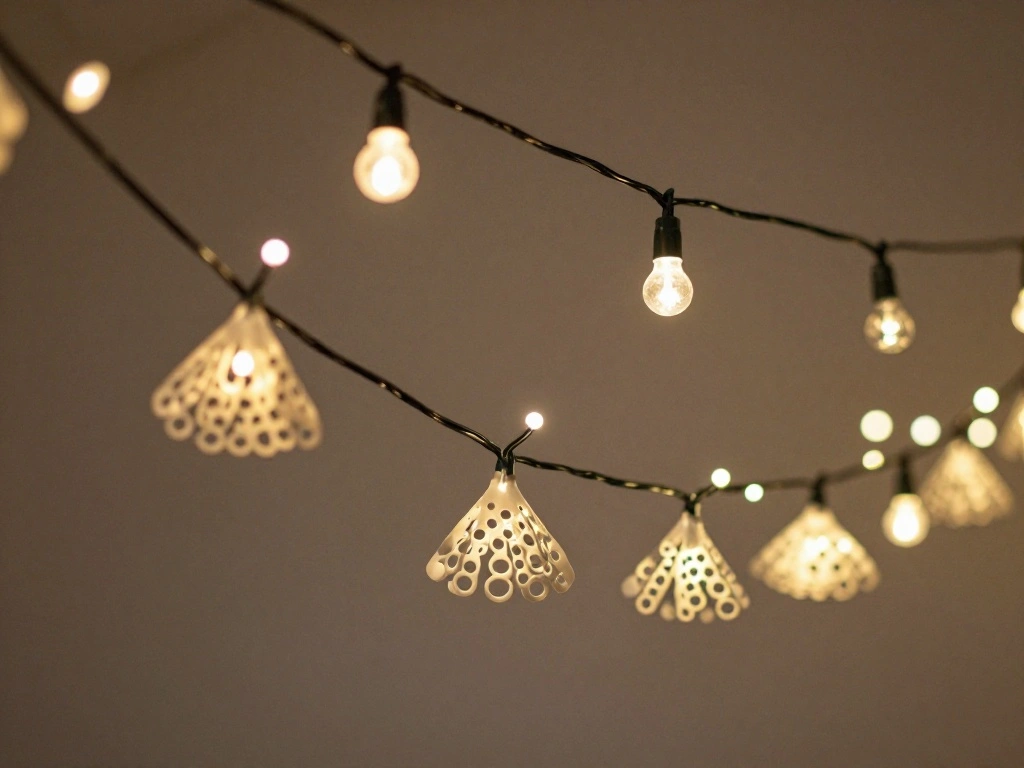
- Fairy lights (string lights of your choice)
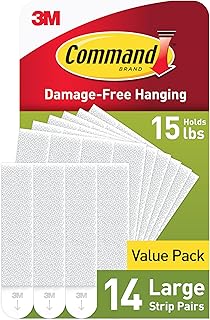
- Adhesive hooks or Command strips (12-20, depending on layout)
- Measuring tape (1 piece)
- Scissors (1 pair)
- Step stool (if needed for height)
Prerequisites/Materials Needed
Editor’s Choice

Command 15 lb Large Picture Hanging Strips 14 Pairs (28 Strips), Damage-…
Pink 2 Step Ladder, Small Kitchen Step Stool for Adults, Widen 7.9Inch P…
Skill Level & Time Estimate
Skill Level: beginner
Total time estimate: 30 minutes
This includes:
- Planning layout: 10 minutes
- Preparing materials: 5 minutes
- Hanging lights: 15 minutes
Step 1: Plan Your Layout
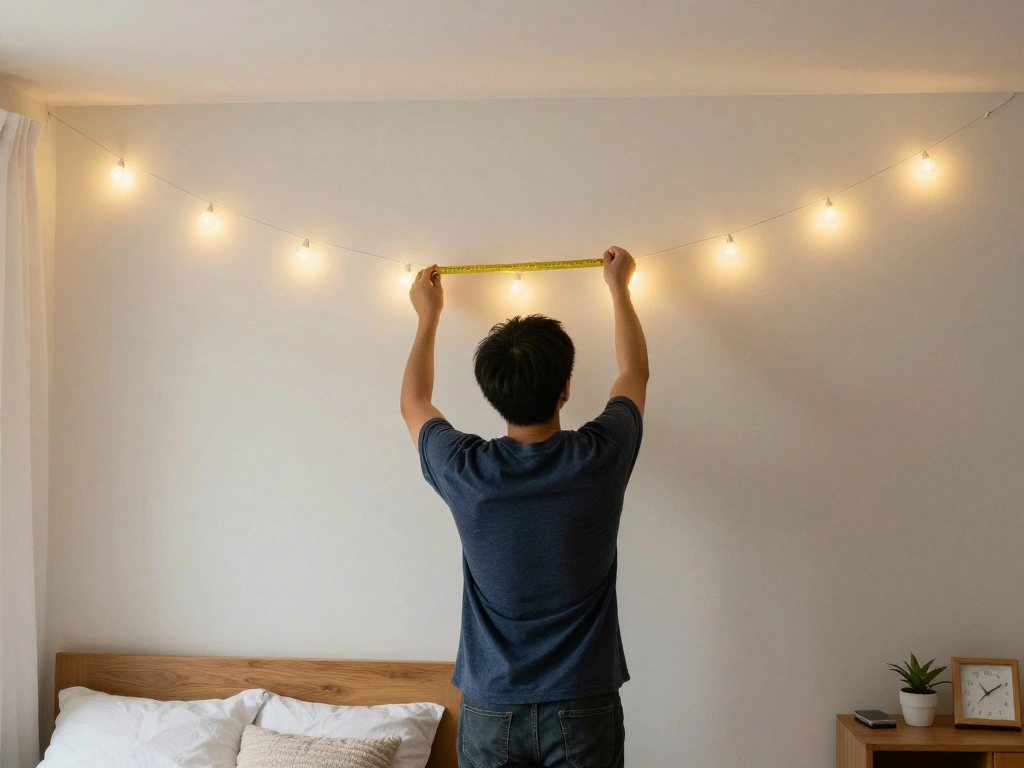
Begin by visualizing how you want your fairy lights to look in your bedroom. Planning your layout is crucial for achieving the best aesthetic. Follow these sub-steps:
- Identify the areas where you want to hang the lights (e.g., walls, headboard, or ceiling).
- Measure the distance between the light source and the hanging points with a measuring tape.
- Sketch a simple layout on paper if needed, marking where each hook will go.
Pro Tip: Consider using multiple strands of lights for a layered effect!
Why this matters: A good layout ensures your lights will look balanced and beautiful. This step should take about 10 minutes.
Step 1: Plan Your Layout
Editor’s Choice
Fairy Lights Battery Operated, 60 LED Fairy String Lights Waterproof Sil…


VELCRO Brand Indoor Light Clips for Hanging Fairy Lights and Twinkle Lig…
Step 2: Gather Your Materials
With your layout planned, it’s time to gather all necessary materials. This ensures a smooth process without interruptions. Follow these steps:
- Collect the fairy lights you wish to hang.
- Get your adhesive hooks or Command strips ready.
- Have a pair of scissors handy to cut any excess string.
Pro Tip: Make sure the adhesive hooks are rated for the weight of your lights!
Why this matters: Having everything on hand allows you to work efficiently and avoids frustrating delays. This step will take about 5 minutes.
Step 2: Gather Your Materials
Editor’s Choice

EDOF 6 Pack Sunflower with Firefly Lights,Solar Lights Outdoor Garden De…

Creative Five-Finger Small Hand Sticky Hook Bedroom Living Room Bathroom…
Step 3: Prepare the Wall Surface
Before hanging your lights, prepare the wall surface to ensure the adhesive sticks well. Follow these steps:
- Clean the area where you plan to stick the adhesive hooks with rubbing alcohol or a damp cloth.
- Let the surface dry completely before proceeding.
Warning: Avoid using the hooks on freshly painted walls. Wait at least two weeks for paint to cure.
Why this matters: A clean surface helps the adhesive adhere better, preventing your lights from falling down. This preparation should take around 5 minutes.
Step 3: Prepare the Wall Surface
Editor’s Choice
Command 15 lb Large Picture Hanging Strips 14 Pairs (28 Strips), Damage-…

Love Wellness pH Balancing Wipes for Women | Feminine Hygiene for Cleans…
Step 4: Attach the Adhesive Hooks
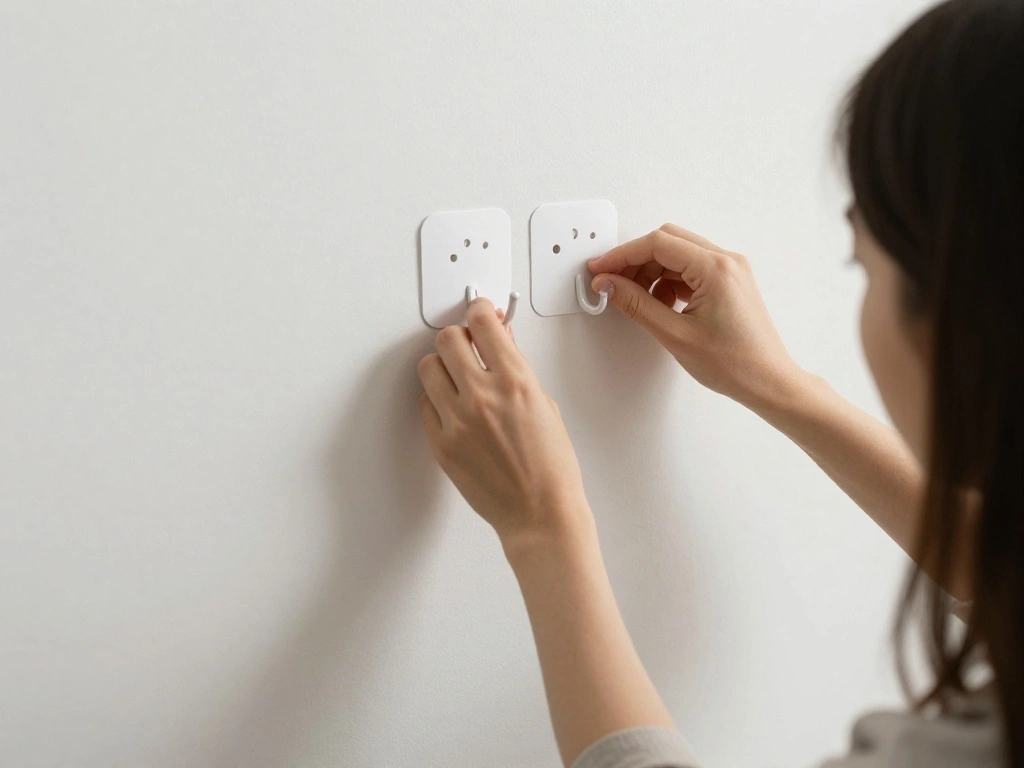
Now it’s time to attach the adhesive hooks to your wall according to your planned layout. Here’s how:
- Peel the backing off the adhesive hook.
- Press the hook firmly against the wall for at least 30 seconds to ensure it adheres well.
- Repeat for all hooks, ensuring they align with your layout.
Pro Tip: Use a level to ensure hooks are straight for a polished look.
Why this matters: Properly attached hooks will hold the lights securely and prevent any damage to your walls. This step should take about 10 minutes.
Step 4: Attach the Adhesive Hooks
Editor’s Choice
Coquimbo String Lights Decor, 10ft 30 LED Battery Operated String Fairy …

ZESLMG Adhesive Wall Hooks for Hanging, 16 Pack Self Sticky Hooks Heavy …
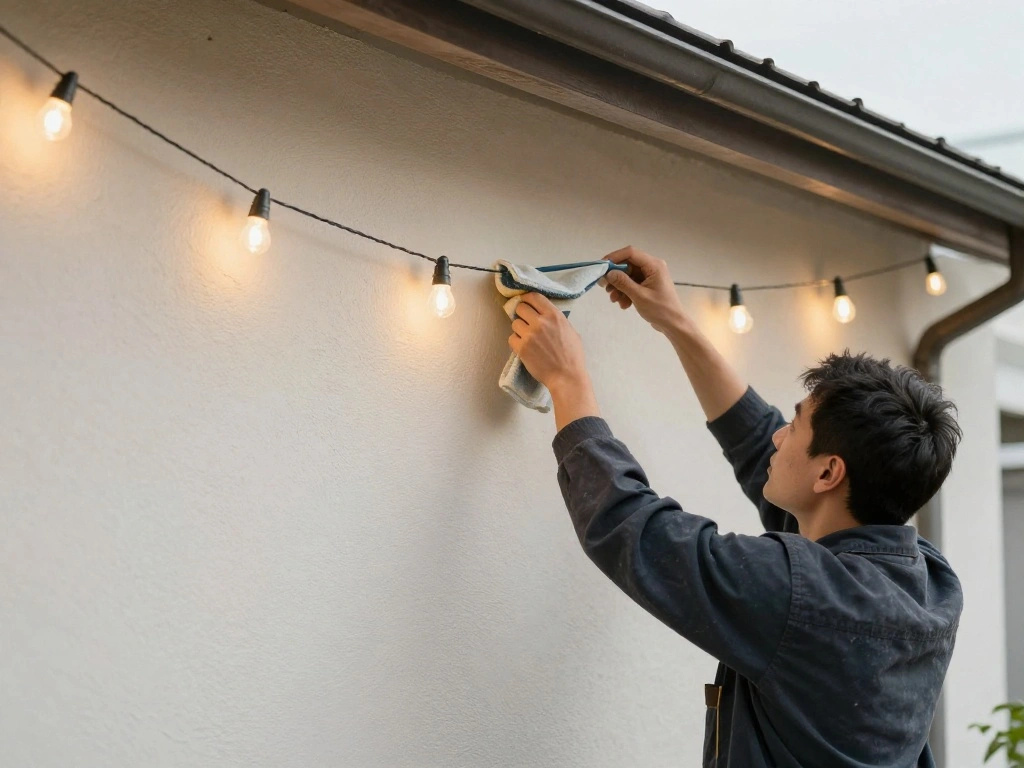
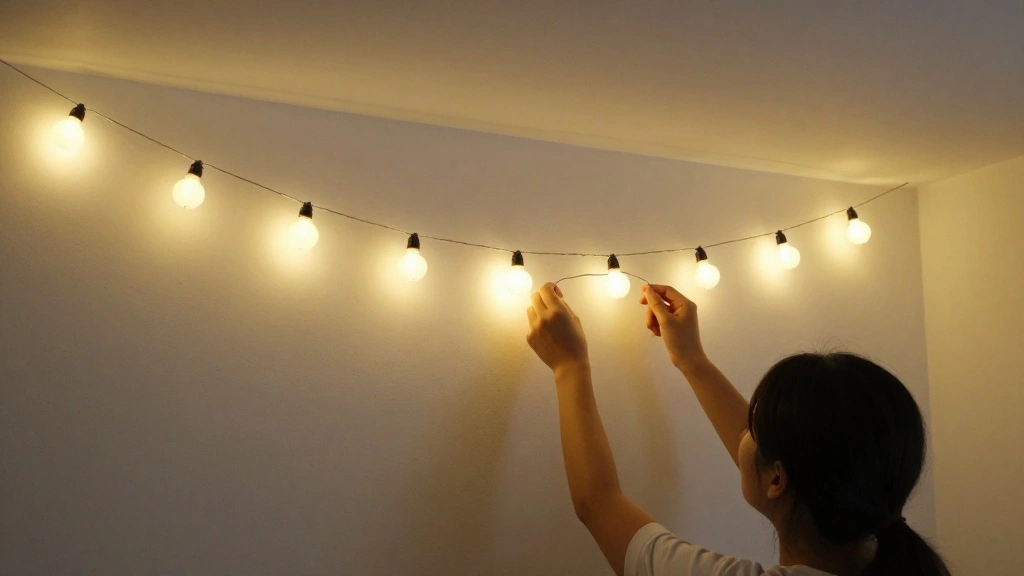
Step 5: Hang the Fairy Lights
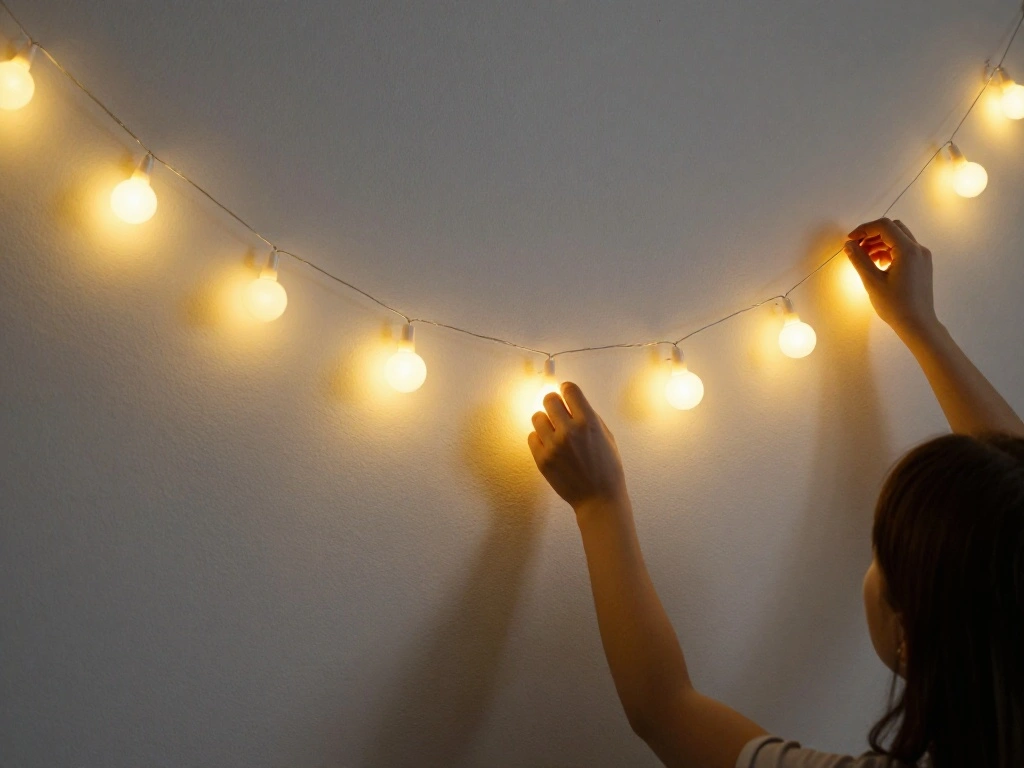
With your hooks in place, it’s time to hang your fairy lights. Here’s how to do it:
- Start at the light source and carefully weave the string lights through the hooks.
- Ensure the lights are evenly spaced and not too tight to avoid pulling on the hooks.
- Secure any excess string with additional hooks if necessary.
Warning: Don’t overload the hooks with heavy lights, as they may fall off the wall.
Why this matters: Properly hanging the lights ensures they look great and stay in place, enhancing your bedroom’s ambiance. This step will take around 10 minutes.
Step 5: Hang the Fairy Lights
Editor’s Choice

WMYCONGCONG 100 PCS Curtain Clips with Hooks, Small Metal Wire Holder St…

2 Pack Solar Lanterns Outdoor Waterproof, Hanging Decorative Patio Light…
EDOF 6 Pack Sunflower with Firefly Lights,Solar Lights Outdoor Garden De…
Step 6: Test and Adjust the Lights
Once your fairy lights are hung, it’s important to test and make any adjustments. Follow these steps:
- Plug in the lights to ensure they work properly.
- Check for any loose sections and adjust them as needed.
- Move the lights to different hooks if necessary for a better arrangement.
Pro Tip: Try different lighting settings or patterns if your fairy lights have them!
Why this matters: Testing ensures your lights work and look as intended, enhancing your room’s aesthetic. This final step should take about 5 minutes.
Step 6: Test and Adjust the Lights
Editor’s Choice

KGROTE 60Pcs Christmas Light Clips, Hooks for Outdoor String Lights Clip…

ADIIL 12 PCS Q Hanger Hooks with Safety Buckle, Windproof Screw Hooks fo…
EDOF 6 Pack Sunflower with Firefly Lights,Solar Lights Outdoor Garden De…
Pro Tips
- Layering Lights: Use multiple strands of lights for depth and texture.
- Time of Day: Hang lights during daylight for better visibility.
- Theme Coordination: Match lights with your room’s color scheme for a cohesive look.
- Use Timers: Consider using timers to automate when the lights turn on and off.
- Experiment: Don’t hesitate to change the layout if you want a different look later!
Pro Tips
Editor’s Choice

GODONLIF Candle Warmer Lamp with Cycle Timer, Birthday Gifts for Women M…

JMEXSUSS USB Fairy Lights for Bedroom, 33ft 100 LED Twinkle Lights Plug …

48PCS Nano Double Sided Adhesive Pads,Waterproof No Damage Removable Hea…
Common Mistakes to Avoid
Warning: Using too few hooks can cause the lights to sag or fall off. Ensure you use enough hooks to support the weight of the lights.
Warning: Not cleaning the wall surface can result in hooks not adhering properly. Always clean before applying.
Warning: Hanging lights under direct sunlight can cause fading. Consider the placement carefully.
Warning: Using heavy lights with weak hooks can lead to damage. Always check weight limits.
Warning: Forgetting to test the lights before securing can lead to wasted effort if they don’t work.
Common Mistakes to Avoid
Editor’s Choice
Fairy Lights Battery Operated, 60 LED Fairy String Lights Waterproof Sil…
Troubleshooting Section
Problem: The lights won’t stick to the wall.
Solution: Ensure the surface is clean and dry. Try reapplying or using stronger adhesive.
Problem: The lights are uneven.
Solution: Adjust the placement of the hooks to level out the lights.
Problem: The lights are flickering.
Solution: Check the connection and ensure the bulbs are secure.
Problem: The adhesive hooks are falling off.
Solution: Use a stronger adhesive or check the weight of the lights.
Problem: The lights are too dim.
Solution: Check the bulb connections or replace the batteries if applicable.
Troubleshooting Section
Editor’s Choice
EDOF 6 Pack Sunflower with Firefly Lights,Solar Lights Outdoor Garden De…

CHOMP! Painted Wall Cleaner Spray: Healthier Home 5-Minute CleanWalls 4-…
Variations/Alternative Methods
If you want to explore different options for hanging fairy lights, consider these alternatives:
- Magnetic Hooks: Great for metal surfaces, providing easy repositioning.
- Clip Lights: Use clips to attach lights to bookshelves or furniture without wall damage.
- Command Strips: Ideal for secure attachment with easy removal options.
Each method has its pros and cons, so choose based on your space and personal preference.
Variations/Alternative Methods
Editor’s Choice

Leinuosen 6 Pcs Flower Magnetic Hooks 3D Floral Locker Decorations Back …
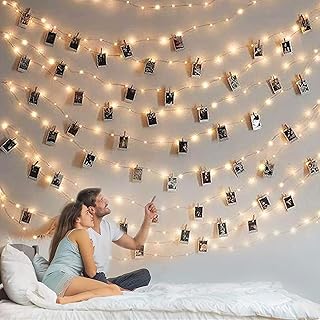
Photo Clip String Light – 33Ft 100LED Fairy Lights with Clips for Pictur…

Command 20 lb X-Large Picture Hanging Strips, 16 Pairs White Command Str…
FAQs
What if I don’t have adhesive hooks?
You can use Command strips or other removable adhesive options that suit your needs.
How long should I leave the hooks before hanging lights?
It’s best to wait at least 30 minutes after applying hooks to ensure they bond properly.
Is it safe to use fairy lights in my bedroom?
Yes, as long as you follow the manufacturer’s guidelines for use and avoid overloading the circuit.
What if my fairy lights are too long?
You can either wrap the excess around a hook or cut the lights if they are not connected in a way that voids the warranty.
How do I remove the hooks later?
Follow the instructions on the packaging to safely remove them without damaging your walls.
FAQs
Editor’s Choice
JMEXSUSS USB Fairy Lights for Bedroom, 33ft 100 LED Twinkle Lights Plug …

Fearless Tape – Double Sided for Clothing Body & Dresses (50 Strips) | C…
Conclusion
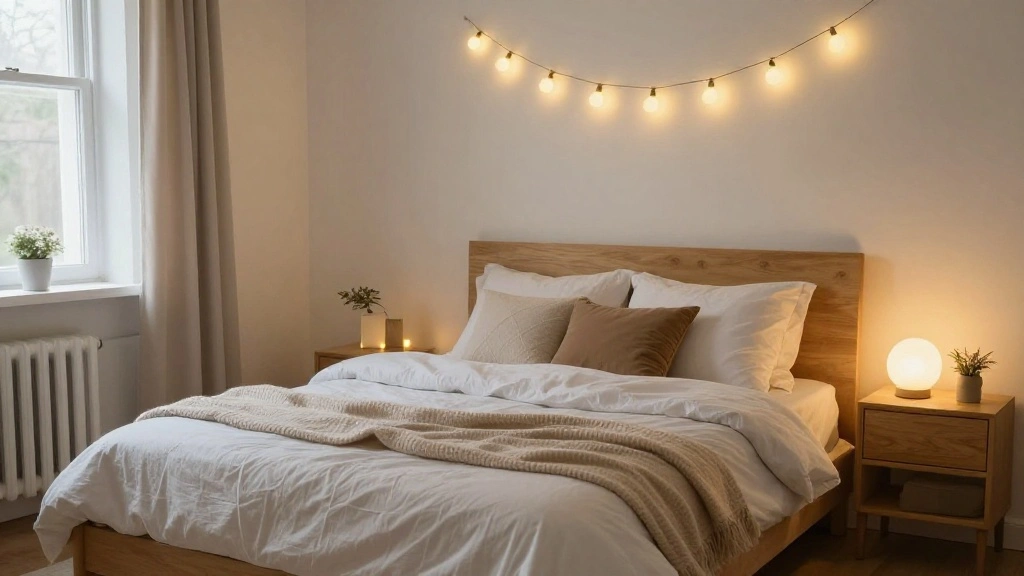
Congratulations! You have successfully hung fairy lights in your bedroom without causing any damage. Your space is now transformed into a cozy sanctuary filled with enchanting light.
Now that you’ve completed this project, consider exploring other decorative ideas to enhance your bedroom further. Think about adding themed decor or other lighting options to create a truly personalized space.
Enjoy your beautifully lit bedroom and feel inspired to share your new cozy environment with friends and family!